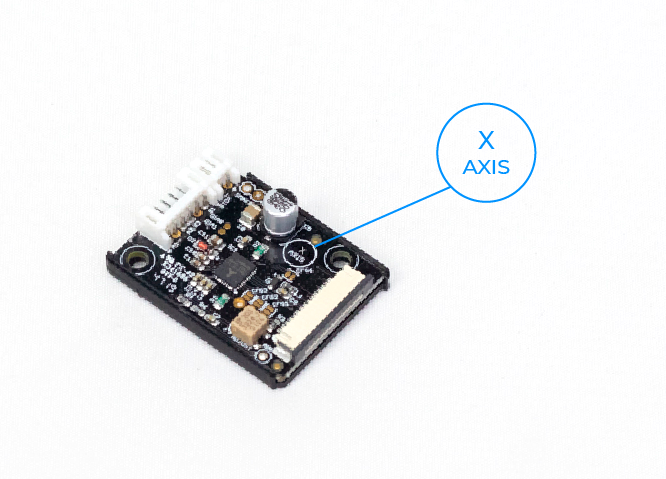
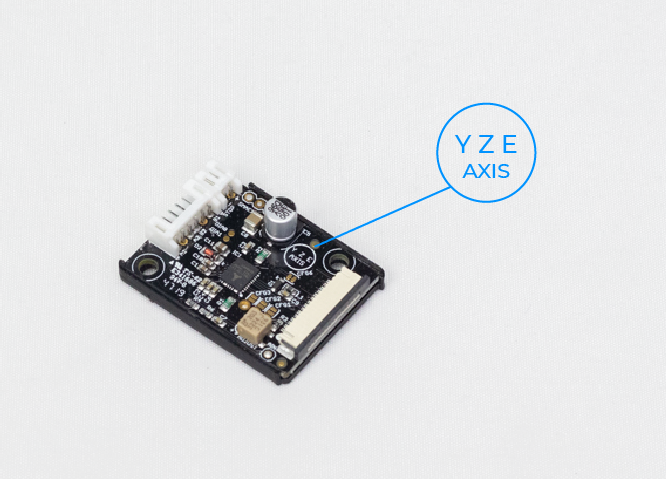
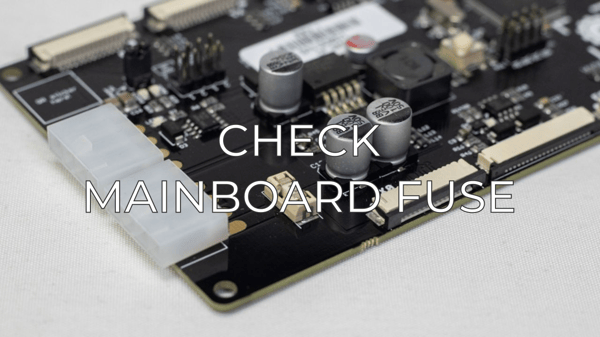
This guide will help you replace the X, Y, and Z driver boards in case you need to fix any of the issues related to them.
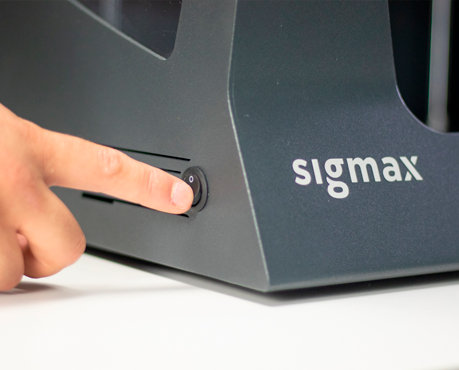
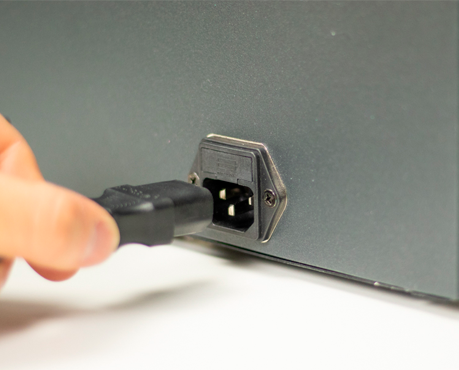
Note: Before replacing any driver, turn off and disconnect the printer.
Replacing the X-Axis drivers

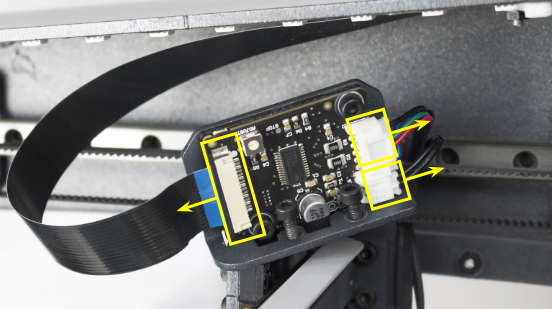
2. Disconnect the flat cable and the other connectors.
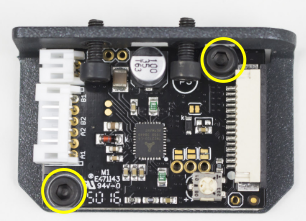
4. Assemble the new Driver with the spacer and holder with the same screws and washers in the same way as it was before.
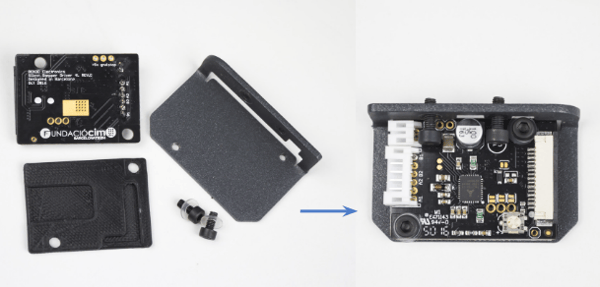
5. Connect the flat cable and the other connectors to the Driver, and tighten back the two screws of the Driver holder.
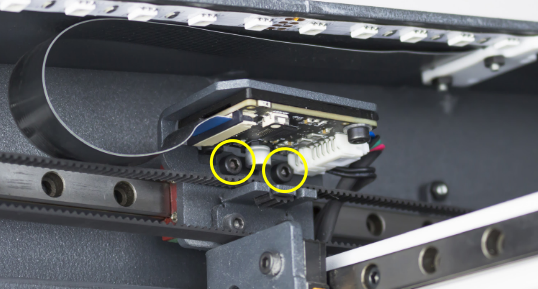
Replacing the Y-Axis driver
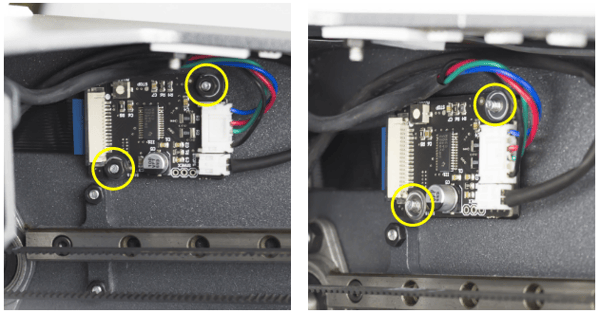
2. Disconnect the flat cable and the other connectors.
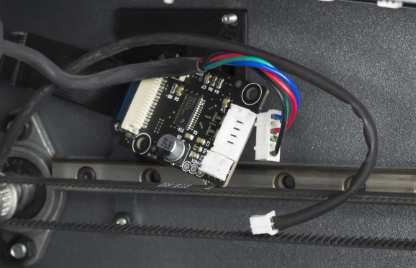
3. Connect the flat cable and the other connectors to the new Driver.
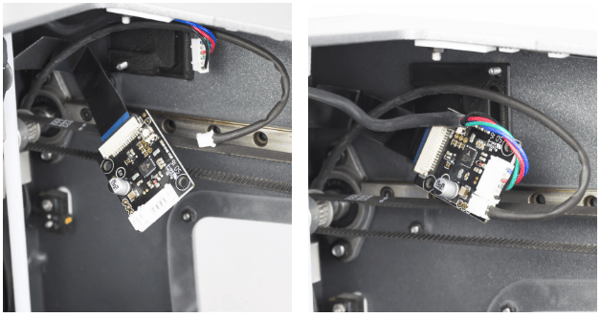
4. Assemble the new Driver in the correct position with the same spacer as it had before.
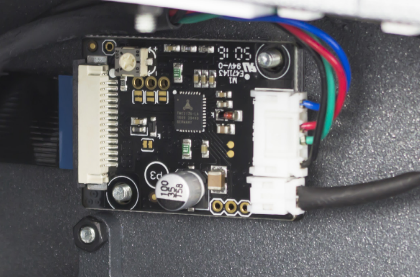
Replacing the Z-Axis driver
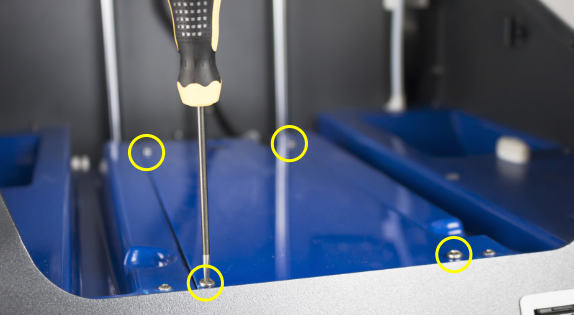
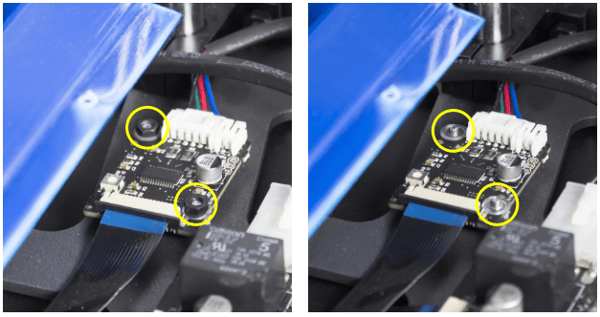
3. Disconnect the flat cable and the stepper motor wire.
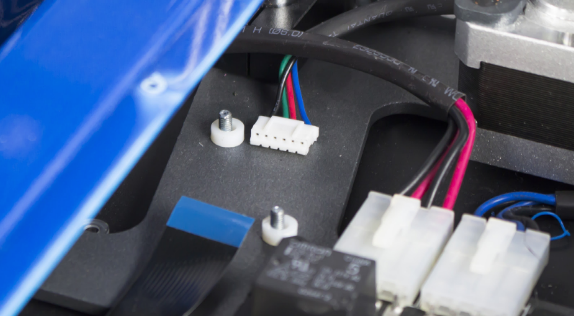
4. Connect the flat cable to the new Driver.
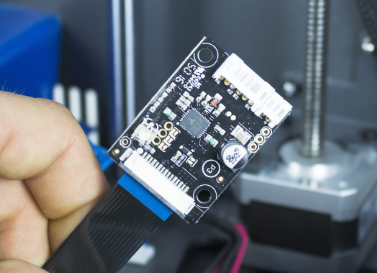
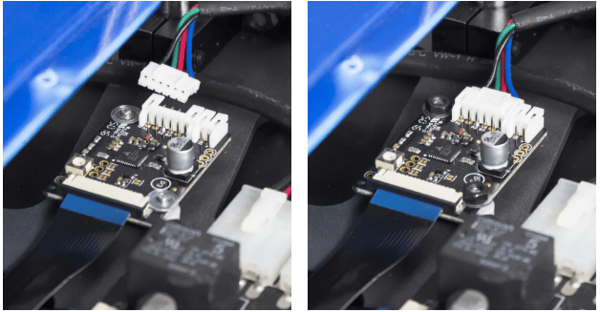
5. Assemble the new Driver in the correct position with the same spacer as it had before and then place the washers. Tighten the nuts and connect the stepper motor wire.
Conclusions
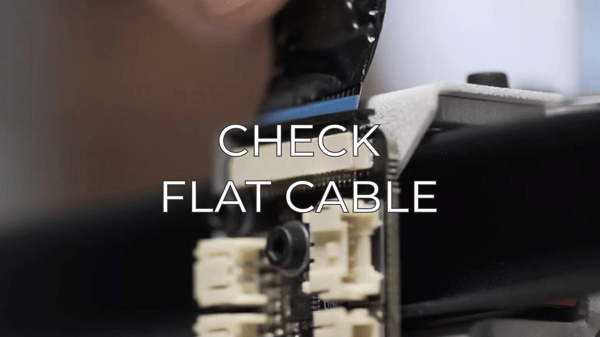
It's important to check the flat cable connections before powering up the printer, you will find more information about this here: How to check flat cable connections
Forum Community
Need more tips, check out our forum community for more info about this
It's important to keep your printer in good shape to make the most out of it. In this chart, you can find a list of the extruder maintenance procedures and how frequently these should be done. Maintenance Plan
![]() Take your e-waste to a certified recycler. Check how we do it in BCN3D.
Take your e-waste to a certified recycler. Check how we do it in BCN3D.
|
You can help improve the BCN3D Knowledge Base. If you feel there are guides that we are missing or you found any error, please use this form to report it. Report form :) |

