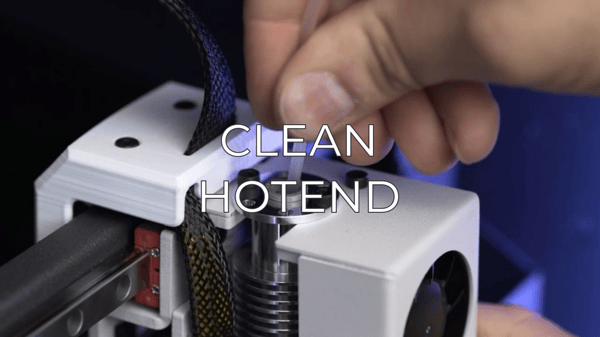
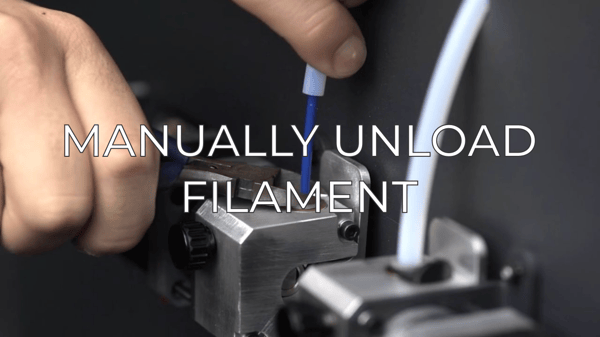
The Sigmax is equipped with two 0.4 mm hotends. However, it is possible to change the hotend in order to increase the versatility of the 3D printer. Every part has its particularities and needs, so it’s wise to choose the proper hotend for each print job. The sizes of the hotends compatible with the Sigmax are:
0.3 / 0.4 / 0.5 / 0.6 / 0.8 / 1.0 mm.
You can find them in our store. Small nozzles are ideal for detailed models. Instead, big nozzles allow users to fabricate more resistant parts or for rapid prints.
Notice that 0.5 hotend is specially designed for material-filled filaments, such as carbon fiber, metal etc.
To change the hotend you will need:
- Scissors or cutting pliers
- 2,5mm hex key
- Pliers
- Zip ties
Operating the printer via the LCD screen, go to Utilities --> Printer setup --> Change hotend.
/printer%20setup%20screen.png?width=688&name=printer%20setup%20screen.png)
Select the hotend to change and unload the filament (in case there’s some loaded).
/Change%20hotend%20screen.png?width=330&name=Change%20hotend%20screen.png)
Wait while the hotend cools down. Turn off the Sigma when the LCD indicates it.
/Turn%20off%20printer.png?width=688&name=Turn%20off%20printer.png)
Remove the black clip. Then hold down the coupling collet and pull out the teflon tube.
/bowden%20clip%20and%20bowden%20tube.png?width=688&name=bowden%20clip%20and%20bowden%20tube.png)
Unscrew the cover and remove it.
/unscrew.png?width=688&name=unscrew.png)
Unscrew the hotend.
/Unscrew%202.png?width=688&name=Unscrew%202.png)
Cut the zip tie and remove it.
/cut%20tie.png?width=332&name=cut%20tie.png)
At the back of the toolhead carriage, press the connector to remove the cable of the hotend.
/eboard.png?width=688&name=eboard.png)
Remove the old hotend and place the new one, connecting it at the back of the toolhead carriage.
/eboard%202.png?width=688&name=eboard%202.png)
Place and adjust the zip tie, cutting off the excess.
/tie%20wrap%202.png?width=688&name=tie%20wrap%202.png)
Screw the hotend, place the cover and screw it, making sure that the fan and endstop cables are routed correctly to prevent any damage.
/screw.png?width=688&name=screw.png)
Insert the teflon tube until it stops, making sure it is well placed. Put back the black clip.
/coupling%20tube.png?width=688&name=coupling%20tube.png)
Turn on the Sigma and follow the screen instructions. Select the hotend size you have installed.
/hotend%20size.png?width=688&name=hotend%20size.png)
Load filament and perform an autotune operation. Then, calibrate the offset between hotends.
/autotune.png?width=688&name=autotune.png)
|
You can help improve the BCN3D Knowledge Base. If you feel there are guides that we are missing or you found any error, please use this form to report it. Report form :) |


