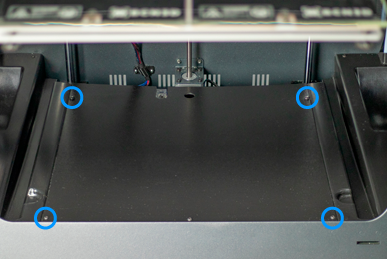
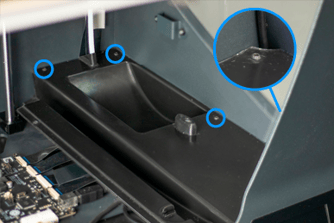
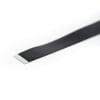
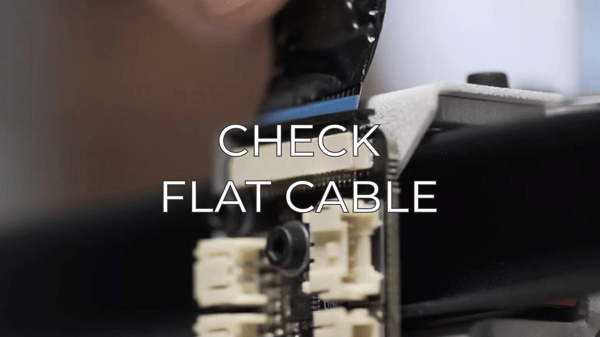
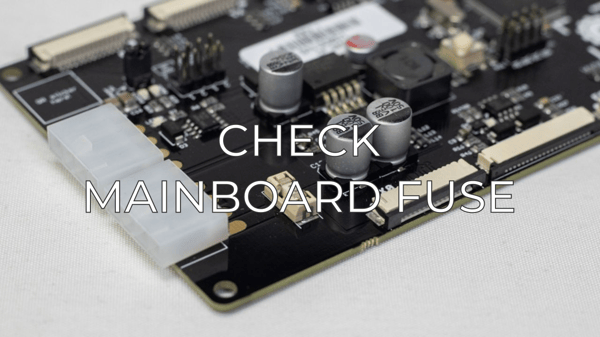
The flat cables connected to the print heads are in constant movement and with time it is possible that they need replacement because of the wear damage. If you have checked the cables and found that they are damaged, this article will help you replace them:
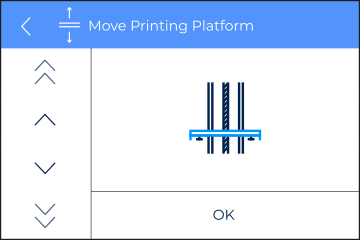
1. Raise the printing surface to the top (Utilities/Maintenance/Move printing Platform)
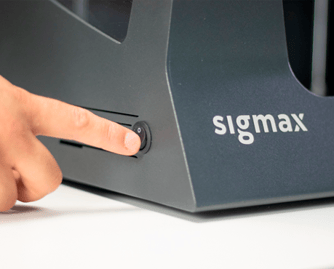
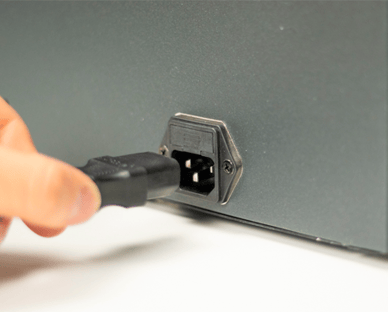
2. Turn off and unplug the printer.
4. Disconnect the flat cable from the mainboard, it will be the widest flat cable and on the mainboard, it will be identified as H0 for the left side or H1 for the right side
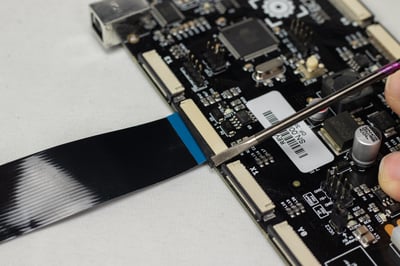
%20connections/FFC-Extruderboard.png?width=600&name=FFC-Extruderboard.png)
7. Remove the ribbon cable from the printer, it is best to pull it from the upper area of the printer.
8. Insert the new cable through the bowden exit and bring it to the bottom.
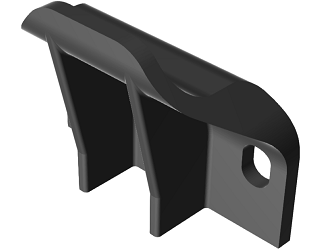
Note: When you insert the flat cable, the silver part should face the bottom of the printer and this cable should be behind the other cables. If you have trouble inserting the cable, you can remove the bowden exit. In case it breaks you can get the model to print here:
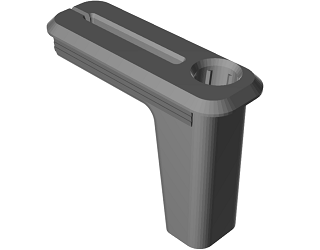
9. Secure the flat cable by inserting it into the studs.
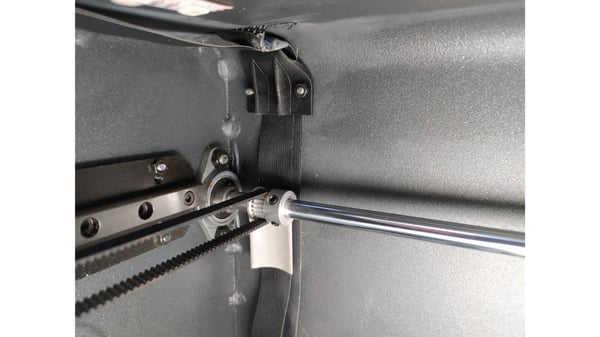
10. Connect each end of the cable to the extruder board and the mainboard.
%20connections/FFC-Connection.png?width=384&name=FFC-Connection.png)
Conclusions
It is extremely important once the change is made, to check that all the flat cables are correctly connected, during the process they are very likely to come loose from their position, this article has more information on how to do it: How to check the flat cable connections (BCN3D SigmaX)
Forum community
If you have any more questions, check out our forum community for more information about models and materials.
It's important to keep your printer in good shape to make the most out of it. In this chart, you can find a list of the extruder maintenance procedures and how frequently these should be done. Maintenance Plan
![]() Take your e-waste to a certified recycler. Check how we do it in BCN3D.
Take your e-waste to a certified recycler. Check how we do it in BCN3D.
|
You can help improve the BCN3D Knowledge Base. If you feel there are guides that we are missing or you found any error, please use this form to report it. Report form :) |

