
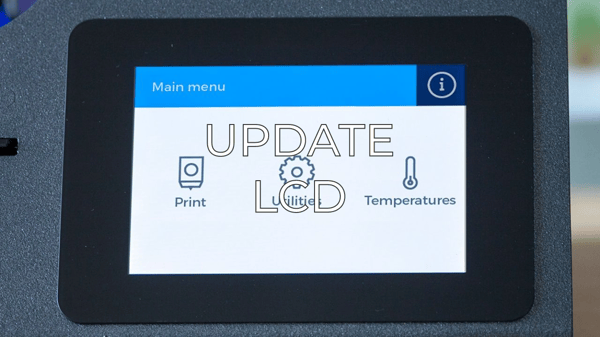
Firmware fixes may be released from time to time, and sometimes the LCD screen files need to be updated. Here's a link that will show you how to update the interface files. . How to update the files on the LCD
Either it's from this or just because the screen broke and needs replacement, you'll have to disassemble the screen of your Sigma.
In the Sigma there are two types of screen you may have, which have different assembly processes. Check them out and proceed according to the model you have:
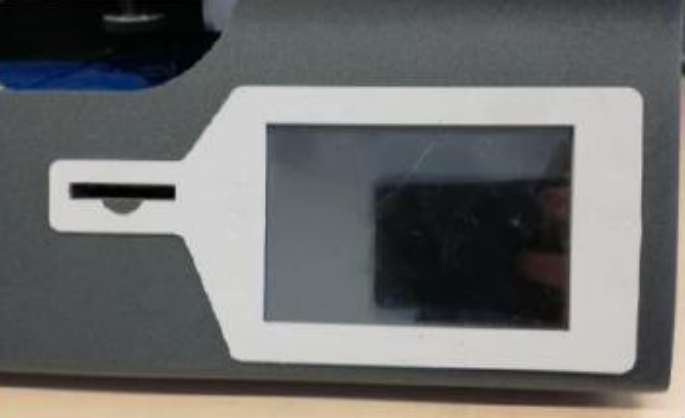
R16 Version
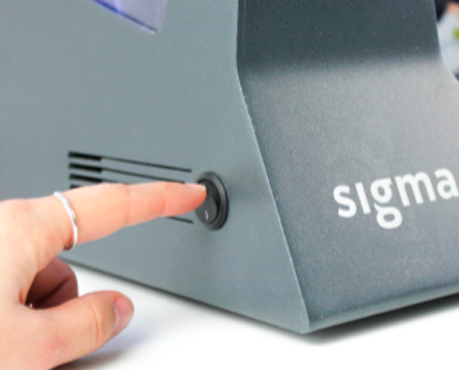
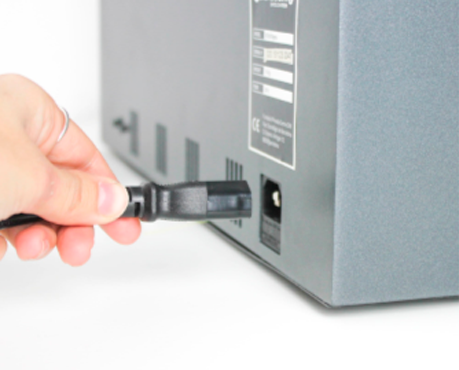
1. To disassemble the LCD screen turn off the Sigma and unplug the printer's power cable.
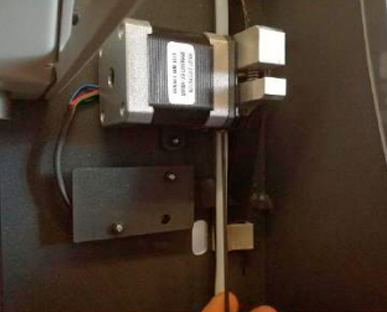
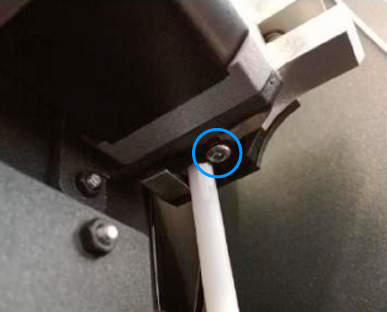
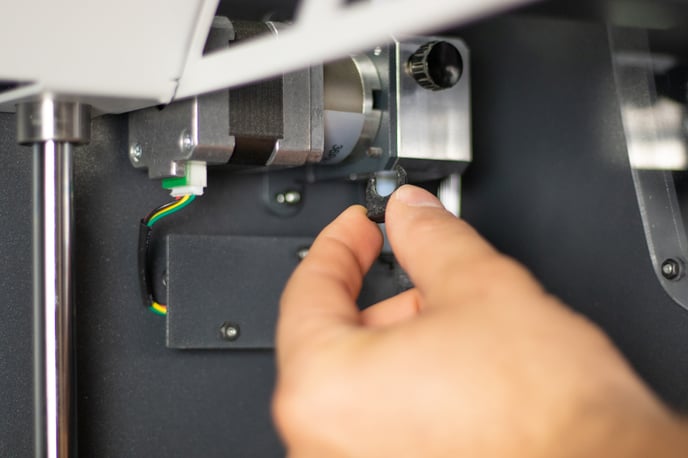
Tip: You'll also have to remove the lower Bowden from the extruder motor, you'll need to unscrew it with a 1.5mm Allen Wrench.
This is the same removal procedure as the Sigma R17.
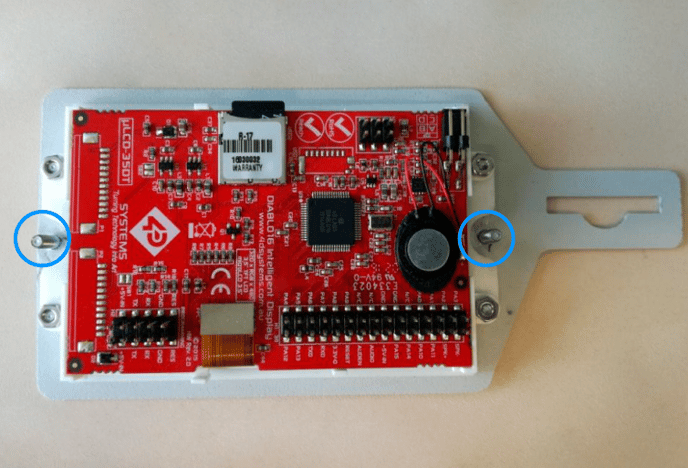
Tip: These nuts are difficult to reach, you can use a flexible arm attachment for the socket wrench to make it easier.
5. To reassemble the new LCD to the printer, follow the previous steps in the opposite order.
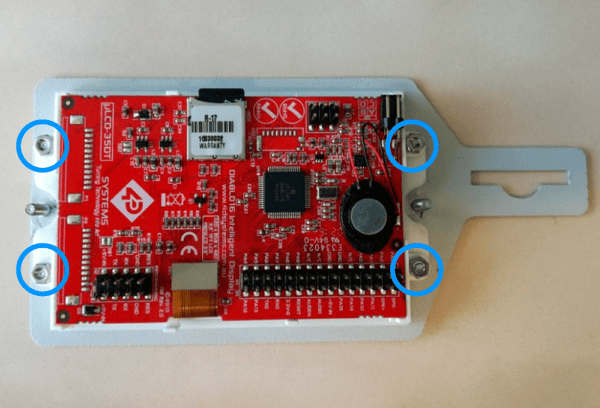
Tip: Check that the polarity of the LCD cable is the correct one. There are two rows of pins to connect the LCD cable. The connector should be connected in the lower row with the white cable unplugged:
If you need to replace the screen with a new one, this version is discontinued, you'll have to install an R17/R19 screen. Make sure to update the interface files.
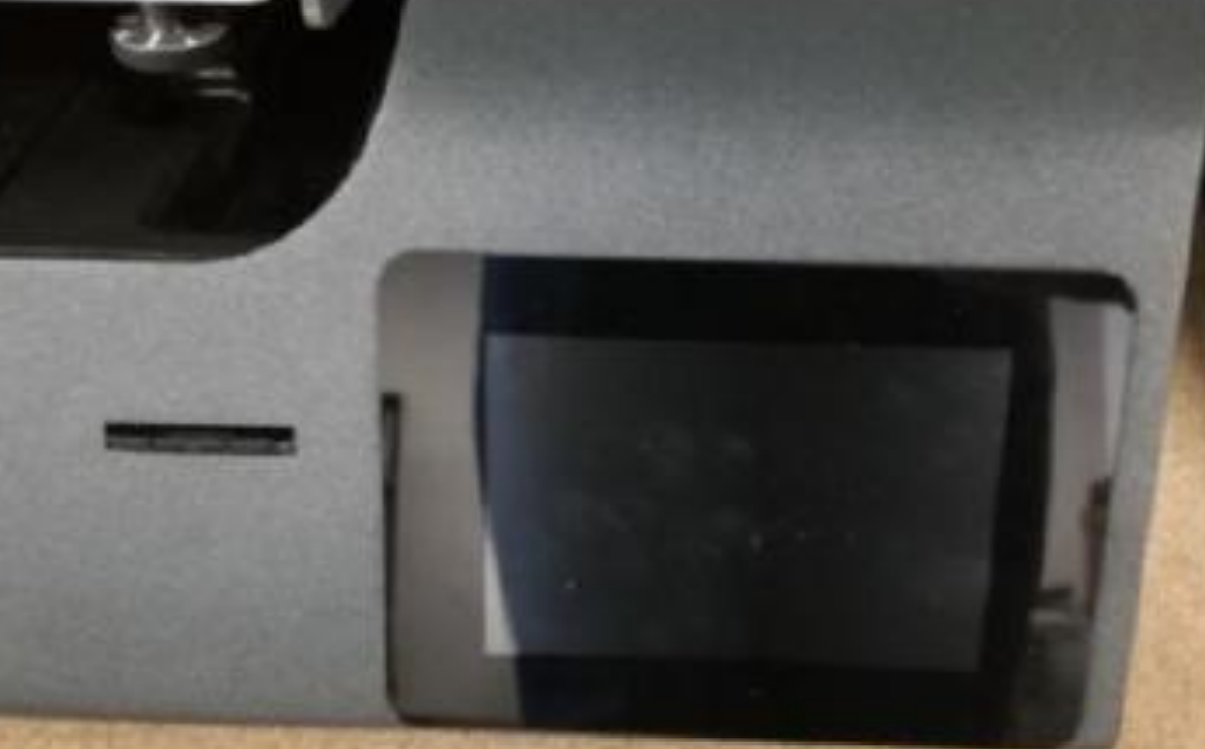
R17/R19 Version
If your printer is a Sigma R17, you'll have to remove the lower Bowden just as the Sigma R16.
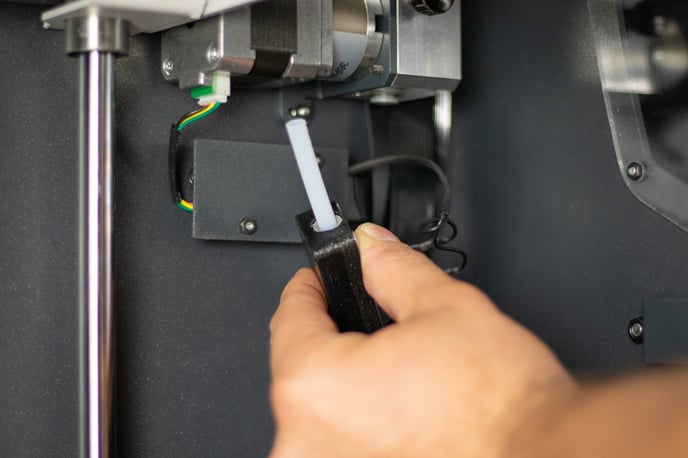
If your printer is a Sigma R19, press the coupling collet, disconnect the filament sensor and pull down the lower Bowden:
2. Apply pressure on the rear of the LCD while detaching it with a fine spatula or a boxcutter. After applying pressure, you’ll get enough space to introduce the tool between the printer’s frame and the LCD.
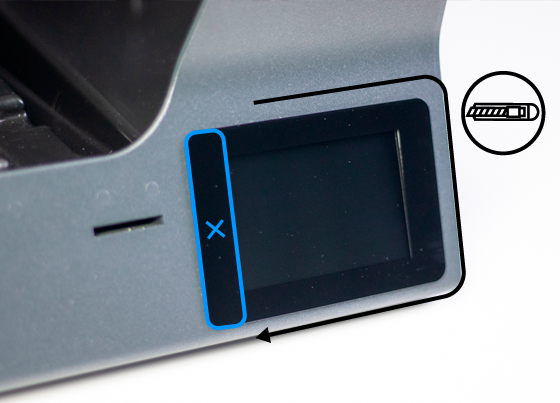
Warning! Do NOT slide the tool in the left side. Just on the upper, lower and the right side areas
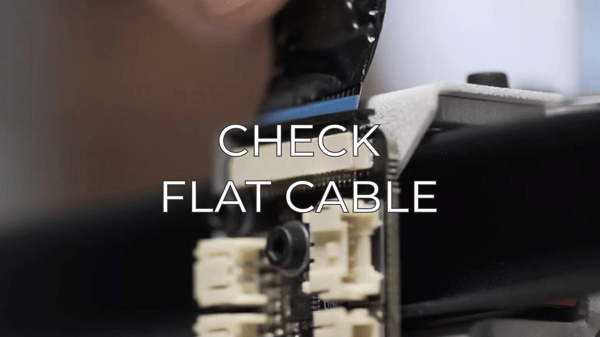
3. Disconnect the flat cable from the LCD.

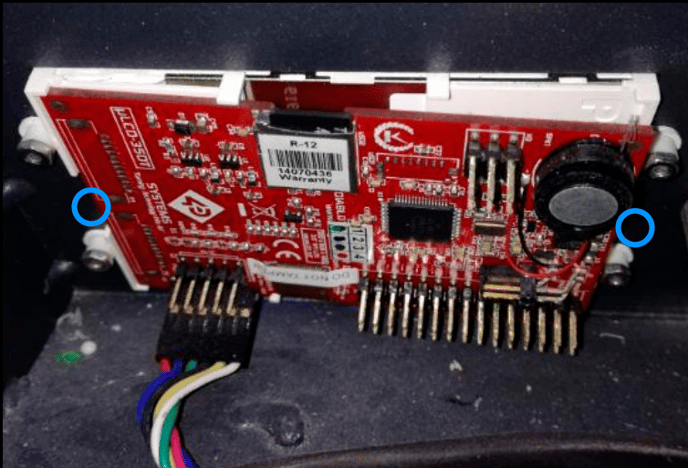
4. Disconnect the flat cable from the adapter board.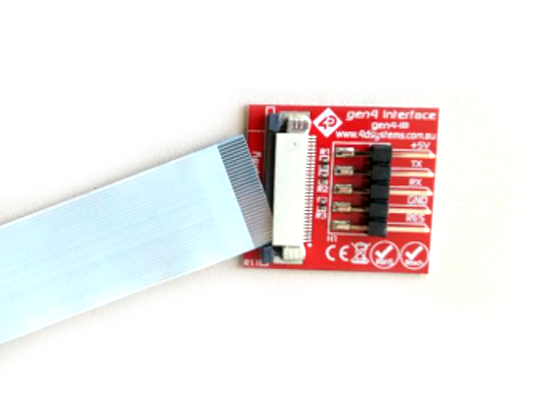
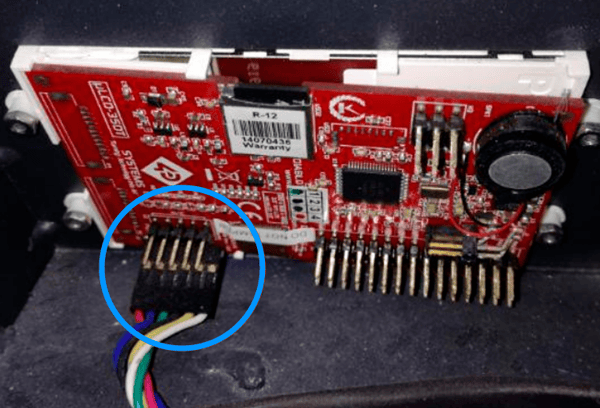
Notice: The flat cable has to be connected with the silver pins facing upwards at both ends.
5. Disconnect the multi-cable from the adapter board.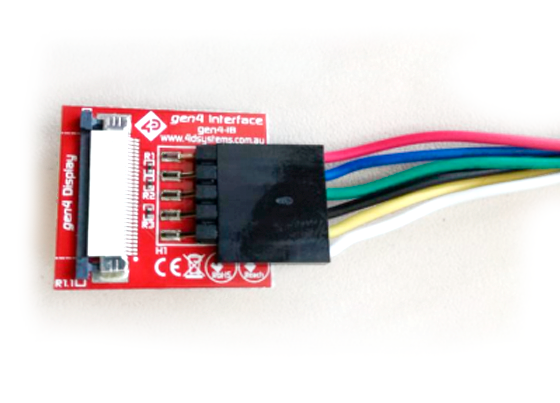
Notice: The multi-cable connection orientation: The white cable should be out of the connector and the smooth face of the connector should be facing upwards.
6. To reassemble the screen, follow the same steps in reverse order.
Conclusions
If you still experience issues with your screen functionality, it is likely that the interface files have to be updated. Here's how to do this: Update micro-SD files BCN3D Sigma
It's important to keep your printer in good shape to make the most out of it. In this chart, you can find a list of the extruder maintenance procedures and how frequently these should be done. Maintenance Plan
Forum community
Repair didn’t go as planned? Check out our forum community for troubleshooting help.
![]() Take your e-waste to a certified recycler. Check how we do it in BCN3D.
Take your e-waste to a certified recycler. Check how we do it in BCN3D.
|
You can help improve the BCN3D Knowledge Base. If you feel there are guides that we are missing or you found any error, please use this form to report it. Report form :) |