![]() This is an advanced repair article. This guide is designed to be performed with the authorization and assistance of the BCN3D support team or authorized distributors.
This is an advanced repair article. This guide is designed to be performed with the authorization and assistance of the BCN3D support team or authorized distributors.
Without the necessary knowledge, you could cause damage to the printer during repair and invalidate the warranty.
If you have any questions or problems please contact the support team: contact form.
Do not disassemble the hotend during this process, only is necessary to change the cable. Any other modification in the hotend could produce issues during the printing.

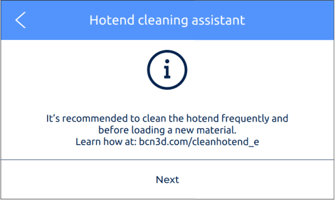
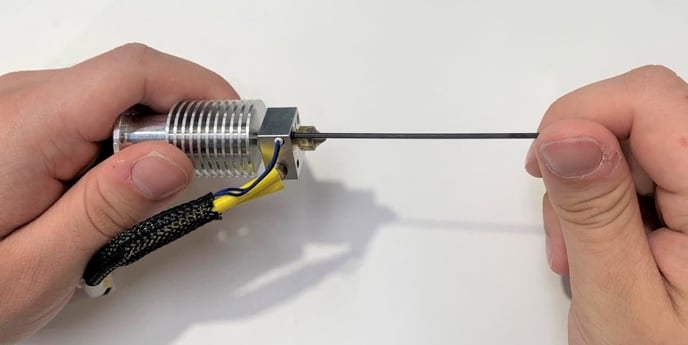
1. Check that the heating block and the screws that hold the resistor and the thermistors are clean.
If not, use the hotend cleaning assistant (Utilities, Maintenance, clean hotend) and remove any excess dirt.

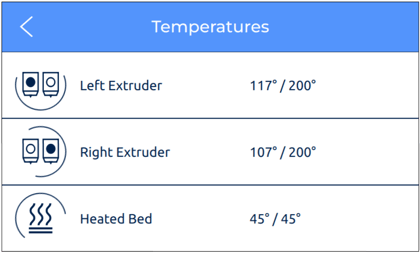
2. Let the hotend cooldown.
Check from the temperatures menu that the hotend is at room temperature.
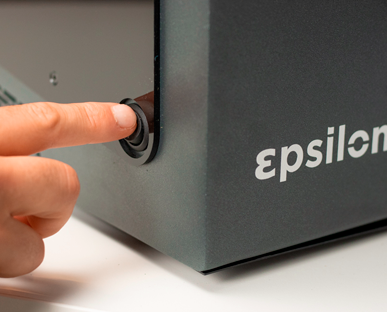
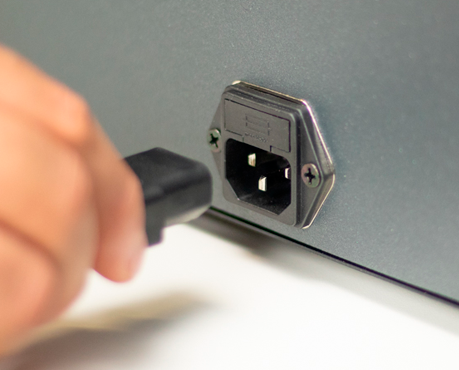
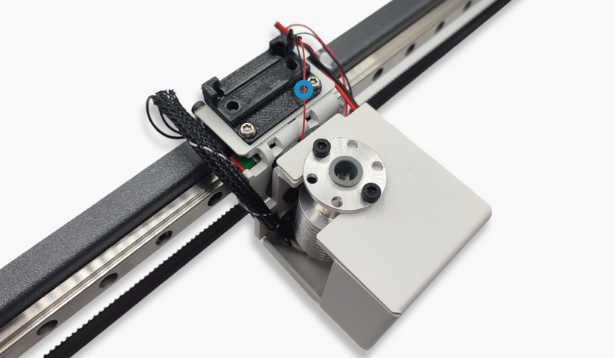
3. Turn off and unplug the printer.
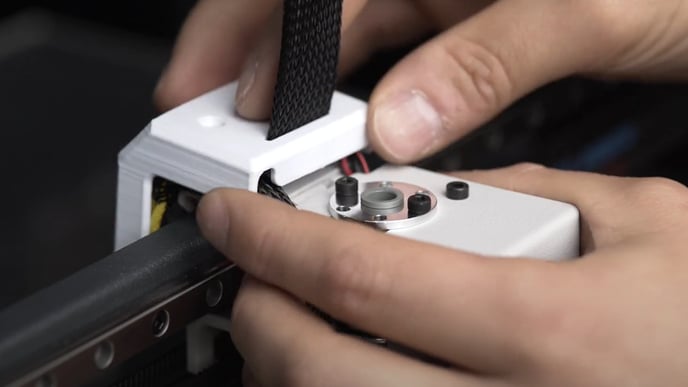
5. Disconnect the cable from the hotend.
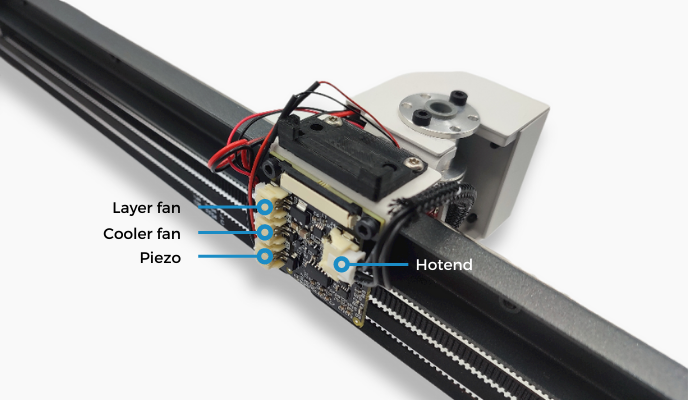
If the last 4 digits of your printer's serial number are higher than 0771 for Epsilon W50, 0498 for Epsilon W27, or 0381 for Sigma D25, you should take the following into consideration:
- Warning! The piezo cable is extremely sensitive, use caution when handling it.
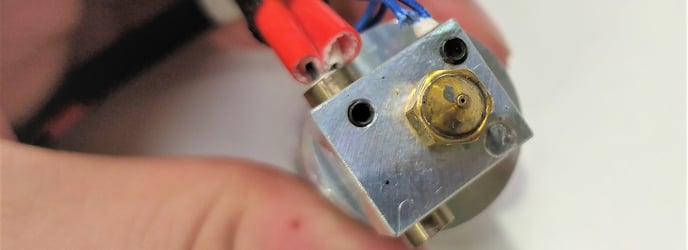
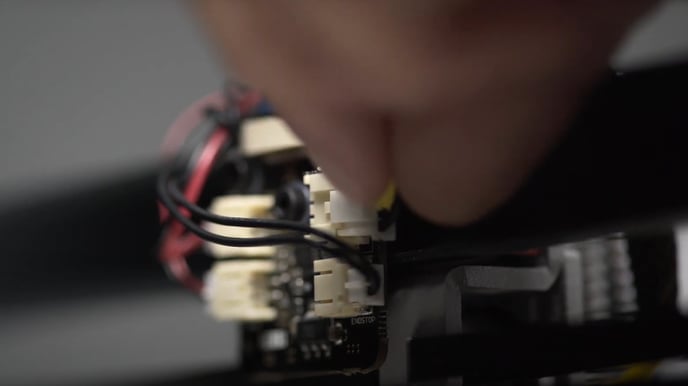
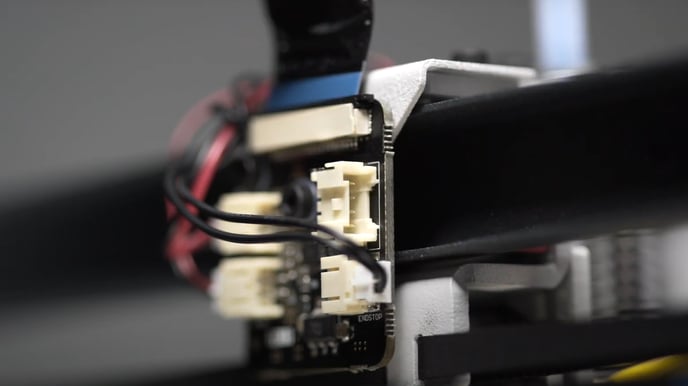
- Below is the placement of the connections of the main components
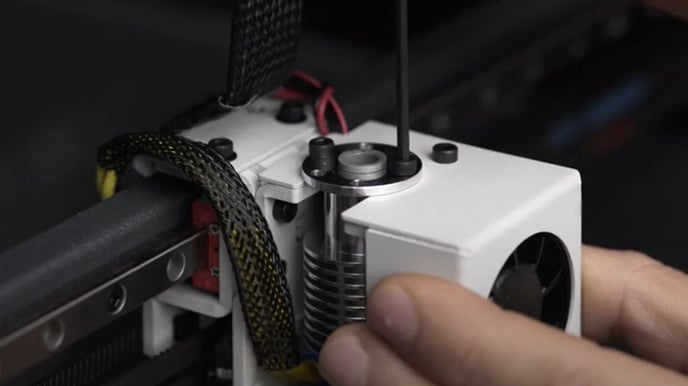

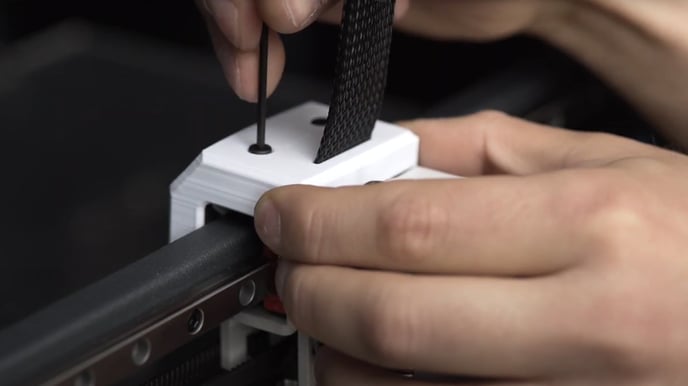
- Warning! Do not apply too much force to avoid damaging the set screws. Do not remove the set screws from the heating block.
- Do not disassemble the hotend during this process, only is necessary to remove the cable. Any other modification in the hotend could produce issues during the printing.
8. Remove the cables from the hotend.
9. Insert the new hotend cables and screw the set screws as shown below.
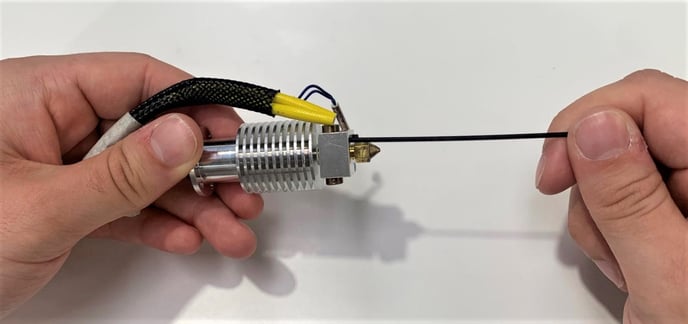
- The heating resistance must be centered in the hotend, this way the heat transmission is correct.
- The thermistor should be positioned so that its back is flush with the surface of the heating block.
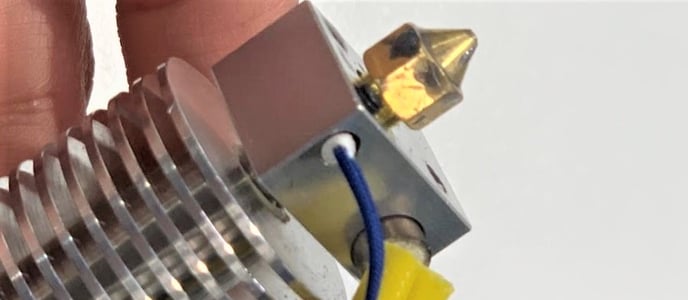
- Warning! Use the long side of the Allen wrench to tighten the set screw and don't apply too much force.
10. Connect the hotend to the extruder board.
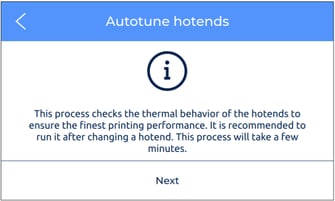
12. Perform an autotune of the hotends. (Utilities, Maintenance, Autotune)