The mainboard is the part that controls the movement and temperature of the printer. It also holds the firmware of the printer. In this article you will learn how to change it.
![]() This is an advanced repair article. This guide is designed to be performed with the authorization and assistance of the BCN3D support team or authorized distributors.
This is an advanced repair article. This guide is designed to be performed with the authorization and assistance of the BCN3D support team or authorized distributors.
Without the necessary knowledge, you could cause damage to the printer during repair and invalidate the warranty.
If you have any questions or problems please contact the support team: contact form.
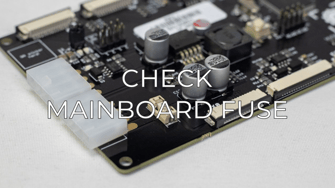
Follow the next steps to replace the mainboard in case the fuse was unable to protect it from external damage.
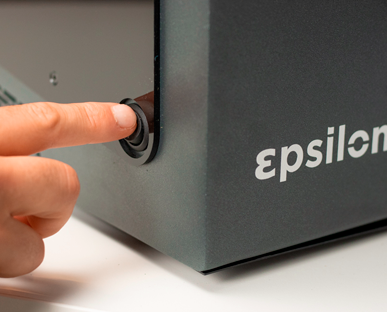
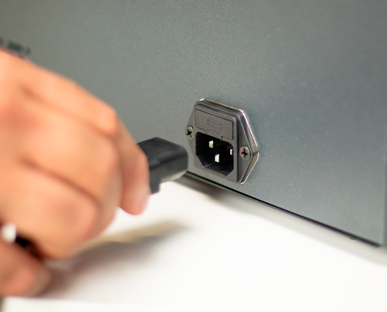
1. Turn off and disconnect the printer
2. Remove the lower bowdens from the FRS
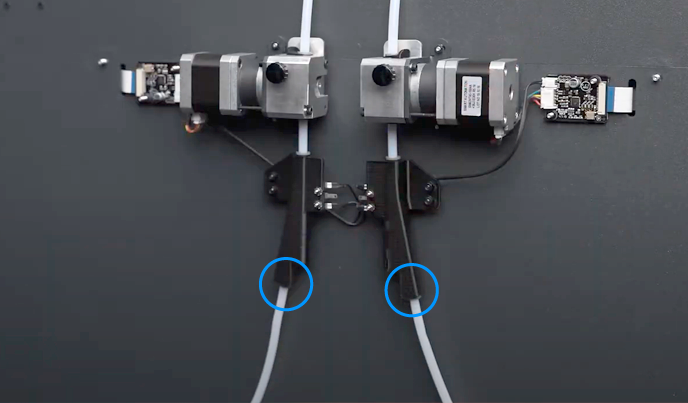
3. Remove the Z bottom cable covers
Proceed to the article below for more understanding of this process: How to remove the Z cable cover.
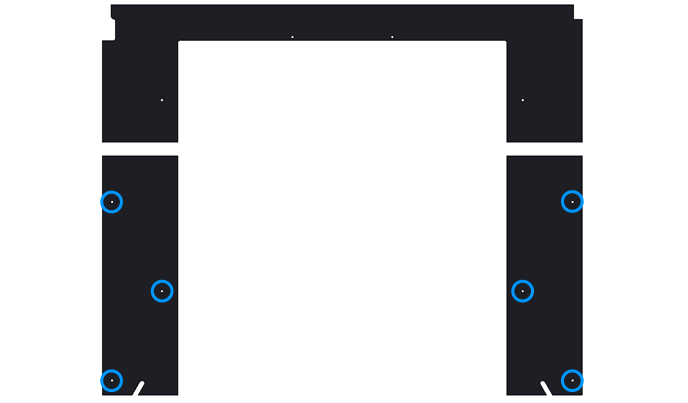
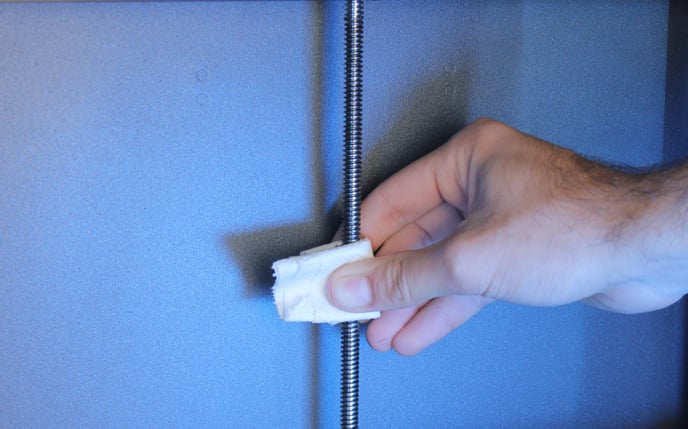
4. Raise the printing platform
To gain access to the inner cover you will need to raise the printer surface, if you can't turn on the printer, you will need to manually raise the printing platform by turning the Z motor lead screw.
5. Remove the inner cover.
Click on the link below to understand this process: How to remove the inner cover
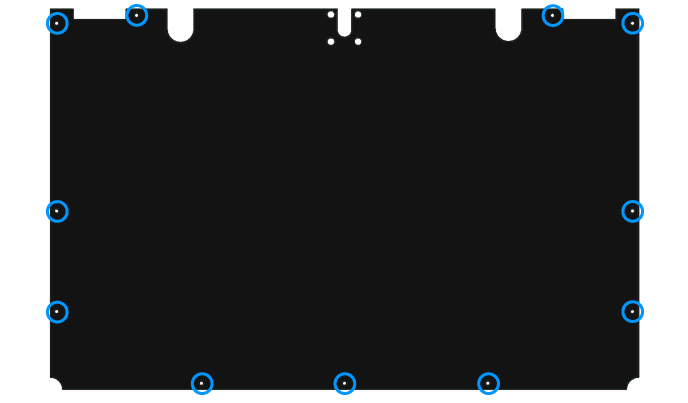
6. The mainboard is located near the Z motor
%20Cropped.png?width=688&name=Dise%C3%B1o%20sin%20t%C3%ADtulo%20(29)%20Cropped.png)
7. Disconnect all the cables including all the flat cable connections and unscrew the 3 corners of the mainboard
Be sure to keep the plastic washers aside for re-connection.
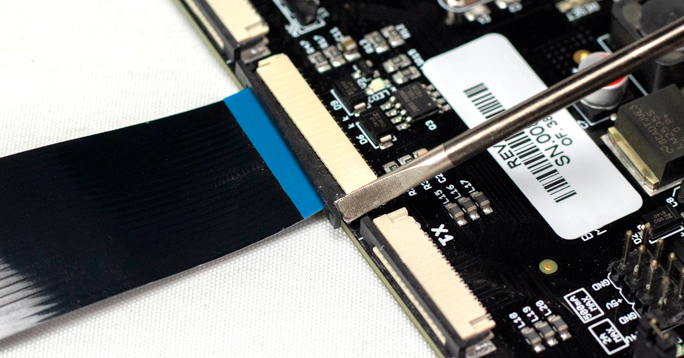
- If the mainboard has flat cable clamps, you will need to untighten the screws that close the clamp of the flat cables in order to remove it, as shown in the example below:
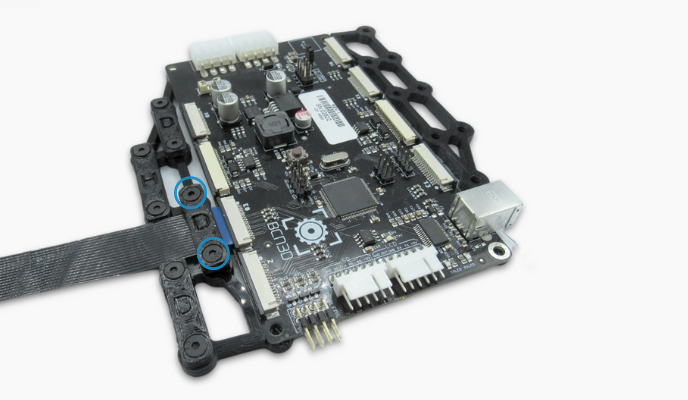
8. Screw in the new mainboard and reconnect all the flat cables
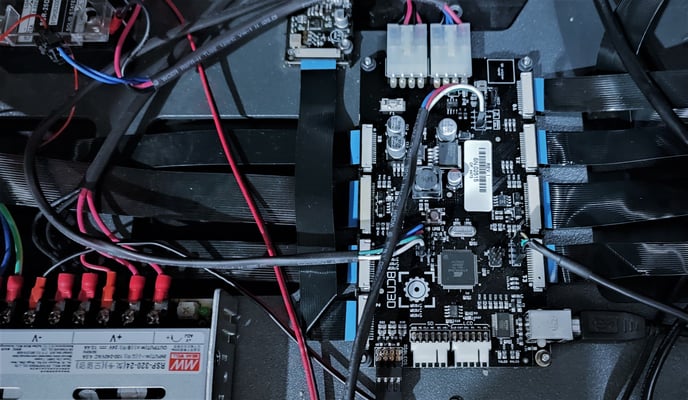
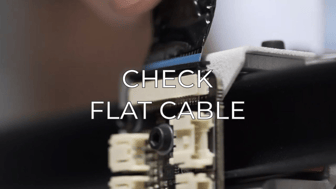
9. Remember to check the flat cable connections before turning on the printer to prevent shortcircuits.
Click on the following article to get more information on this process: How to check flat cable connections (Epsilon Series)


