In this Article you Will Learn how to Remove the Inner Cover
To remove the inner cover, follow the next steps:
1. Raise the printing surface up: Utilities/Maintenace/Move printing surface.
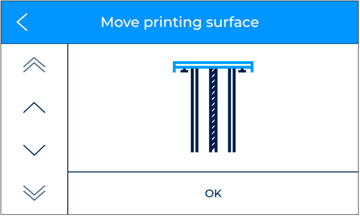
Note: If you can't move the printing surface from the touchscreen, manually turn the Z axis lead screw clockwise in order to raise the surface. Use a piece of paper to get a better grip.
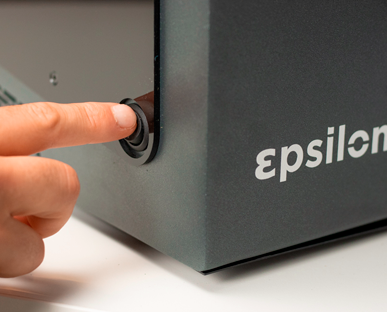
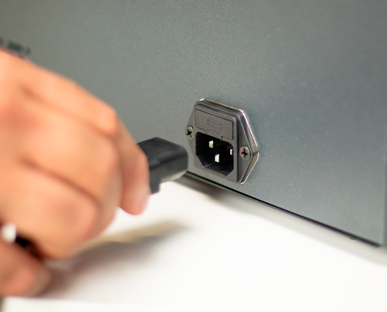
2. Turn off and disconnect the BCN3D Epsilon.
3. Remove the extruder motors cover in the back of the printer by loosening the two thumbscrews.
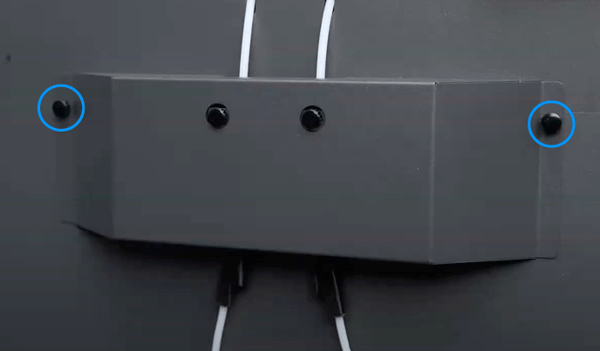
4. Remove the lower bowdens from the FRS.
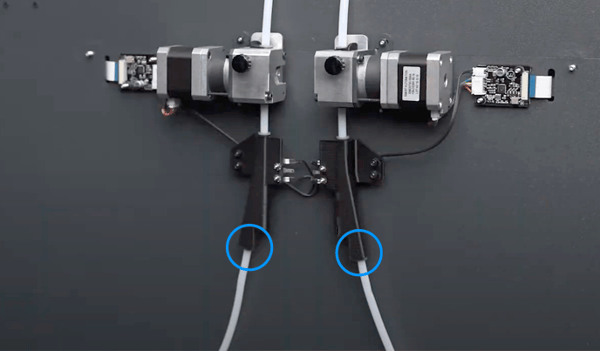
5. Remove the Z cable covers. Follow the next article to understand this process:
How to remove the Z cable cover.
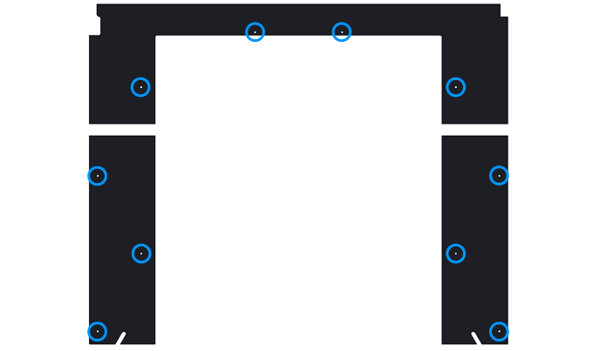
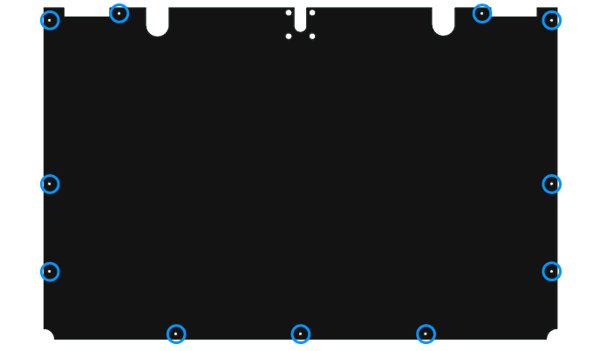
7. While flexing the inner cover, pull the bowden tubes into the printer.
8. Gently flex the inner cover like a "U" in order to remove it.
Warning! Be careful when doing this and do not flex the inner cover more than necessary. The inner cover can break if you apply too much force.
The inner cover has a sticker with the serial number of the printer written on it. This sticker can fall off during this process, if it does, make sure to stick it back on the inner cover.
Conclusions
To assemble the inner cover, follow the previous steps in reverse order. Pay attention on the orientation of the inner cover and plug the bowdens back correctly.
Forum Community
This article doesn't fix your issue? Check out our forum community for more info about this
It's important to keep your printer in good shape to make the most out of it. In this chart you can find a list of the extruder maintenance procedures and how frequently these should be done. Maintenance Plan.
![]() Take your e-waste to a certified recycler. Check how we do it in BCN3D.
Take your e-waste to a certified recycler. Check how we do it in BCN3D.
|
You can help improve the BCN3D Knowledge Base. If you feel there are guides that we are missing or you found any error, please use this form to report it. Report form :) |

