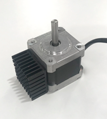
In this article you will learn the procedure to change the X motor
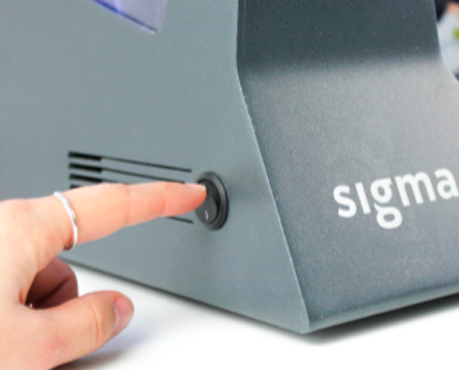
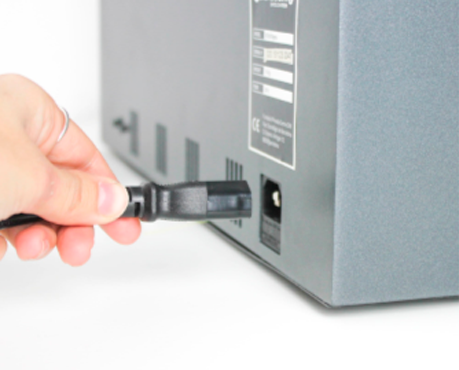
1. To replace the X motors, first turn off the printer and unplug it from the power outlet.
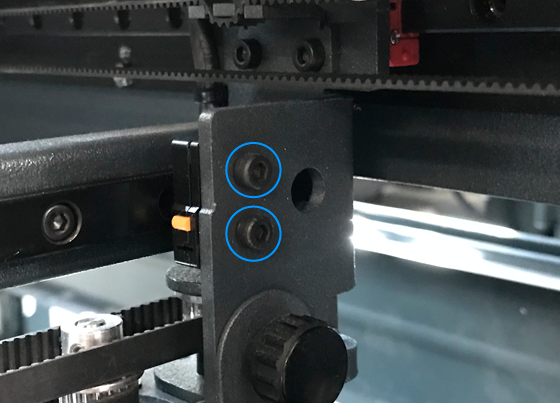
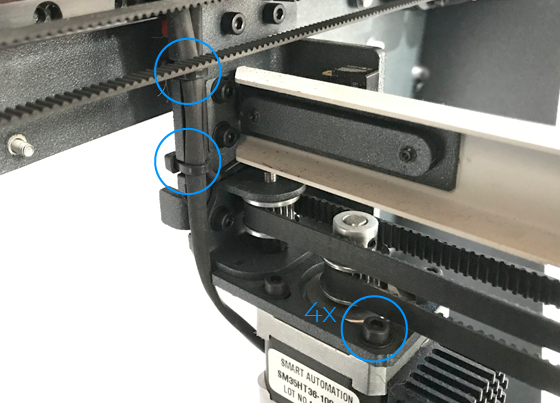
Tip: Be careful! Make sure not to cut the cables along with the zipties.
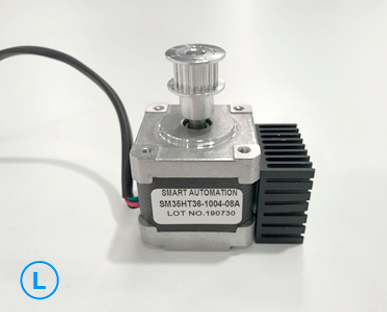
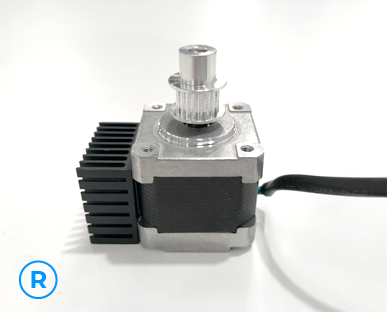
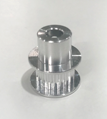
4. Once the original motor is removed, Install the new pulley on the new motor at the same height as it was on the original with the help of a caliper.
Make sure to align the pulley screw with the flat shaft face.
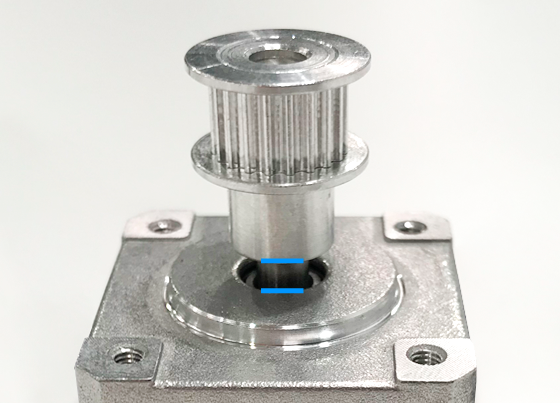
The left motor pulley should be mounted with the geared shaft on top, and should be 4mm apart from the motor itself
The right motor pulley should be mounted with the geared shaft at the bottom, and should be 2mm apart from the motor itself.
5. Place the motor back in the stepper holder, making sure that the belt is properly installed in the pulley.
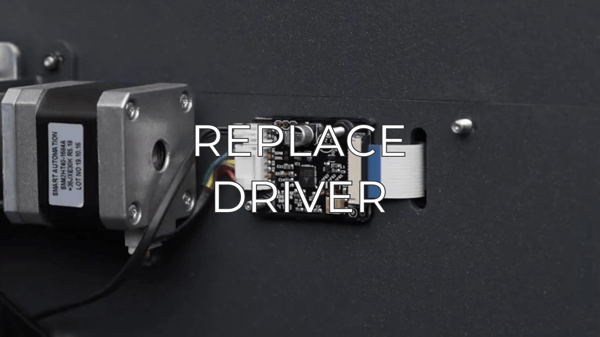
6. Once the motor is in place, connect the motor cable to the driver board and wrap the zipties around the cables to secure them.
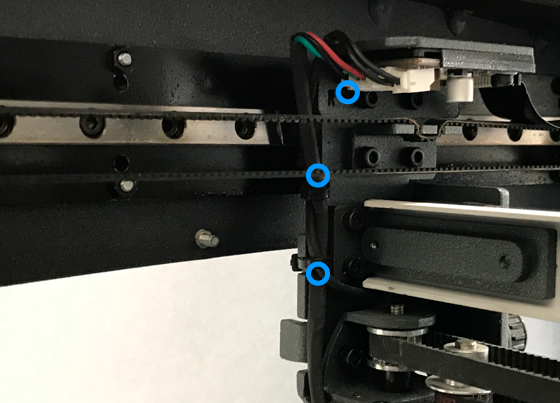
Tip: Notice the slots in the sides of the plate that holds the motor, pass the zipties through them and wrap the cables. Zip them tight and cut the remaining plastic for a neater finish.
Conclusions
It's important to keep your printer in good shape to make the most out of it. In this chart you can find a list of the extruder maintenace procedures and how frequently these should be done. Maintenance Plan
Forum community
Repair didn’t go as planned? Check out our forum community for troubleshooting help.
![]() Take your e-waste to a certified recycler. Check how we do it in BCN3D.
Take your e-waste to a certified recycler. Check how we do it in BCN3D.
|
You can help improve the BCN3D Knowledge Base. If you feel there are guides that we are missing or you found any error, please use this form to report it. Report form :) |


