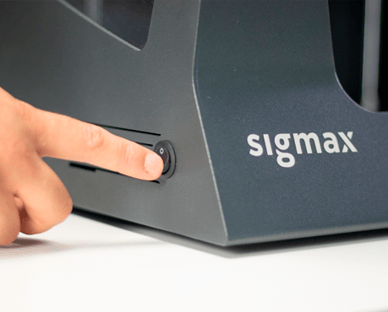
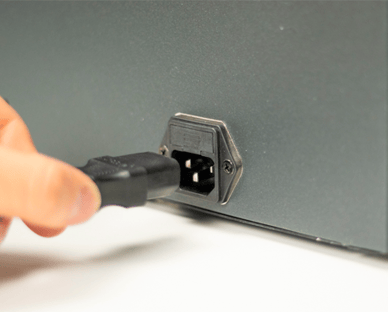
1. To change the extruder driver, first, turn the printer off and disconnect the power cable.
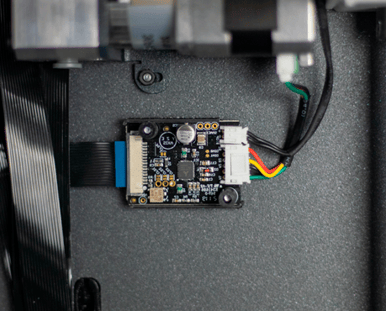
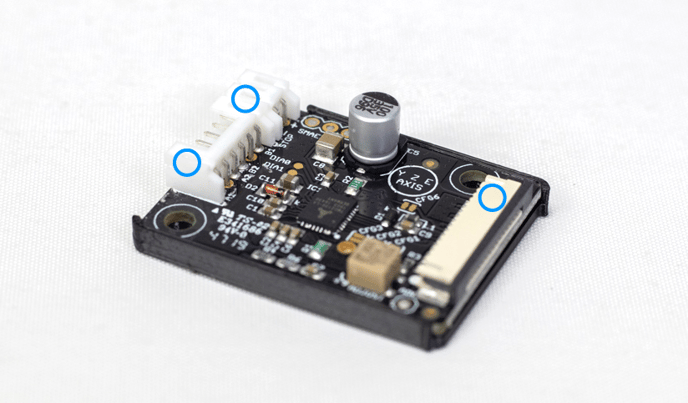
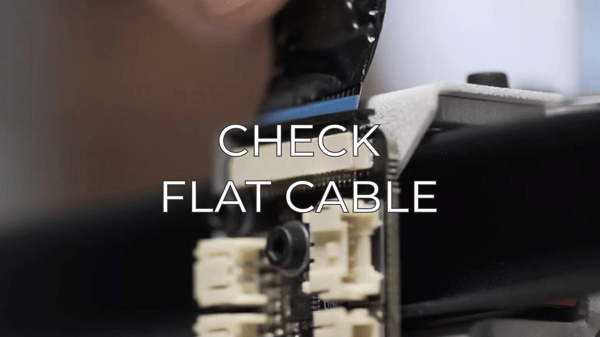
3. Open the clip and disconnect the flat cable. Carefully disconnect the filament runout sensor cable and the motor's driver cable as well.
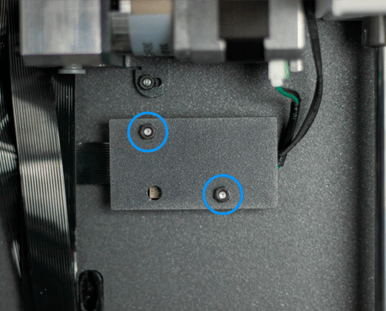
4. To reassemble the new extruder driver, follow these instructions in reverse order. Don't forget to install the screw spacers before reinstalling the metal cover.
Conclusions

Forum community
Repair didn’t go as planned? Check out our forum community for troubleshooting help.
It's important to keep your printer in good shape to make the most out of it. In this chart you can find a list of the extruder maintenace procedures and how frequently these should be done. Maintenance Plan
![]() Take your e-waste to an R2 or e-Stewards certified recycler.
Take your e-waste to an R2 or e-Stewards certified recycler.
|
You can help improve the BCN3D Knowledge Base. If you feel there are guides that we are missing or you found any error, please use this form to report it. Report form :) |