If you need to change the mainboard on your BCN3D Sigma, you can order it contacting your reseller or the BCN3D sales team at sales@bcn3d.com.
For the launch of the BCN3D Epsilon, BCN3D has redesigned and improved the mainboard. This version is fully compatible with previous models and has the same SKU: 10909
To change your mainboard follow these steps:
1. Unload the filament from the two heads (Options-Filament-Unload).
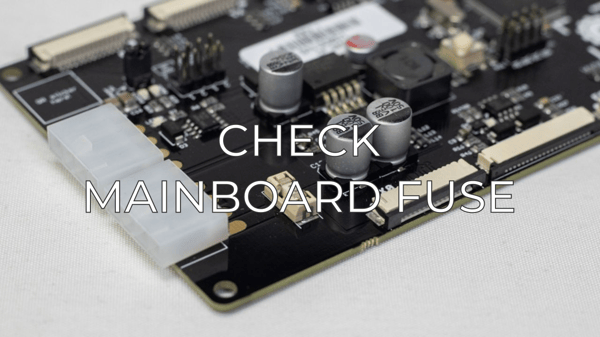
Tip: If the fuse on your mainboard has blown you may not be able to unload the filament due to the hotend not preheating. You can either go through this procedure without unloading the filament, or try to manually unload it following the steps explained in this article:
2. Move up the printing platform to the top (Options-Maintenance-Move Z axis).
Tip: If the fuse on your mainboard has blown you may not be able to move the Z axis. You can manually raise the printing platform by spinning the Z motor spindle bar.
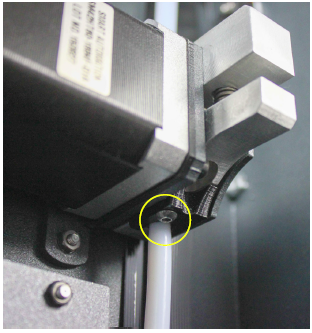
3. Remove the lower bowden tube from the extruder motor by pressing the grey coupling and pulling from the bowden.
Tip: If your printer is a R17 or R16 you'll have to use an allen wrench to remove the lower bowden holder.

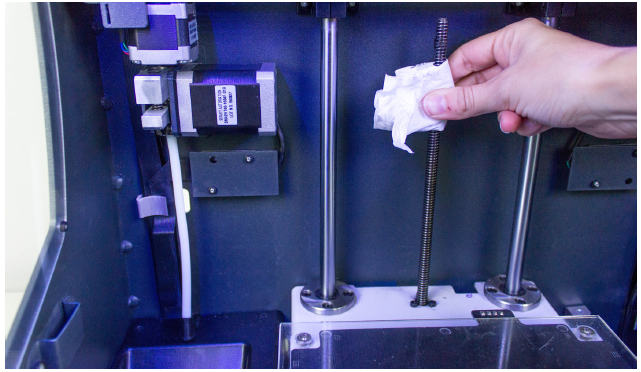
4. Once the bowden is out, remove the central cover and both side covers to have access to the mainboard.

Tip: You can try to exchange the mainboard without removing the side covers if you have not been able to unload the filament, although the installation will be more complex.
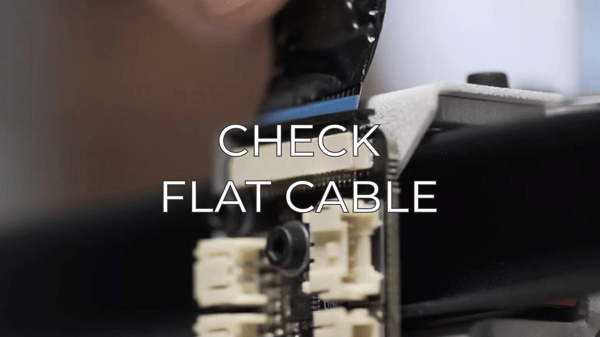
5. Disconnect all the cables and remove the 4 nuts and the three nylon washers that hold the board in place.
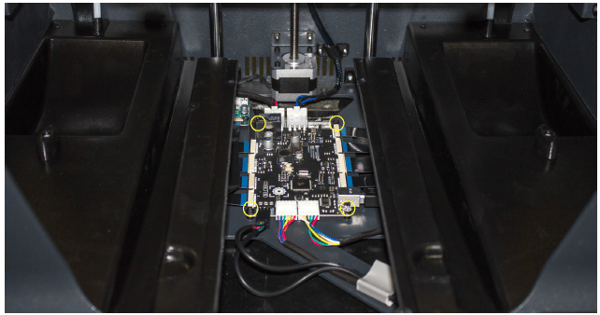
To loosen the flat cables you can use a flat screwdriver to carefully apply pressure to the clip. In order to avoid damaging the mainboard, make sure that you apply pressure to the connection clip and not the PCB.
%20connections/FFC-Unplug.png?width=600&name=FFC-Unplug.png)
6. Install the new mainboard and connect all the cables.
%20connections/FFC-Connection.png?width=384&name=FFC-Connection.png)
Warning! Pay attention to the polarity and the position of all cables. If you want to lear more, check this article:
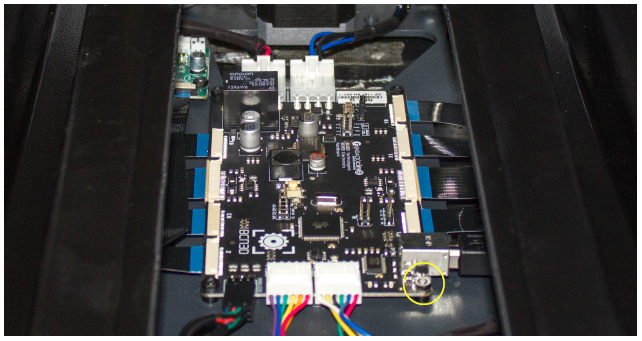
7. Place the nylon washers and the nuts to hold the board in place.
Note: The front/right screw does not need a washer.
Conclusions:
Once the installation is done, you'll have to update the firmware, as the mainboard is set up by default for a Sigmax. Learn how to do so at How to update the firmware (Sigma).
When the firmware is updated, you should connect your printer to Pronterface and send a M504 command to reset the calibration values.
Forum community
Repair didn’t go as planned? Check out our forum community for troubleshooting help.
It's important to keep your printer in good shape to make the most out of it. In this chart you can find a list of the extruder maintenace procedures and how frequently these should be done. Maintenance Plan
![]() Take your e-waste to a certified recycler. Check how we do it in BCN3D.
Take your e-waste to a certified recycler. Check how we do it in BCN3D.
|
You can help improve the BCN3D Knowledge Base. If you feel there are guides that we are missing or you found any error, please use this form to report it. Report form :) |