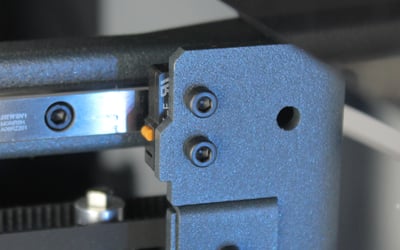
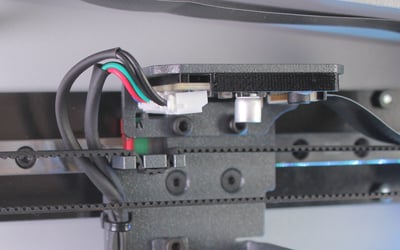
2. Disconnect the endstop by removing the cable connections. The next image shows you the terminals where it's to be reconnected. In case you also need to replace the cable, continue with step 3.
3. Cut the two tie wraps that hold the endstop cable to the carriage.
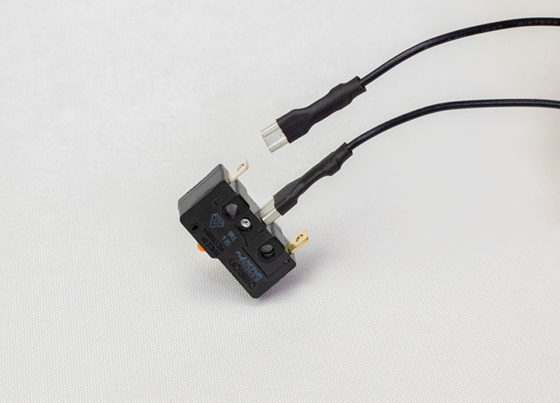
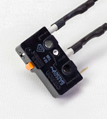
4. Disconnect the endstop from the driver.
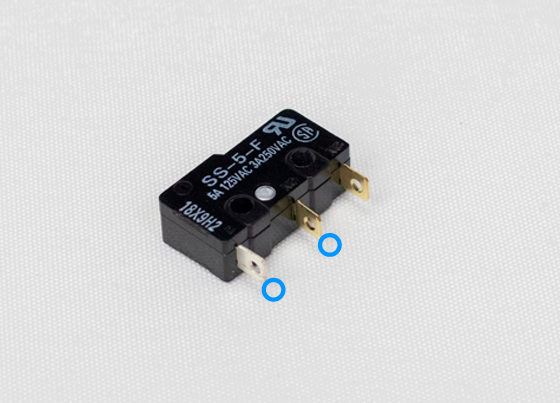
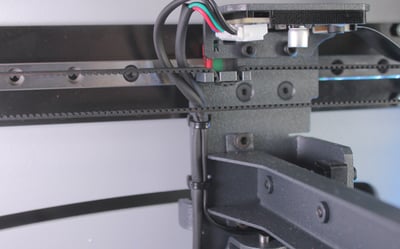
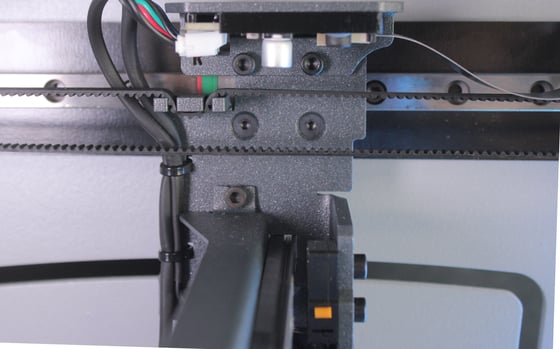
5. Install the new endstop as shown in the picture, the cable has to go under the X guide and the orange switch has to be at the bottom part of the endstop.
Conclusions
Make sure that the endstop cable is immobilised with tie wrappers to avoid it being caught by the printer's moving parts.
Forum community
Repair didn’t go as planned? Check out our forum community for troubleshooting help.
It's important to keep your printer in good shape to make the most out of it. In this chart you can find a list of the extruder maintenace procedures and how frequently these should be done. Maintenance Plan
![]() Take your e-waste to a certified recycler. Check how we do it in BCN3D.
Take your e-waste to a certified recycler. Check how we do it in BCN3D.
|
You can help improve the BCN3D Knowledge Base. If you feel there are guides that we are missing or you found any error, please use this form to report it. Report form :) |