
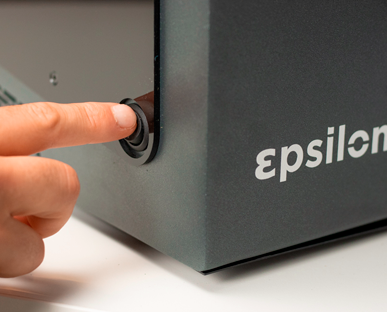
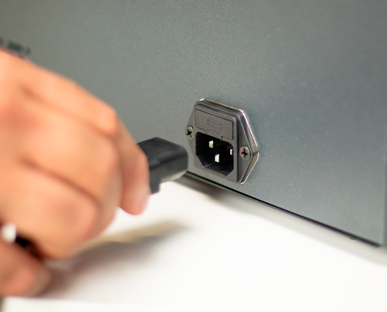
1. Turn off and disconnect the printer.
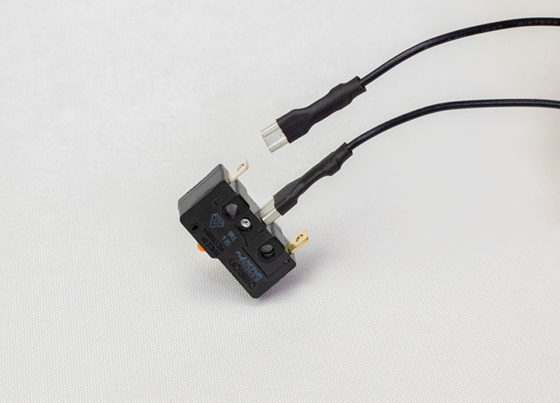
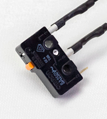
3. Disconnect the cable from the endstop terminals and connect the new endstop.
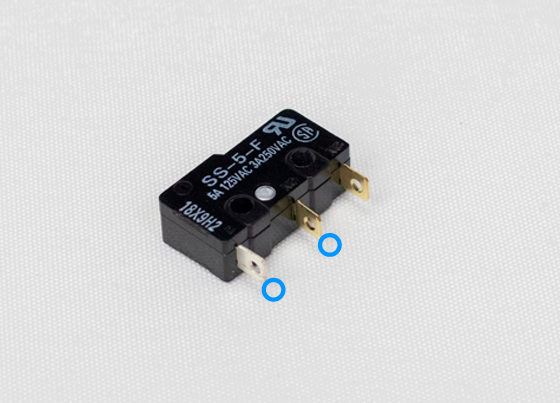
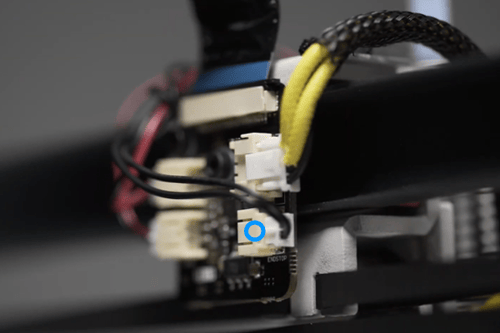
The next image shows you the terminals and how it should be connected.
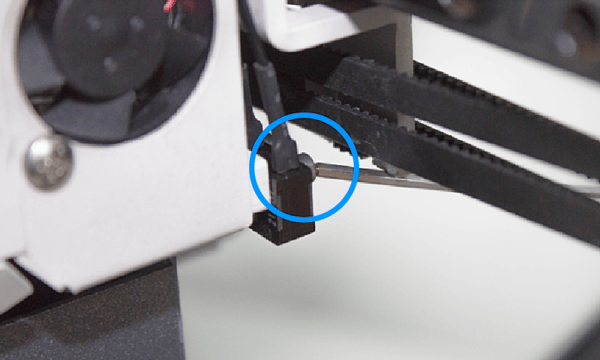
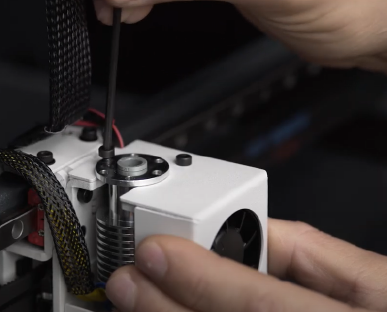
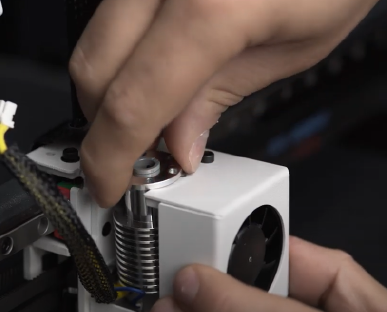
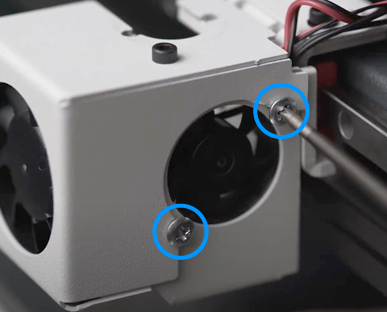
Note: If you are having issues accessing the endstop's screws you can remove the X-axis belt to have better access to them. To do this pull-down the belt from the holder in the printing head, it will be easier if you loosen the belt's tension.
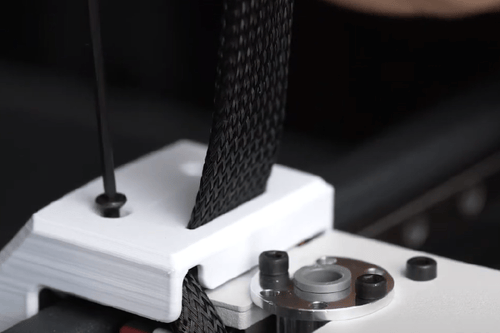
Remember to put the belt back in its place and adjust the tension if you have removed it. To get more information about how to adjust the belt's tension, check this guide: How to adjust the tension of the belts (Epsilon Series).
If you have to replace both the endstop and the cable, continue with the next step.
Note: If it has a tie-wrap holding the cable to the printing head, make sure that you cut it before removing the hotend and install a new one when you complete the change.
7. Disconnect the endstop cable from the extruder board.

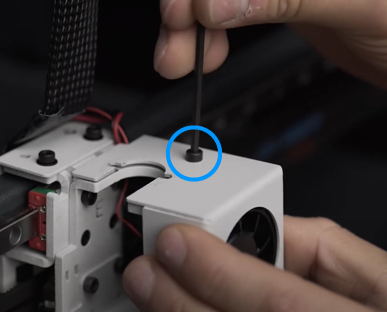
8. Connect it to the extruder board, and screw it to the printing head.
If you are having issues accessing the endstop screws you can remove the X-axis belt to have better access. To remove it, pull down the belt that is connected to the printing head where you want to change the endstop.
Once the new endstop is installed, assemble everything back as it was, and make sure that the endstop is working correctly by performing a bed calibration.
Conclusions
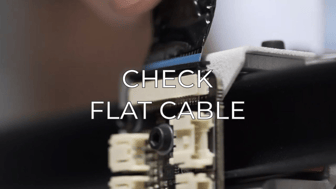
Remember to check the flat cable connection to the extruder board when you reassemble the printing head to avoid shortcuts and damage the extruder board. Check this guide to get more information about this: How to check the flat cable connections (Epsilon Series)
If you have problems with the endstop after change it and the flat cable is correctly connected please get in contact with the support team by filling this support form.
Forum community
Repair didn’t go as planned? Check out our forum community for troubleshooting help.
It's important to keep your printer in good shape to make the most out of it. In this chart you can find a list of the extruder maintenance procedures and how frequently these should be done. Maintenance Plan
![]() Take your e-waste to a certified recycler. Check how we do it in BCN3D.
Take your e-waste to a certified recycler. Check how we do it in BCN3D.
|
You can help improve the BCN3D Knowledge Base. If you feel there are guides that we are missing or you found any error, please use this form to report it. Report form :) |