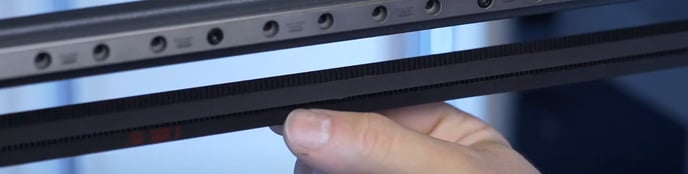
Here we will cover the procedure to adjust the tension of the belts in your BCN3D Epsilon.
All printers are shipped from the factory with the belts already properly adjusted. Unless you are experiencing layer shifting issues or your belts have lost tension over time, there's no need to tighten them.
To set the belts to their correct tension, you can use our printable tensioner as a reference. You can download the STL file and the instructions on how to use it from the following article:
Note: This tool is not updated and its precision may vary on each print, it should only be used as a reference point and to ensure that the tension is the same in all the belts from the X and Y axis.
Tips
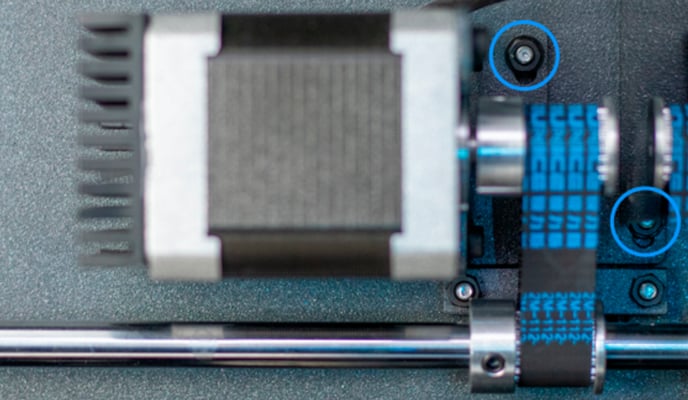
1. With the X belts, make sure that both are adjusted equally. Once the tension is correct, re-tighten the lower screws.
2. With the belt Y belts, make sure that the external faces of the idler and the frame are parallel before finishing the adjustment.
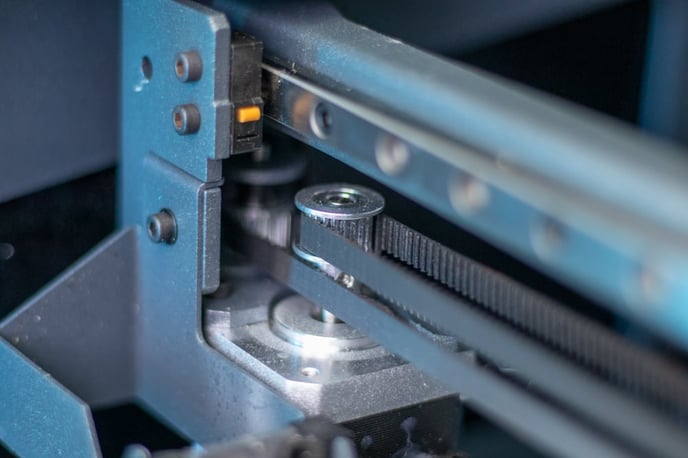
Y Motor Belt Adjustment
Note: The tensioner tool is not suitable for the adjustment of this particular belt.
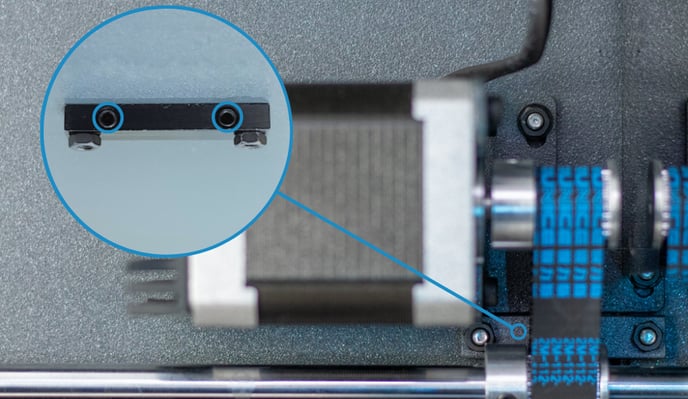
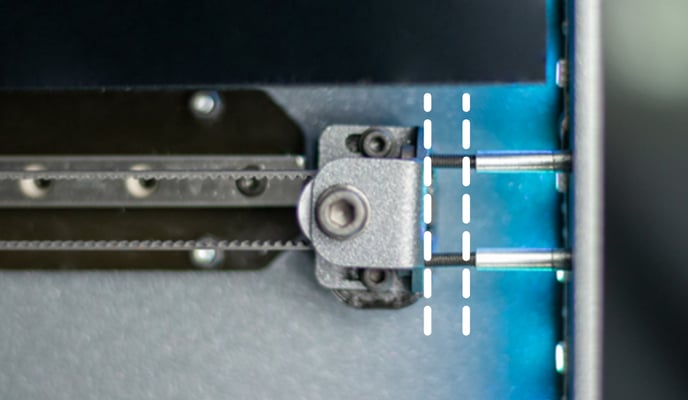
Note: It's very important that the belt is centered in the pulley. To check it, give it a few turns to the Y motor and see if the belt moves to the sides or remains still. If it moves to a particular side of the pulley, tweak the alignment of the belt by adjusting the same hollow screws.
3. Once the belt tension is set, tighten the two nuts that were loosened on the first step.
Note: When the nuts are screwed back, the belt will gain some tension. Be attentive if the belt needs to be adjusted again in order to avoid damage to the motor or the belt.
Conclusions
Check and adjust the belt's tension regularly to prevent issues like layer shifting or ghosting. This process should be done every 1,000 printing hours or when you need to remove the belts or any component that is connected with them.
Forum community
Need additional help? Check out our forum community for troubleshooting help.
It's important to keep your printer in good shape to make the most out of it. In this chart, you can find a list of the extruder maintenance procedures and how frequently these should be done. Maintenance Plan
![]() Take your e-waste to a certified recycler. Check how we do it in BCN3D.
Take your e-waste to a certified recycler. Check how we do it in BCN3D.
|
You can help improve the BCN3D Knowledge Base. If you feel there are guides that we are missing or you found any error, please use this form to report it. Report form :) |