In this article we will explain how to use the printed belt tensioner, which you can download in this article, to measure the tension of your printer's belts and to be able to make a correct adjustments of them.
- Note: This tool is delicate and should be used with care to not affect its proper function.
Content table
PrintingPost-processing
Measuring Tensions
Adjusting belt tension
How to print the BCN3D Belt tensioner

2. Import the STL file into BCN3D Stratos. Leave it at the default orientation
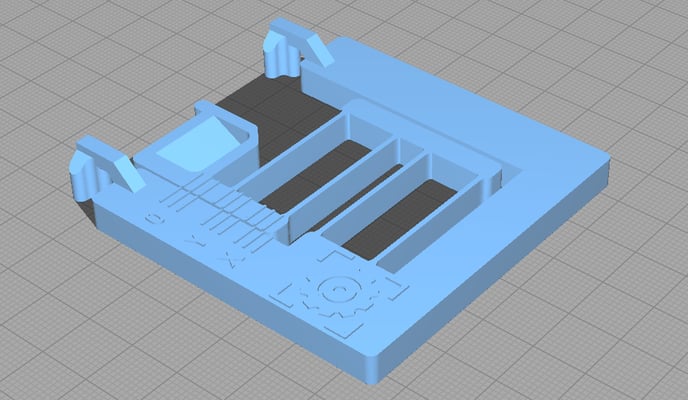
3. Make sure you’re using the PLA 0.2mm Standard Quality profile, and the 0.4mm hotend

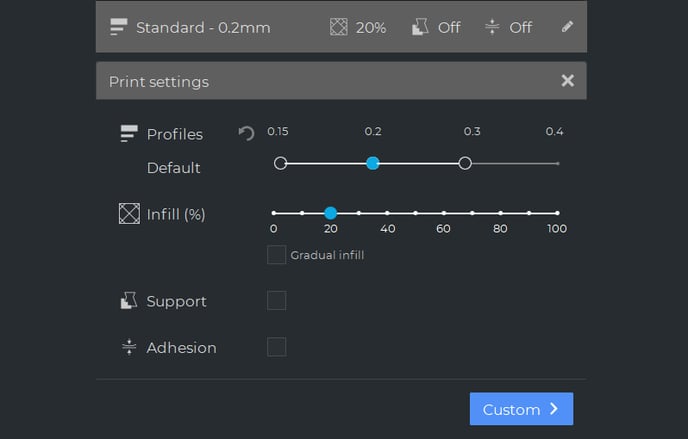
4. Save the g-code and print it through SD or BCN3D Cloud
How to prepare the BCN3D Belt Tensioner
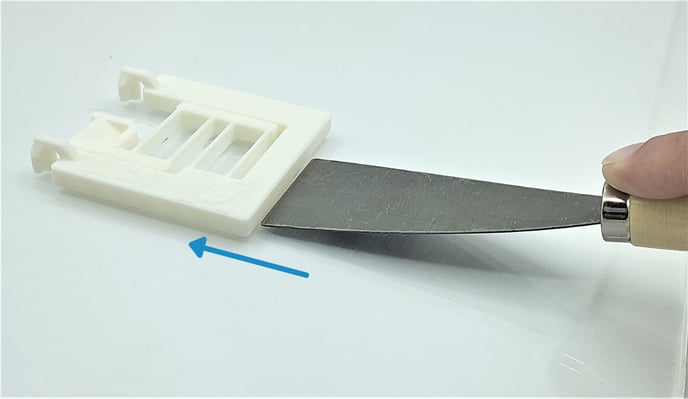
1. Wait for the printing surface to cool down before removing the tool to prevent deformation
2. Carefully remove the piece, taking extra care to not damage the thin parts specified by arrow
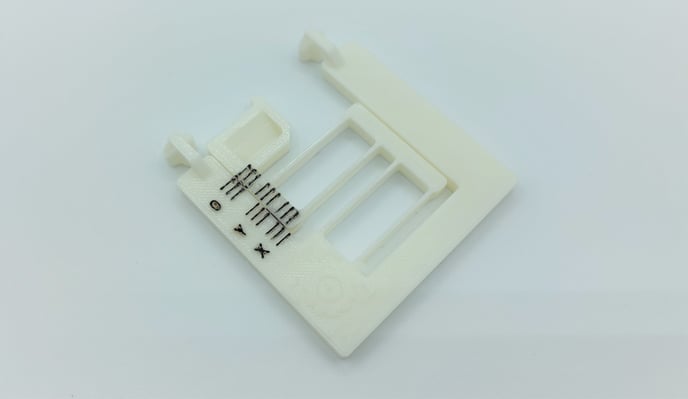
3. Using a felt-tipped marker, color the top of the scale lines for easier reading
Measuring the tensions with the BCN3D Belt tensioner
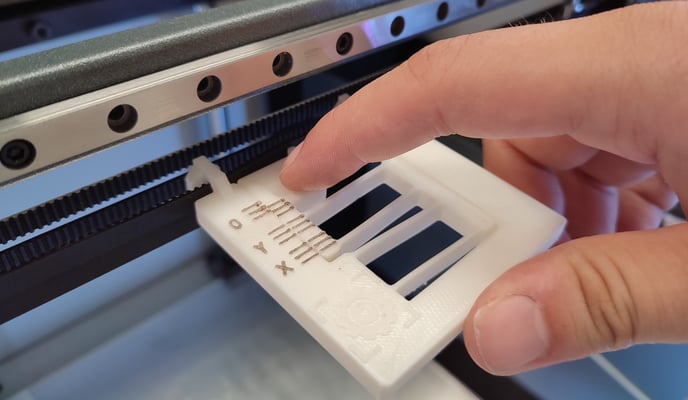
1. To hold the device, put your index finger in the hole, and grip the sides with the rest of your fingers
2. Confirm that the movement of the tool is smooth and that the device returns to the 0 position
If not, it is because of viscoelastic creep. Let the device sit until it returns to the 0 point. Do not pull it back into position, as this will change the device’s home position.
- Note: Never keep the device on the belt for more than 5 minutes at a time. This viscoelastic creep reduces the accuracy of the device.
Checking the X-axis belt tension
1. Move the X-carriage to the middle of the printer
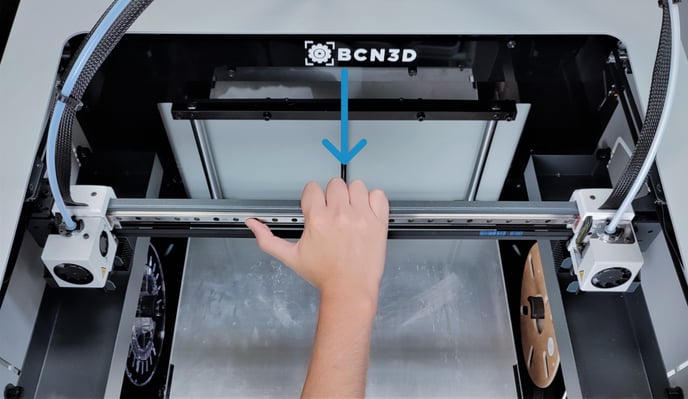
2. Move both hotends to either side

- Note: Move both hotends to the left to measure the top belt.
Both hotends to the right to measure the bottom belt.
3. Pull the tip back and move the device onto the X belt
You may need to use your other hand to guide the belt into the tool
4. Support the bottom of the tool so the belt doesn’t twist
Once held correctly, it can measure the tension in the belt.
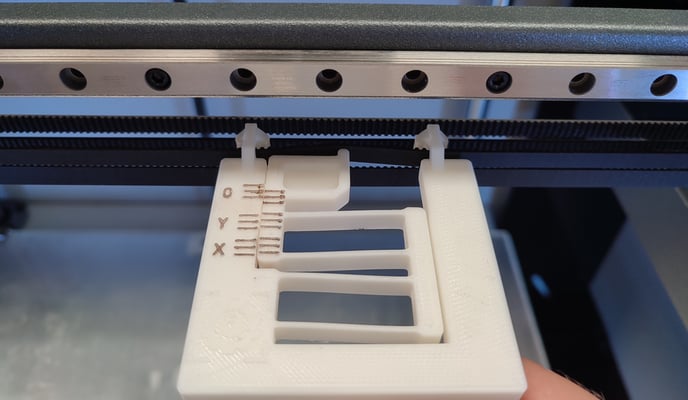
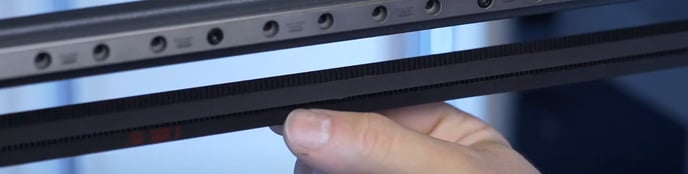
5. Check the alignment of the 3 lines next to the "X" - when they’re aligned, the belt has the correct tension
Checking the X-axis belt tension Y-axis
1. Move the X-carriage to the back of your printer
%20Cropped.png?width=688&name=Dise%C3%B1o%20sin%20t%C3%ADtulo%20(28)%20Cropped.png)
2. Pull the tip back and move the device onto the belt
You might need to use your other hand to guide the belt into the tool.
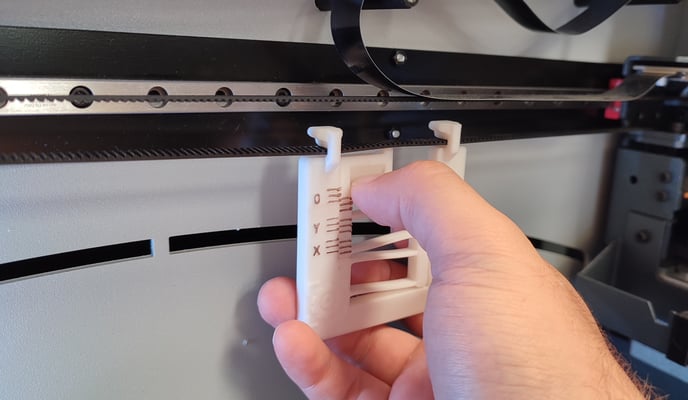
3. Let the device hang from the belt, without twisting
You can use a hand to stabilize it, but for reading it you shouldn’t touch it.
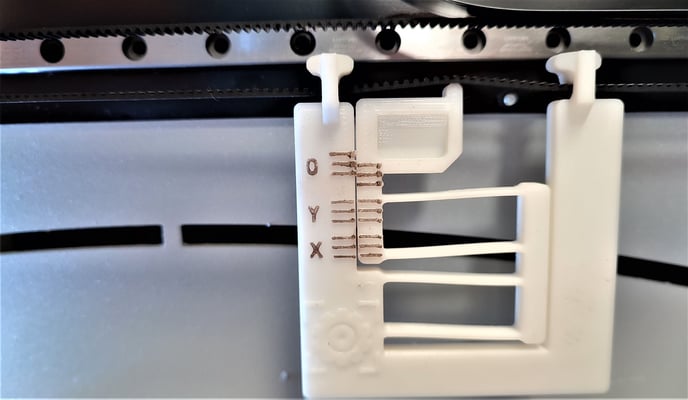
4. Check the alignment of the 3 lines next to the "Y" - when they’re aligned, the belt has the correct tension
Adjusting the belt tension
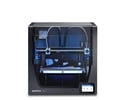
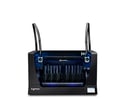
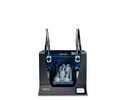
- Click on the picture corresponding to your printer to learn how to adjust the belts:
Conclusions
- Print the belt tensioner with PLA to avoid modifying the mechanical resistance of the part and getting the wrong measures.
- Be careful when using the tensioner, it can be deformed during the manipulation if you apply a lot of force to it.
- Check and adjust the belt's tension regularly to prevent issues like layer shiting or ghosting.
- It's recommended to do this process every 1000 printing hours or when you need to remove the belts or any component that is connected with them.