![]() This is an advanced repair article. This guide is designed to be performed with the authorization and assistance of the BCN3D support team or authorized distributors.
This is an advanced repair article. This guide is designed to be performed with the authorization and assistance of the BCN3D support team or authorized distributors.
Without the necessary knowledge, you could cause damage to the printer during repair and invalidate the warranty.
If you have any questions or problems please contact the support team: contact form.
If you have checked the cables and found that they are damaged, this article will help you understand how to replace them:
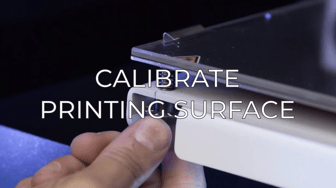
1. Raise the printing surface to the top (Utilities/Maintenance/Move printing Platform)

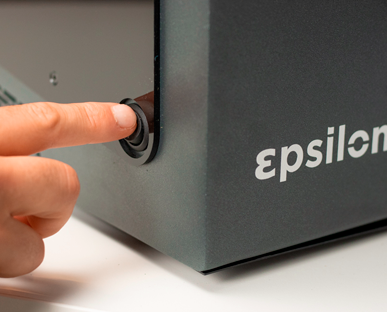
2. Turn off and unplug the printer.


3. Remove the Z cable cover and the inner cover.
You can get more information about this step in the following articles:
How to remove the Z cable cover (Epsilon Series)
How to remove the inner cover (Epsilon Series)
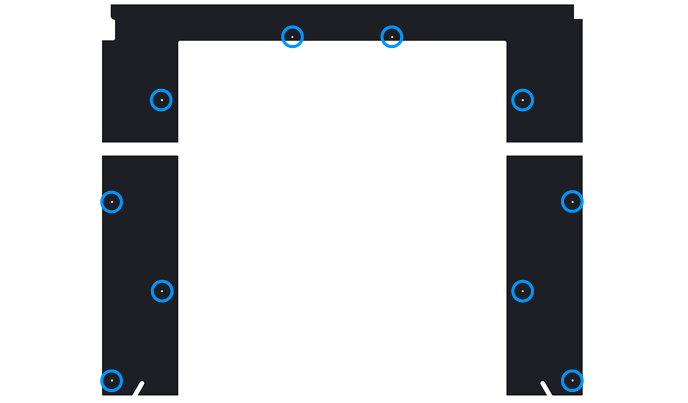
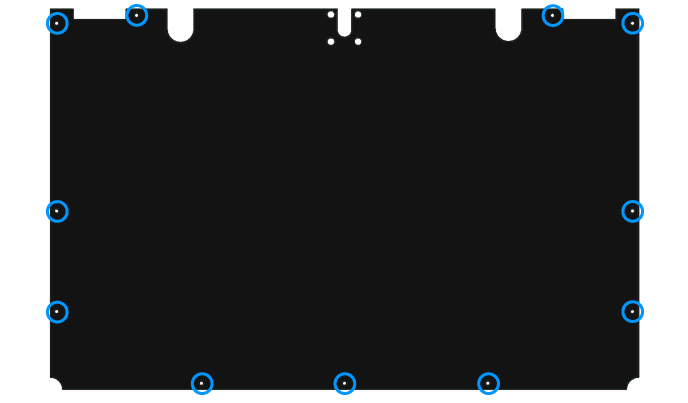
- Warning! Be careful when handling the connection cover as the cables underneath may be damaged.
If the last 4 digits of your printer serial number are higher than 0771 for Epsilon W50 or 0498 for Epsilon W27, you should consider the following:
- Warning! The piezo cable is extremely sensitive, use caution when handling it.
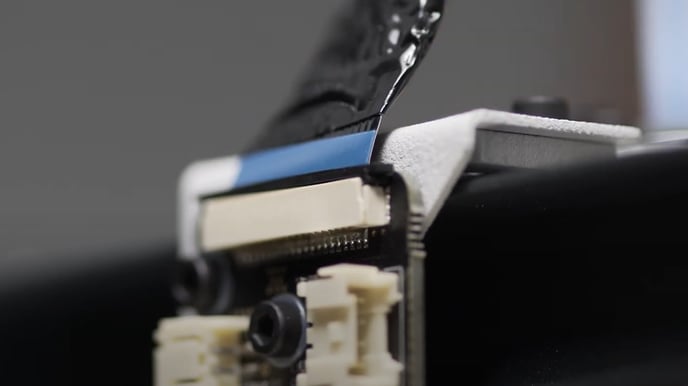
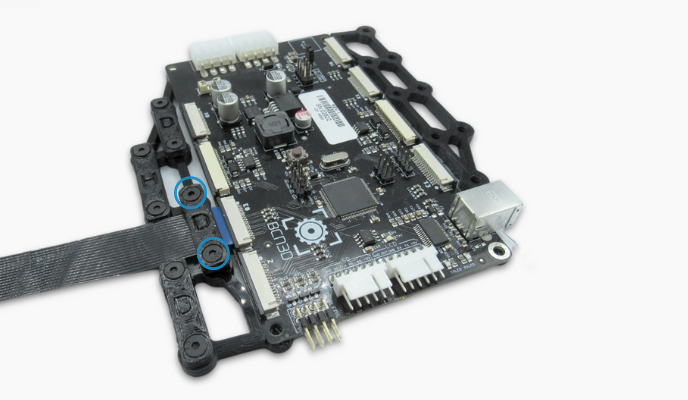
5. Disconnect the flat cable from the mainboard.
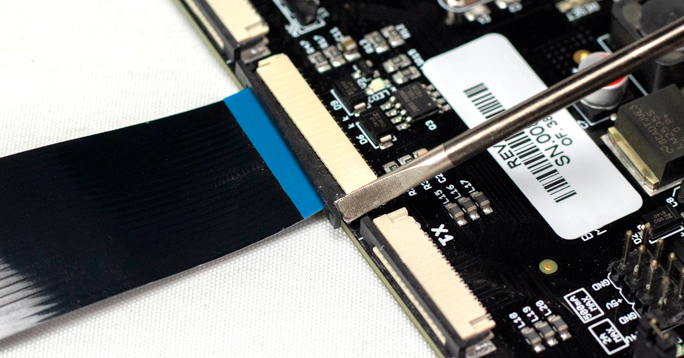
- If the mainboard has flat cable clamps, you will need to untighten the screws that close the clamp of the H flat cable in order to remove it, as shown in the example below (the cable in the example doesn't correspond to the directions):
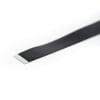
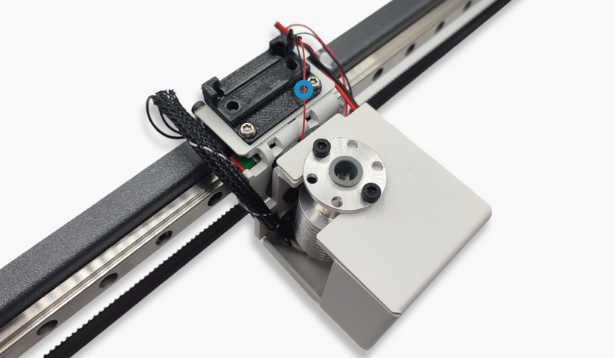
6. Remove the ribbon cable from the printer and insert the new one by inserting it through the tacks.

- Note: This cable should be positioned behind all other flat cables
7. Connect the ends of the flat cable to the extruder board and the mainboard.
8. Check the flat cable connections.
It is extremely important once the change is made, to check that all the flat cables are correctly connected, during the process they are very likely to come loose from their position.