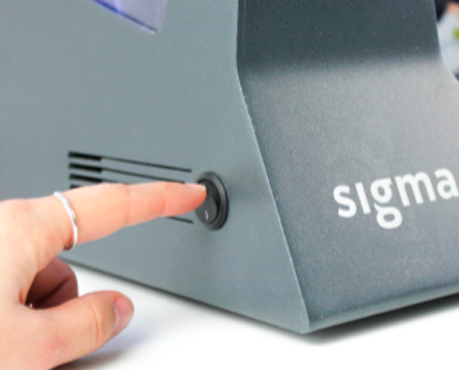
1. To replace the Y motor, first, turn off the printer and unplug it from the power outlet.
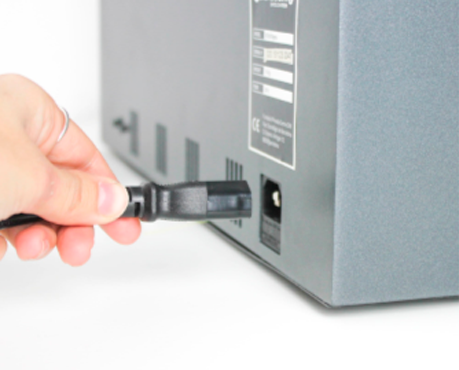
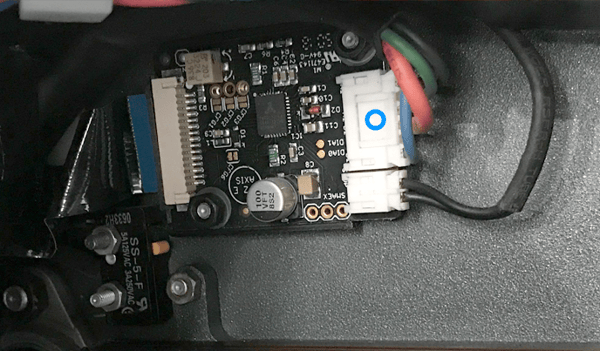
2. Unplug the motor cable from the Y driver.
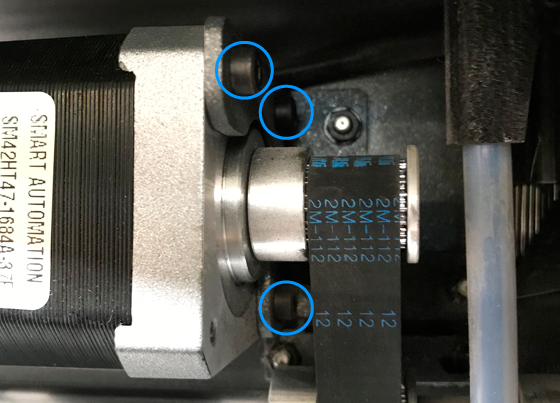
3. Remove the Bowden tube to have access to the motor screws.
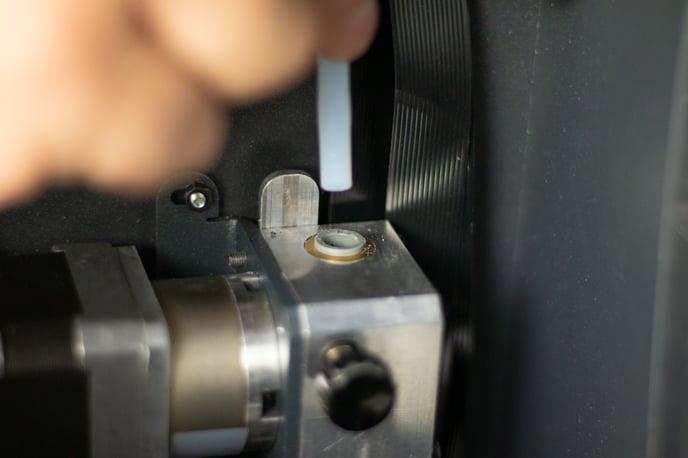

Tip: You may have to reduce the belt tension by loosening the two screws placed under the belt tensioner with a 1.5mm Allen key.
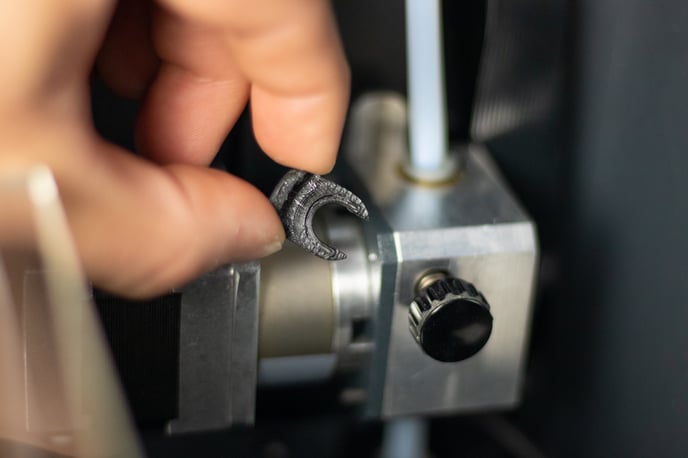
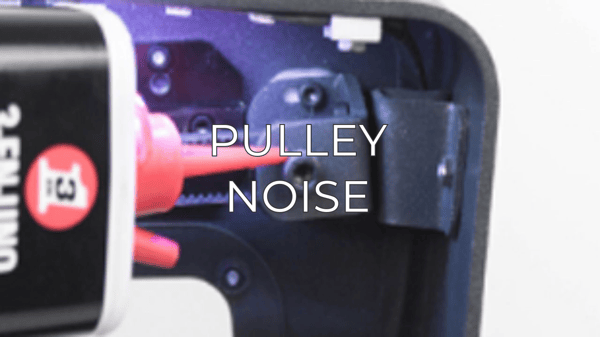
6. Install the new pulley on the motor.
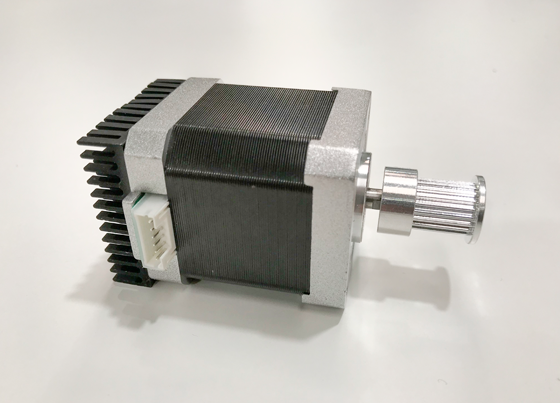
Tip: Make sure to tighten the set screw on the flat face of the motor's shaft.
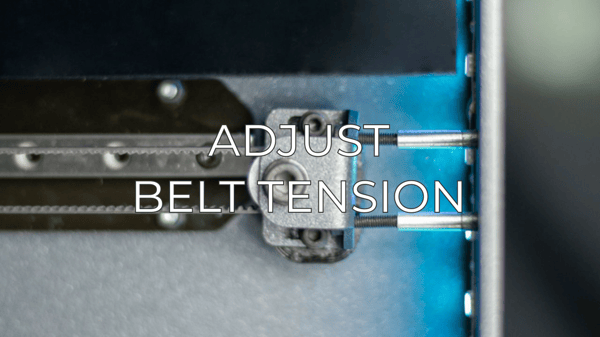
7. Attach the motor to the stepper holder and install it back on the printer’s structure, making sure that you adjust the tension screws again.
Conclusions
To finish the assembly process, follow the process from Step 3 to Step 2 in inverse order.
It's important to keep your printer in good shape to make the most out of it. In this chart, you can find a list of the extruder maintenance procedures and how frequently these should be done. Maintenance Plan
Forum community
Repair didn’t go as planned? Check out our forum community for troubleshooting help.
![]() Take your e-waste to a certified recycler. Check how we do it in BCN3D.
Take your e-waste to a certified recycler. Check how we do it in BCN3D.

|
You can help improve the BCN3D Knowledge Base. If you feel there are guides that we are missing or you found any error, please use this form to report it. Report form :) |