When printing certain types of models it may be necessary to use support structures or you may find that the volume of your printing is not large enough to print them at the desired scale. A solution to avoid using supports or printing larger pieces is to divide the model into several pieces.
In this article, you will find tips to facilitate the assembly of the final piece.
Table of Contents:
Split the model
Create fixing supports
Assemble the piece
Split the model
This operation can be done before or after the 3D model has been exported to STL format.
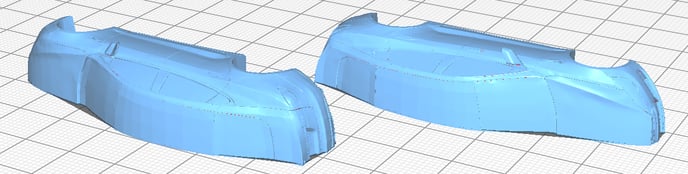
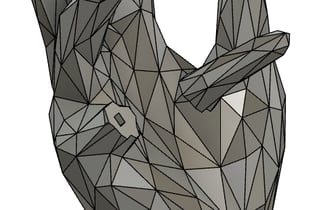
1. Locate the overhang areas of the model that require support to be printed.
%20Cropped.png?width=496&name=Dise%C3%B1o%20sin%20t%C3%ADtulo%20(2)%20Cropped.png)
2. Create a cutting plane at the base of the areas that are going to be cut.
In order to do it correctly, it is recommended to put the plane in a perpendicular direction of the area to be cut.
%20Cropped.png?width=496&name=Dise%C3%B1o%20sin%20t%C3%ADtulo%20(3)%20Cropped.png)
3. Export the resulting models separately in order to manipulate them easily in BCN3D Stratos.
Create a support pin
In order to join all the pieces easily, it is highly recommended to create supports in each component that helps to fix the final object.
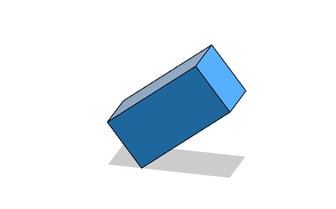
1. In your design program, create a support piece whose base is a polygon, such as a triangle or square.
The minimum recommended length is 5mm.
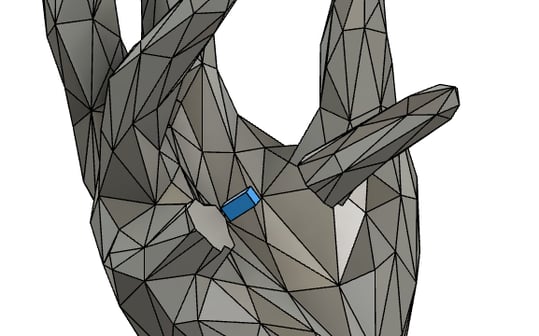
2. Intercepts the support with the parts that need to be joined and create holes to fill it using boolean operations.
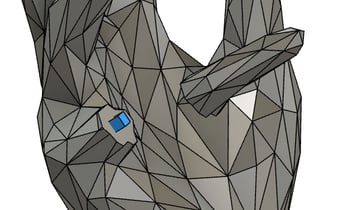
- Recommendation: To make sure that the support fits easily once is printed, increase the width to 0.1mm.
3. Export all models to STL.
Assemble the piece

With the pieces designed and printed, it is time to assemble the final piece. To do this, follow these tips:
- Use contact glue to put the pieces together. If the glue is made of a liquid consistency it will be better to hide the union between the pieces.
- If you have created the supports to help to put the pieces together, add glue to the holes and insert the part.
- Join the pieces to hold them in the right position until the glue dries completely.
Send us your comments about this article
|
You can help improve the BCN3D Knowledge Base. If you feel there are guides that we are missing or you found any error, please use this form to report it. Report form :) |