Learn how to change the hole coordinates of the printing surface
![]() This is an advanced repair article. This guide is designed to be performed with the authorization and assistance of the BCN3D support team or authorized distributors.
This is an advanced repair article. This guide is designed to be performed with the authorization and assistance of the BCN3D support team or authorized distributors.
Without the necessary knowledge, you could cause damage to the printer during repair and invalidate the warranty.
If you have any questions or problems please contact the support team: contact form.
This article should only be used when the nozzle is not able to reach the calibration hole during the autocalibration process.
XY Hole Coordinates
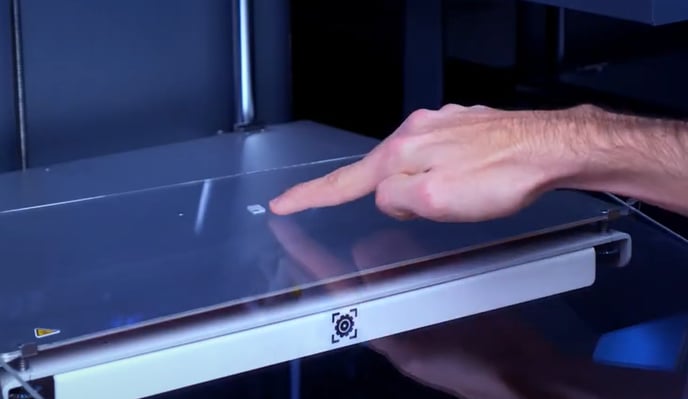
To access this adjustment process, the printer needs to be in Technical service mode.
If your printer is already in Technical service mode, skip to XY Hole Coordinates.
Enable Technical service mode
1. Click on the top right button to access the printer's information menu. In that menu, press the Unit Information button
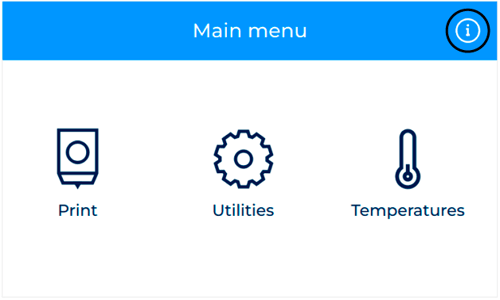
2. Press and hold the text that shows the three software versions until a pop up appears showing the message "Technical service mode Enabled"
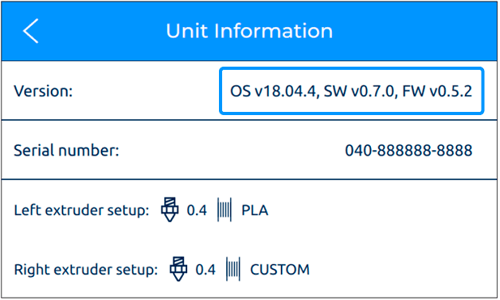
3. A new option will appear under Utilities/Printer Setup/Technical Service Mode
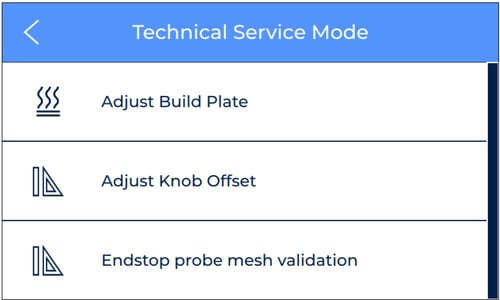
XY Hole Coordinates
1. In the Technical Service mode menu, press on XY Hole Coordinates to edit the position of the calibration hole
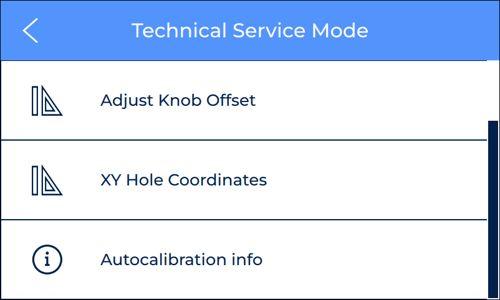
2. Set the new coordinates of the hole
Is necessary that the coordinates values have two decimals.
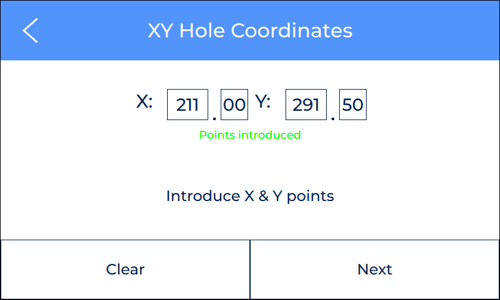
The reference of the hole coordinates is located in the frontal left corner of the printing surface.
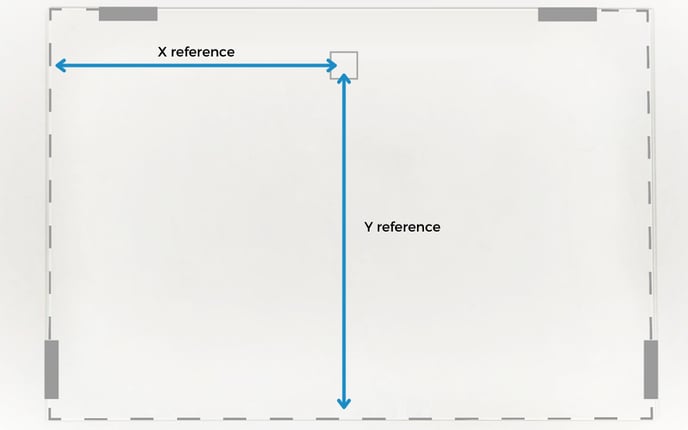
- Note: The original coordinates of the hole are: X=211,50 and Y=291,50.
3. Once the coordinates are saved, the printer will perform an axes calibration.
Check that the process is performed correctly


