![]() This is an advanced repair article. This guide is designed to be performed with the authorization and assistance of the BCN3D support team or authorized distributors.
This is an advanced repair article. This guide is designed to be performed with the authorization and assistance of the BCN3D support team or authorized distributors.
Without the necessary knowledge, you could cause damage to the Smart Cabinet during repair and invalidate the warranty.
If you have any questions or problems please contact the support team: contact form.


Follow the next steps to change the air duct:
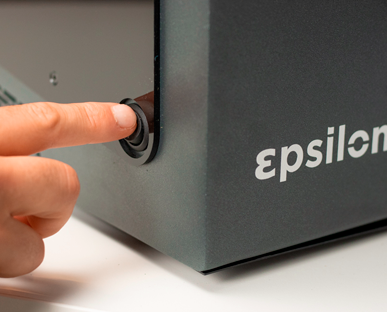
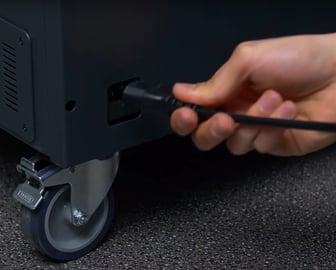
1. Turn the printer off and unplug the Smart Cabinet.
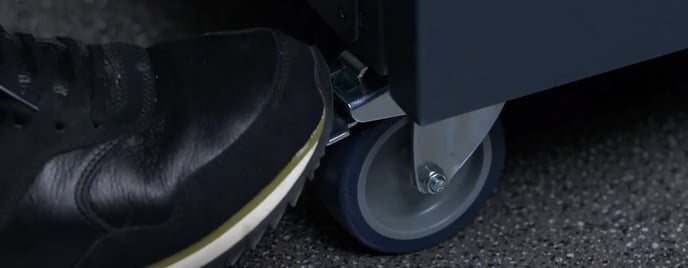
2. Lock the wheels using the brakes.
3. Open the drawer and lift the lip.
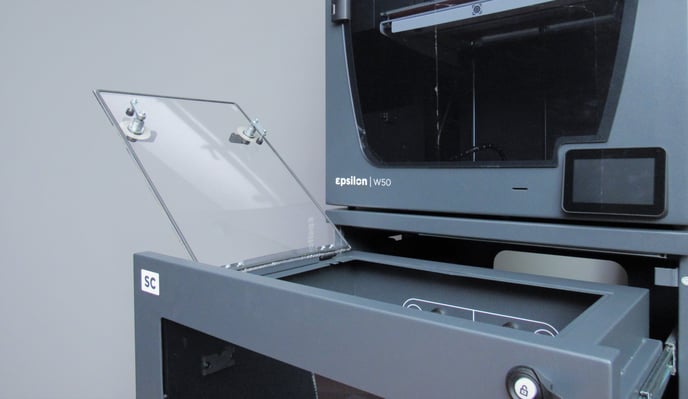
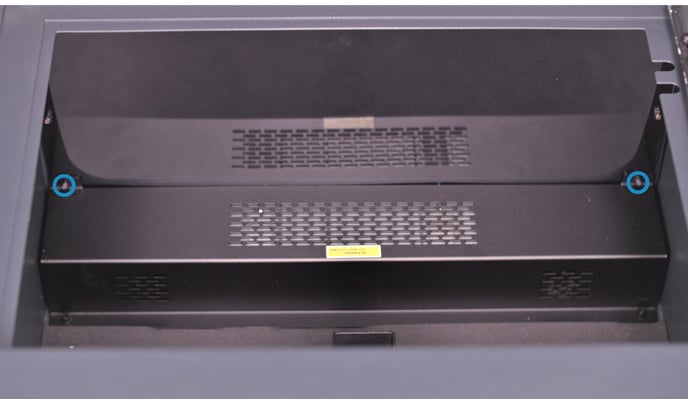
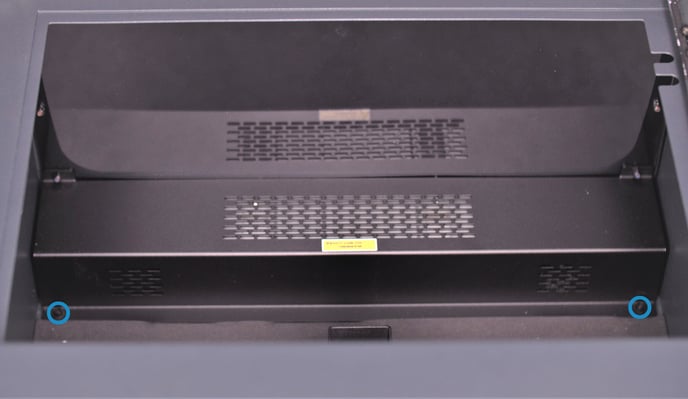
Note: to remove the cover of the air duct could be necessary to pull back the bottom foam cover just a bit, approx 2mm.

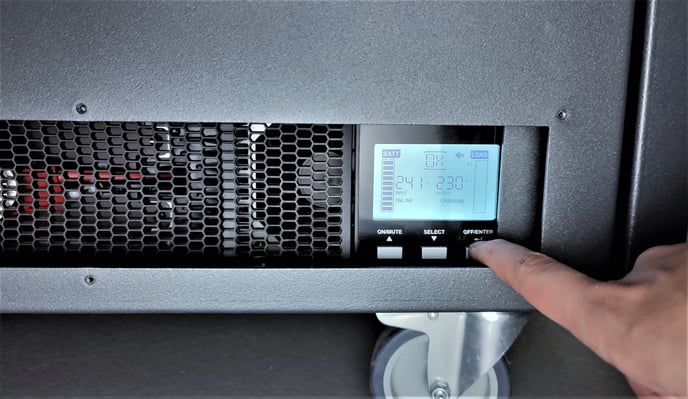
7. Turn the UPS off, it is located in the lower area of the Smart Cabinet.
Turn it off by pressing the right button until you stop hearing a 'beep' sound.
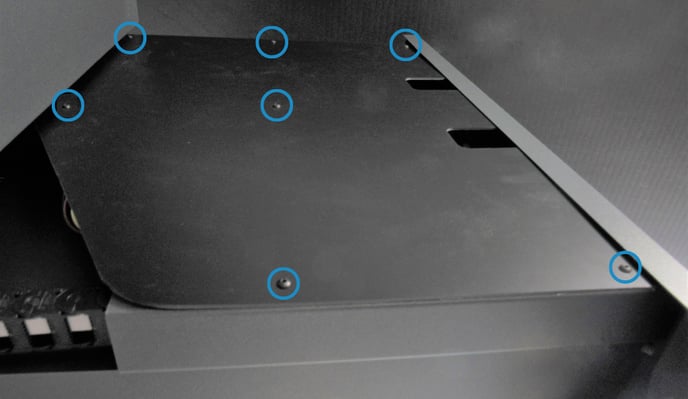
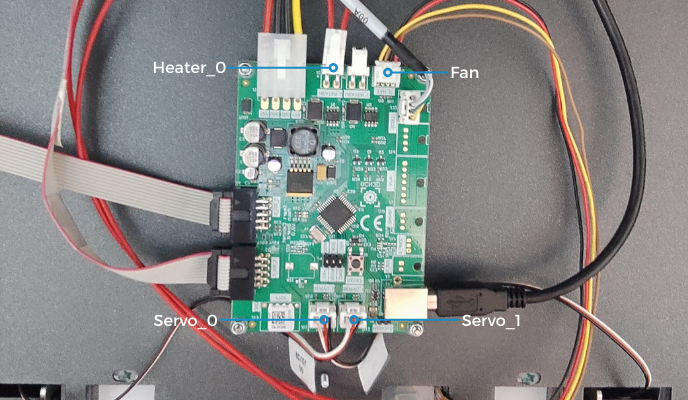
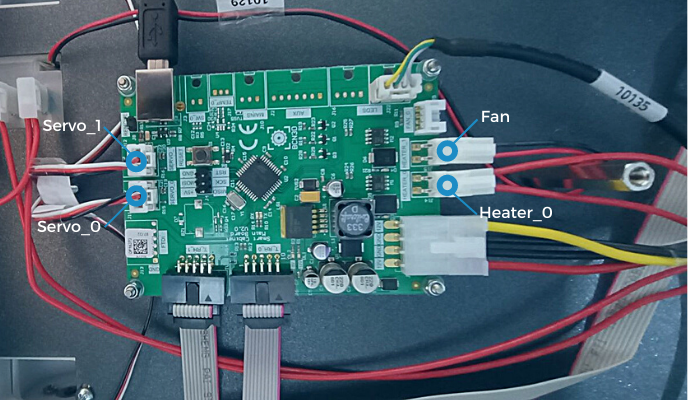
9. Disconnect the following cables from the mainboard: HEATER_0, FAN, SERVO_0, and SERVO_1.
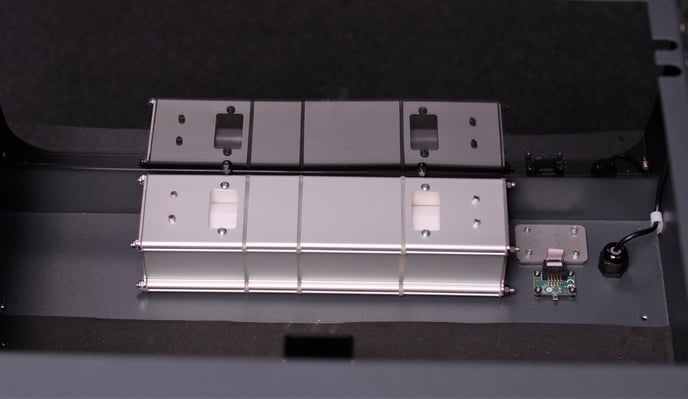
10. Disconnect the resistance cable of the air duct.


12. Change the air duct for a new one.
13. Reconnect the cables of the air duct in the following way
Note: the cable of the Air duct's fan would be connected to the Heater_1 pin of the mainboard.
14. Follow the same steps in the opposite order to reassemble the Smart Cabinet.
15. keep the door closed for at least 2 hours to stabilize humidity.
Forum Community
This article doesn't fix your issue? Check out our forum community for more info about this
It's important to keep your printer in good shape to make the most out of it. In this chart you can find a list of the extruder maintenance procedures and how frequently these should be done. Maintenance Plan
![]() Take your e-waste to a certified recycler. Check how we do it in BCN3D.
Take your e-waste to a certified recycler. Check how we do it in BCN3D.
|
You can help improve the BCN3D Knowledge Base. If you feel there are guides that we are missing or you found any error, please use this form to report it. Report form :) |