Sometimes filament may get stuck inside the extruder motor, or some component on the extruder assembly may not be properly assembled or damaged. In this article, we'll show you how to disassemble and check the Extruders.
There are two extruder models, the BCN3D extruder and the Bondtech extruder, check which is the one installed on your printer and continue reading.
If you are using the BCN3D extruder, have in mind that the Bondtech extruder is available as an upgrade. Read more about it here.
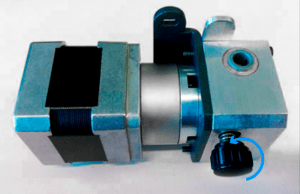
/bcn3d%20extruder/extruder-R16.png?width=300&name=extruder-R16.png)
BCN3D Extruder
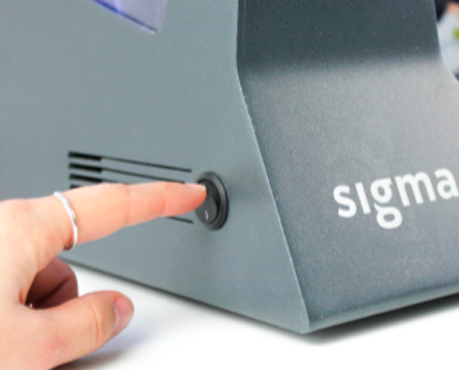
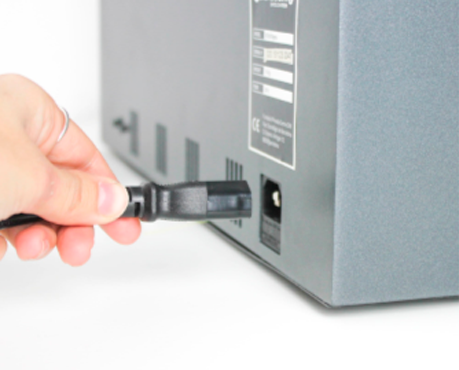
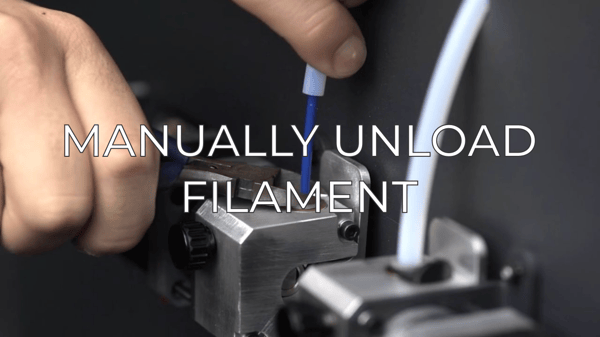
1. To disassemble the BCN3D extruder unload the filament and then turn off and unplug the printer's power cable.
If you are not able to unload the filament, check this article:
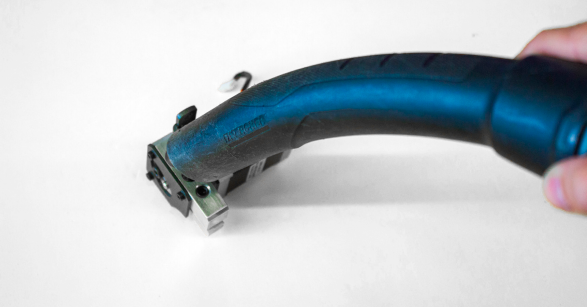
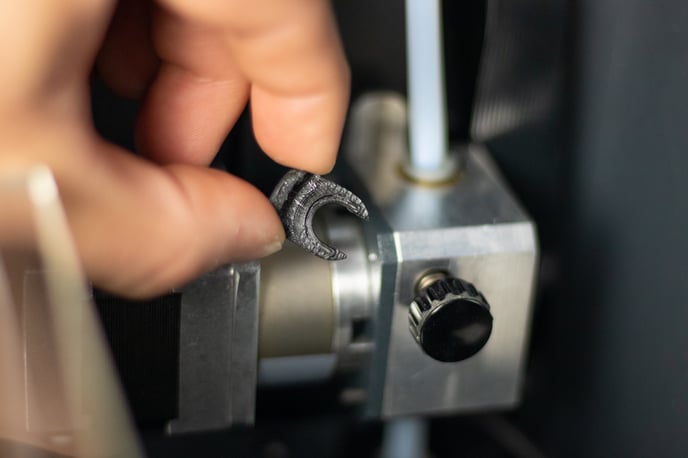
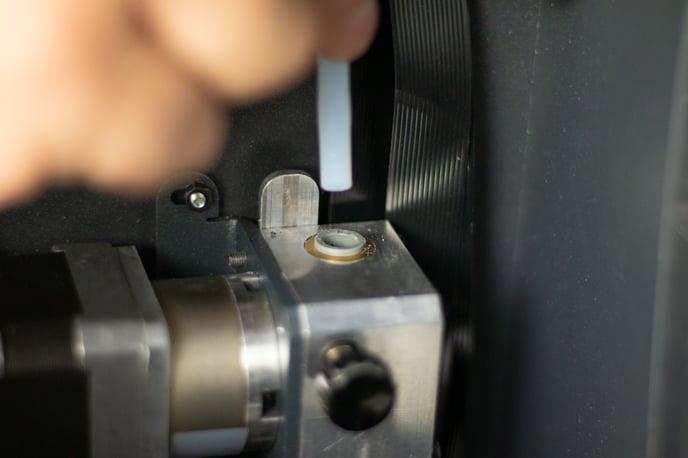
2. Remove the upper Bowden tube by pulling it while pressing the pin’s coupling.
3. Remove the lower Bowden by unscrewing the holder under the extruder motor.
/bcn3d%20extruder/bowden-bot.png?width=688&name=bowden-bot.png)
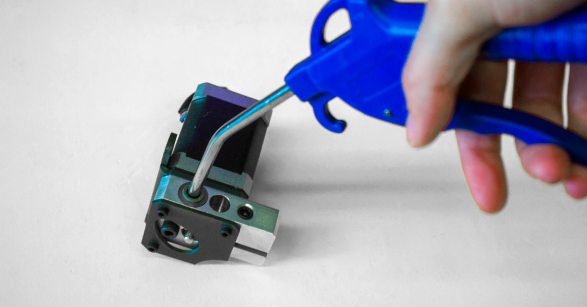
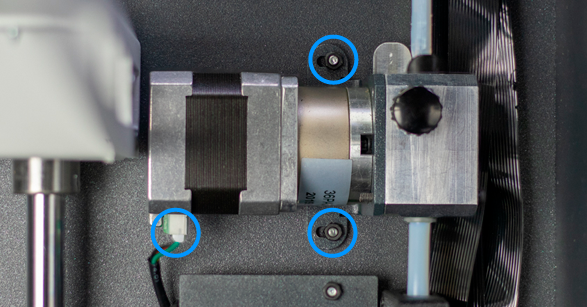
4. Remove the two nuts on the extruder driver cover to disconnect the stepper cable from the driver.
/bcn3d%20extruder/driver-E.png?width=688&name=driver-E.png)
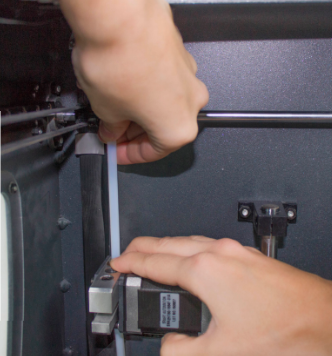
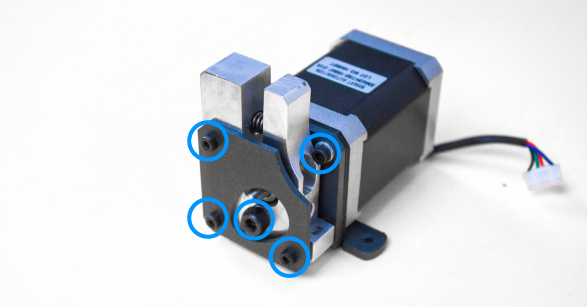
5. Remove the two nuts that hold the extruder to the printer’s structure while holding the stepper to avoid causing any damage to it.
/bcn3d%20extruder/e-motor-removal.png?width=688&name=e-motor-removal.png)
Once the motor is out of the printer, there are several things you can check to make sure that it is working correctly and rule out possible under extrusion sources.
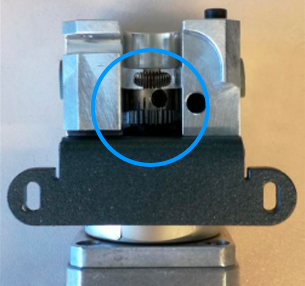
Check 1. Verify the drive gear alignment.
In case it is not, that means that the drive gear is extruding the filament incorrectly.
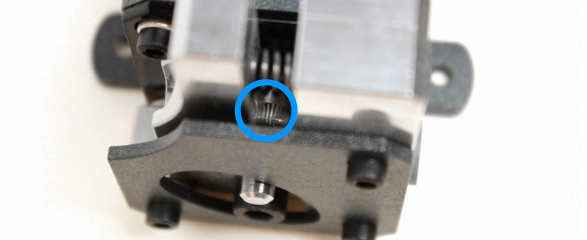
This gear is held to the E motor axis by two hollow screws. If it is not properly aligned you can try to loosen these two screws in order to position them correctly.
If you can't do this, get in touch with the Support Team by filling this form.
In front of the motor gear, you'll also find a smooth bearing, make sure that it is in good shape and properly attached to the E motor assembly.
Check 2. Remove dirt from gear using air pressure or a vacuum cleaner
Check 3. Make sure that the screws are tightened
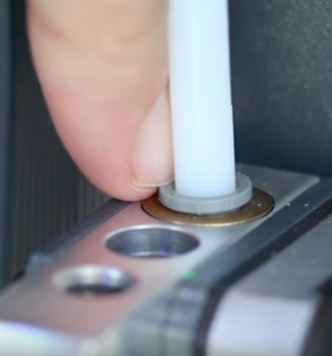
In case you have to remove the pressure screw on the top pin of the extruder, make sure that, once you install it again, it is positioned roughly at the same height as the pin surface.
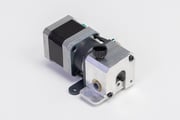
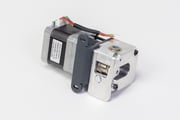
Bondtech extruder
1. To disassemble the Bondtech extruder unload the filament and then turn off and unplug the printer's power cable.
If you are not able to unload the filament, check this article:
2. Remove the upper and lower Bowden tubes by pulling these while pressing the pin’s coupling.
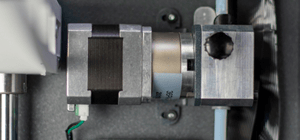
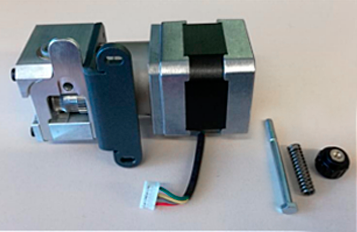
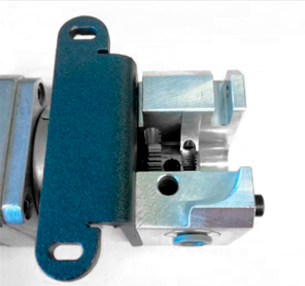
3. Unplug the driver cable from the motor and loosen the two nuts that hold the extruder in place.
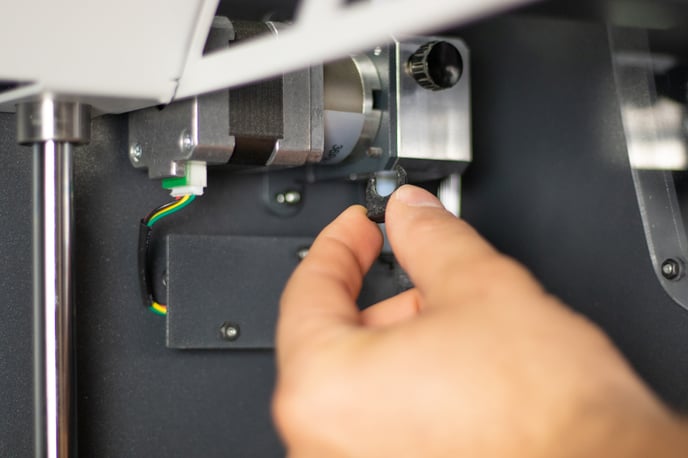
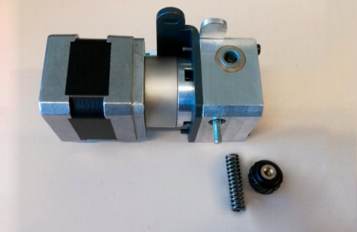
4. Remove the extruder from the printer, and then remove the adjustment screw cap, the spring, and the screw.
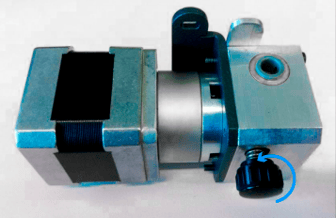

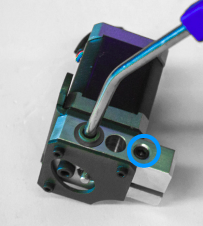
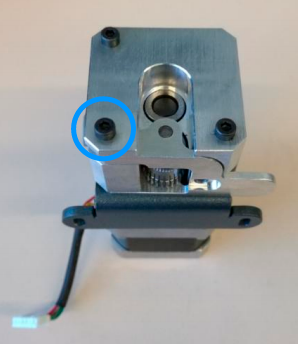
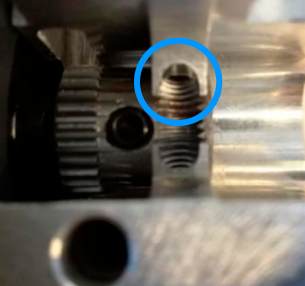
5. Loosen the circled screw in order to remove the tensioner from the extruder.
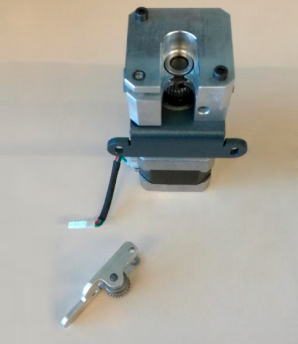
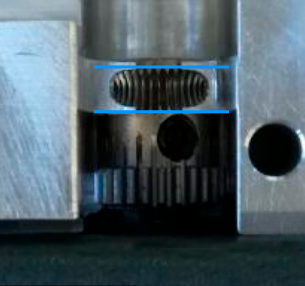
6. Check the gear alignment, as shown in these pictures:
If the gear is not properly aligned you can adjust it by slightly loosening the hollow screw that holds it in place. The screw should always be adjusted over the flat surface of the stepper axis.
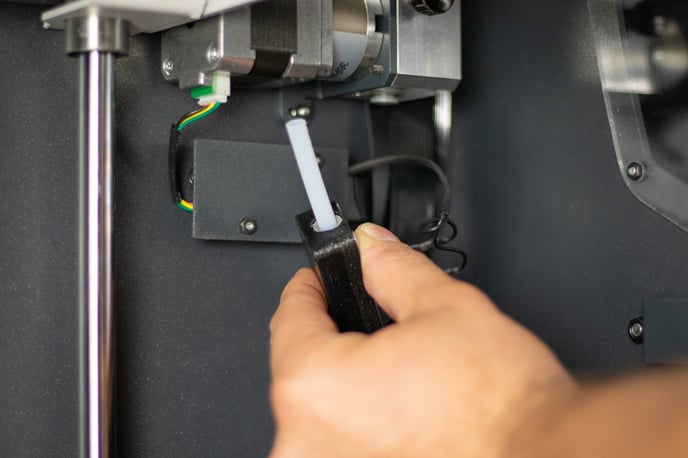
If you cannot see the screw, you can spin the axis with the help of a flat screwdriver
by applying pressure on the lower tooth of the gear.
Once the adjustment is done, make sure that the screw is aligned as shown here:
When assembling the motor back, adjust the pressure of the screw by
turning it clockwise until it does not turn any more, and then, loosen it 1/2 of a turn.
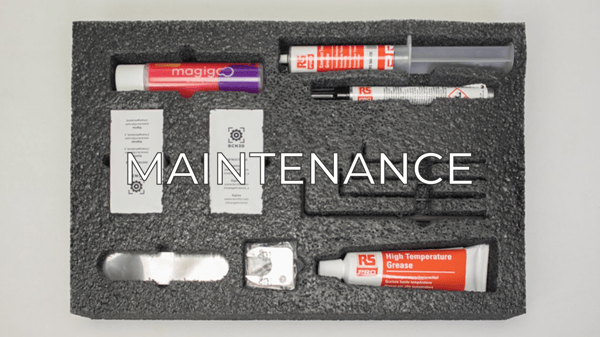
Conclusions
It's important to keep your printer in good shape to make the most out of it. In this chart, you can find a list of the extruder maintenance procedures and how frequently these should be done. Maintenance Plan
Forum community
Repair didn’t go as planned? Check out our forum community for troubleshooting help.
![]() Take your e-waste to a certified recycler. Check how we do it in BCN3D.
Take your e-waste to a certified recycler. Check how we do it in BCN3D.
|
You can help improve the BCN3D Knowledge Base. If you feel there are guides that we are missing or you found any error, please use this form to report it. Report form :) |