In this article you will learn the procedure to install the new printing platform thumscrews
- Warning! This upgrade is not compatible with Sigma/Sigmax R19 or previous models. The firmware updates that are mentioned on the article do not affect these models.
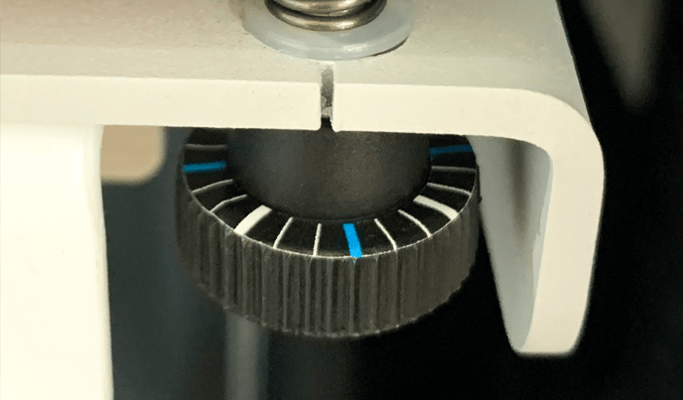
BCN3D has implemented a new version of the printing platform adjustment thumbscrew:
| Version | Divisions | Material |
| Original thumbscrew | 8 | Metal |
| New thumbscrew | 24 | Plastic |
Why is necessary to change the thumbscrews?
On the 0.10.2 Firmware update, the printer heats up the printing surface during the calibration process to accurately calibrate it under the same conditions that it will have during the printing process.
This means that the printing surface temperature rises to match the loaded material's optimal bed temperature, which in some cases can reach 100º. The material has been changed to plastic in order to prevent any possible burns during the manipulation of the thumbscrew.
- Warning! The high temperature of the printing surface can make the original thumbscrews unusable. Wear protective gloves when calibrating with metal thumbscrews.
Another feature of the new plastic thumbscrews is that they come with 24 divisions instead of 8. This increases the precision of the calibration when following the printer instructions.
How to install the plastic thumbscrews
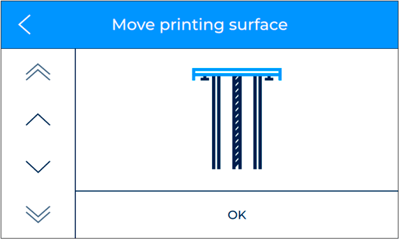
1. Raise the print surface by going to Maintenance/Move Printing Surface menu
2. Remove the metal thumbscrew by fully unscrewing them
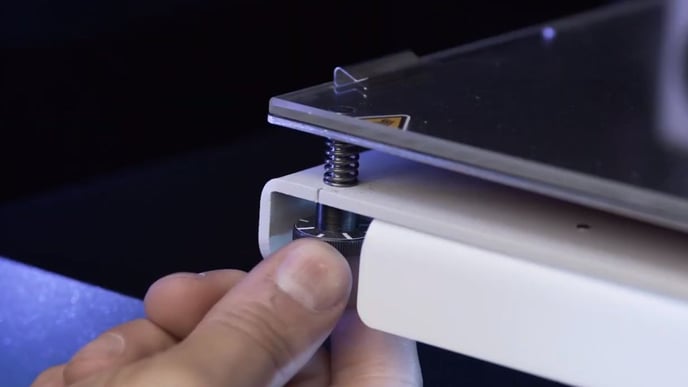
3. Screw in the new plastic thumbscrews
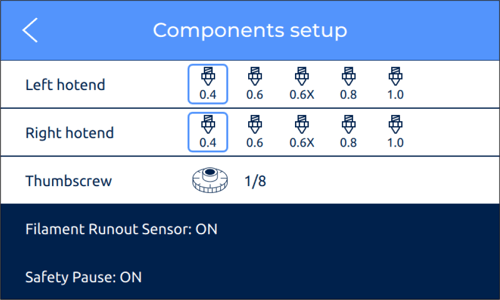
4. Change the printer configuration to 1/24 thumbscrews by going to the Utilities/Printer Setup/Components Setup menu.
