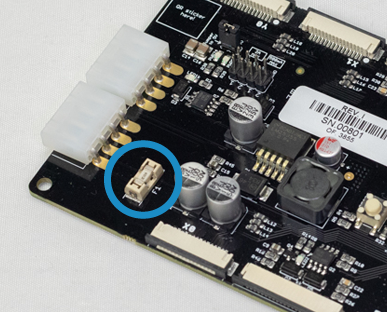
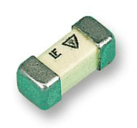
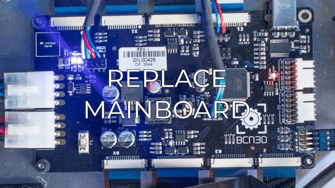
Our mainboards have a removable fuse (0451012.MRL) that protects the mainboard from short circuits. Usually, if your printer doesn't heat both hotends, the bed, and the motors do not function, you will need to change the fuse. To check and change the fuse, follow the steps below:
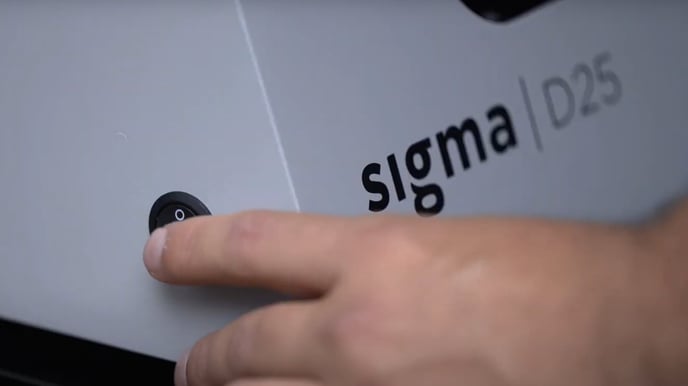
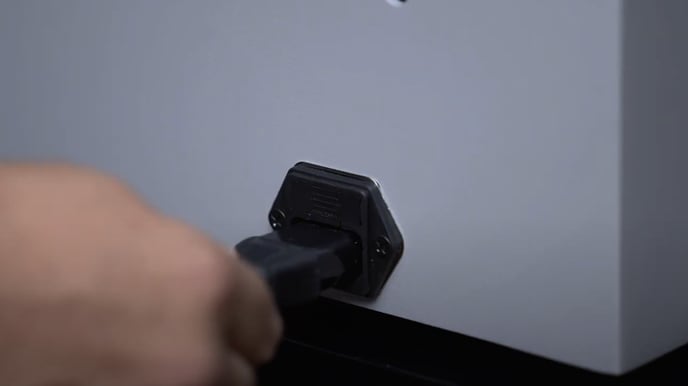
1. Turn off and disconnect the printer.
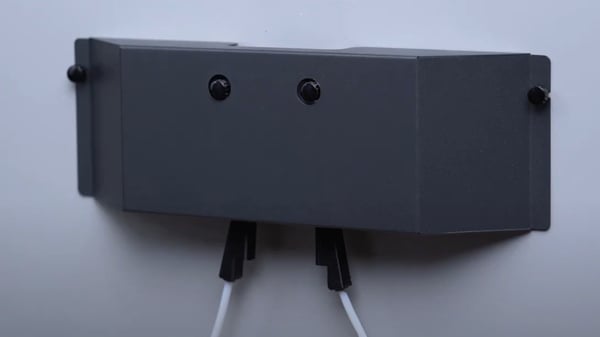
2. Remove the extruder motors cover in the back of the printer by loosening the two thumbscrews.
3. Remove the lower bowdens from the FRS.
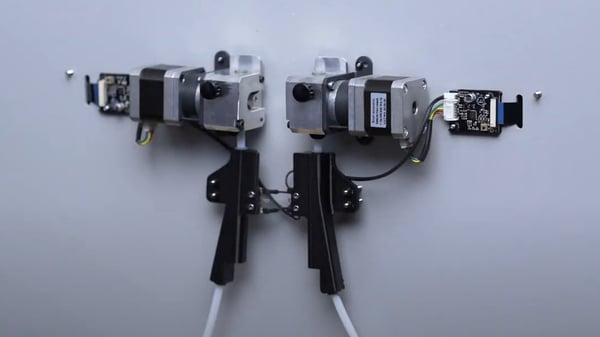
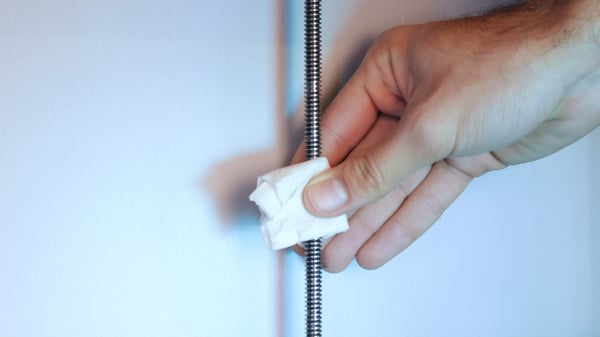
4. To get access to the bottom cover you will need to raise up the printer surface, if you can't turn on the printer, you will need to manually raise the printing platform by spinning the Z motor lead screw.
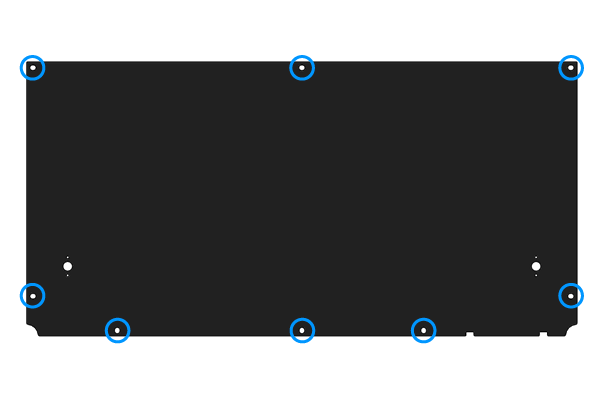
5. Remove the inner cover. Follow this guide to understand this process:
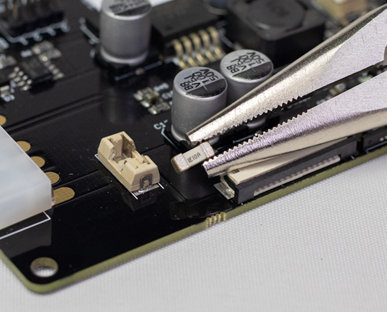
 6. The mainboard's fuse is located on the top left side of the mainboard. To remove it, pull out the fuse by levering it with a flat head screwdriver. If the fuse is damaged, replace it. The fuse doesn't have polarity, you can install it in any direction.
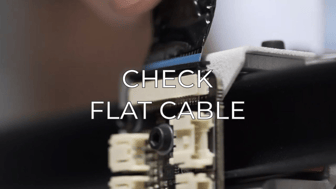
7. Remember to check the flat cable connections before turning on the printer to prevent short circuits. For more information on this, click on the following article:
How to check flat cable connections (Sigma Series)
Conclusions
If replacing the fuse doesn't fix your issue, please get in contact with the support team by filling this form: Support form.
Forum community
Repair didn’t go as planned? Check out our forum community for troubleshooting help.
It's important to keep your printer in good shape to make the most out of it. In this chart, you can find a list of the extruder maintenance procedures and how frequently these should be done. Maintenance Plan
![]() Take your e-waste to a certified recycler. Check how we do it in BCN3D.
Take your e-waste to a certified recycler. Check how we do it in BCN3D.
|
You can help improve the BCN3D Knowledge Base. If you feel there are guides that we are missing or you found any error, please use this form to report it. Report form :) |


