Warranty notice:
If the Smart Cabinet is improperly or poorly packaged, there is increased risk that the unit could be damaged during transport, thus voiding the warranty.
We therefore recommend the original packaging materials.
If you don't have the official packaging or need part of it, please use our contact form to reach us.
Process:

Make sure that the location of the cabinet is positioned close enough to where you're preparing the box. Also, make sure that it is packaged in a place that will be accessible for delivery.
1. To begin, Make sure the printer is powered down and unplugged.
.png?width=335&name=unplug-smart-cabinet-printer%20Cropped%20(1).png)
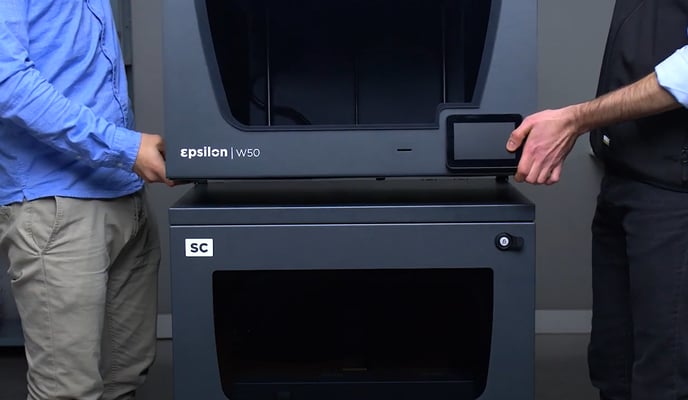
2. You first need to remove the printer from the cabinet surface. Be sure to have a sturdy surface that will be able to hold the weight the printer in proximity.
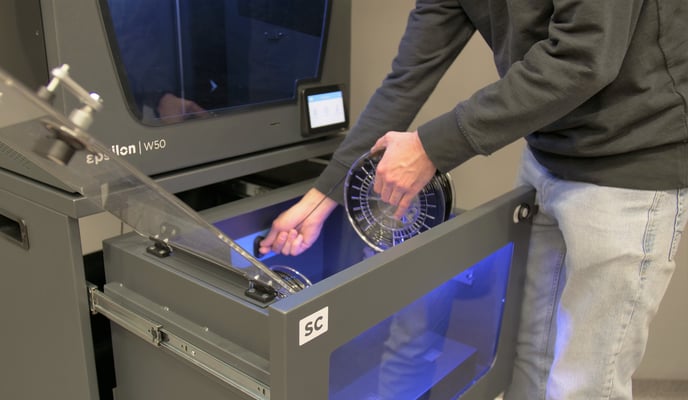
3. Remove any filament or spool cartridges from the cabinet. Close the door and make sure the dehumidifier door is locked with the knob.
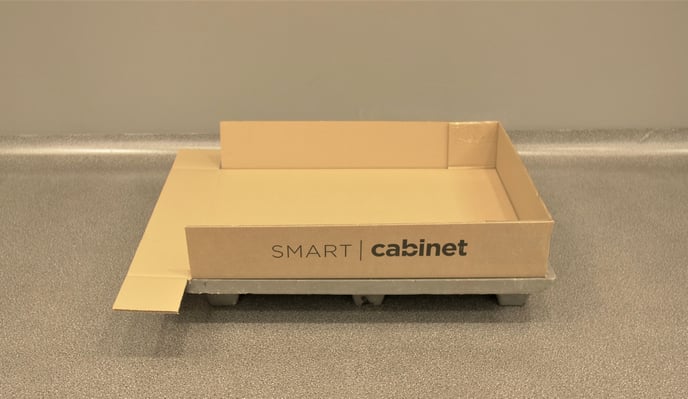
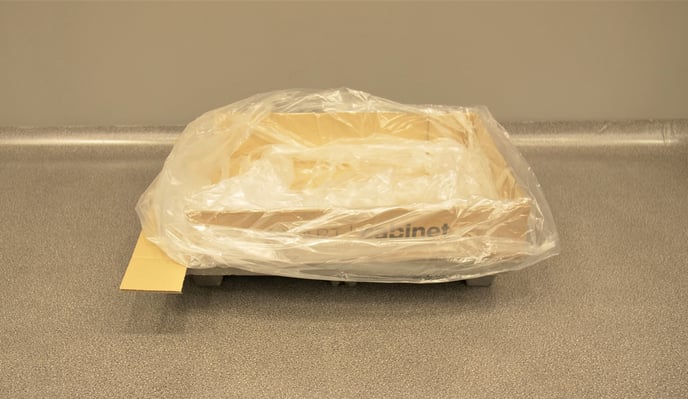
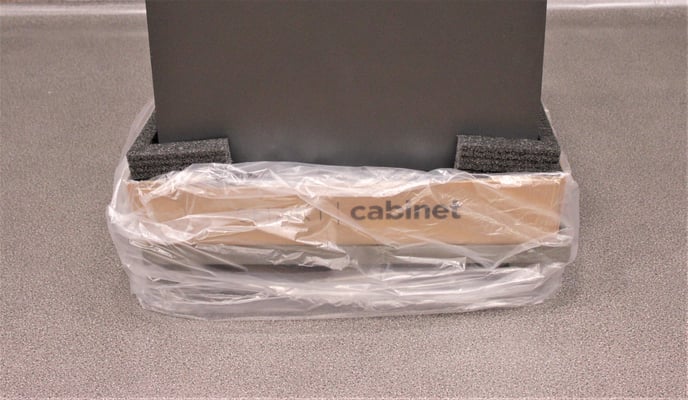
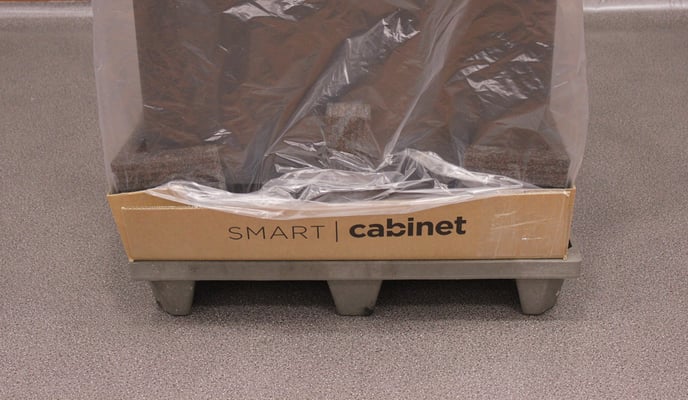
4. Place the bottom box on the pallet with one side tab up and the other one lowered, the box should read "Smart Cabinet"
5. Place the protective plastic bag on the box, remember the idea of this is to eventually wrap the cabinet with the bag so spread the sides out as best you can.
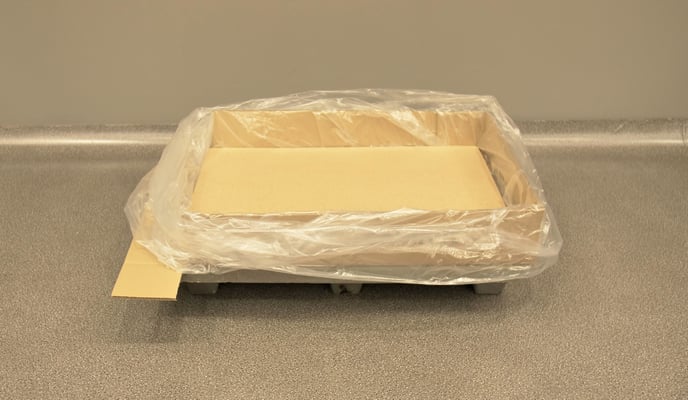
6. Place the panel box section on top of the plastic
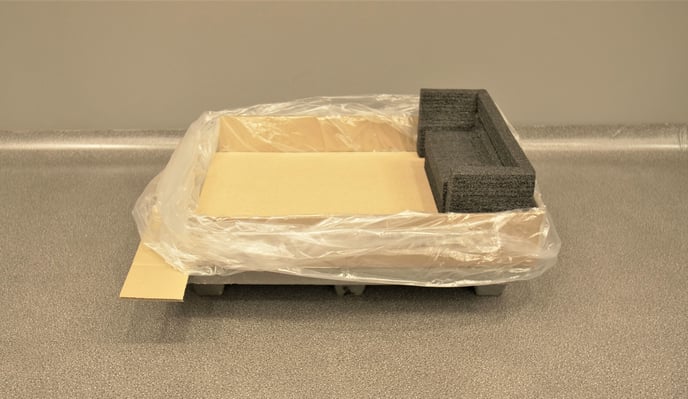
7. Place one of the side foam pieces approximately where the cabinet would stand inside the box.
8. With the assistance of another person, move the cabinet onto the pallet and raise it onto the side foam piece (already in place on one side) on the pallet.
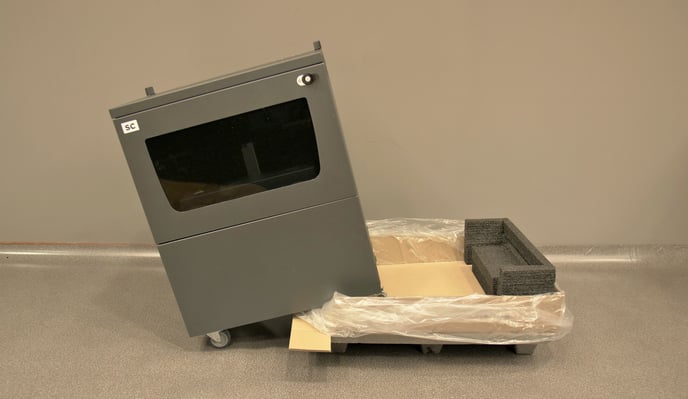

9. Once the cabinet is resting on one side foam piece, lift the other side and install the other side foam piece. You can now insert the middle foam sections.
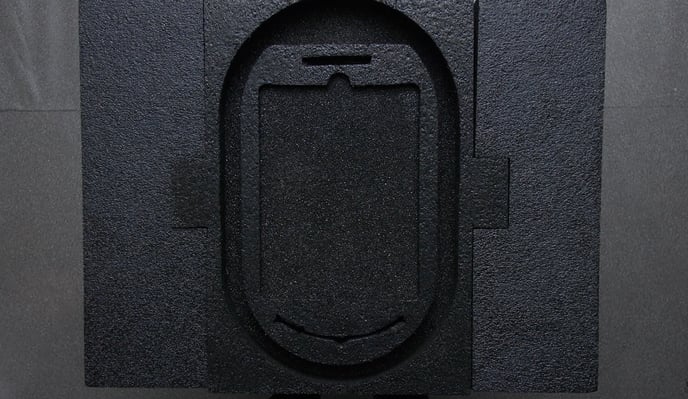
10. Place the top sections of foam onto the cabinet
Note: If you are planning to send your cabinet to the BCN3D technical service it's not necessary to package the coupling clips, USB cable, or boxes containing the filament cartridges and spool holders.
11. Raise the bag so that it encompasses the entire cabinet
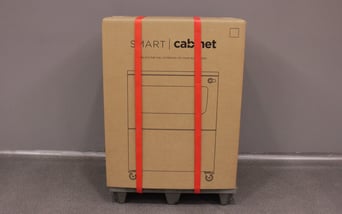
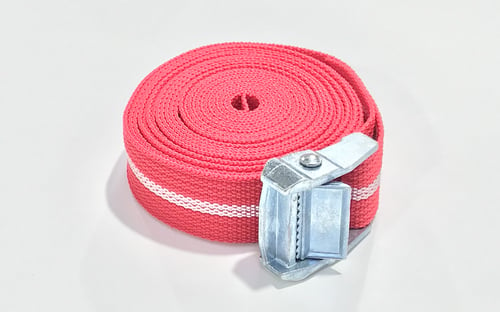
12. Put on the upper box and wrap all boxes and strap them. If you don't have straps to complete the packaging, you can get in touch with BCN3D or your reseller to buy new straps: SKU 10050.
Conclusions
BCN3D designs their packagings to protect the printer during the transport, please remember to retain the packaging.
Forum Community
Do you need more tips? Check out our forum community for more info about this.
It's important to keep your smart cabinet in good shape to make the most out of it. In this chart, you can find a list of the maintenance procedures and how frequently these should be done. Maintenance Plan.
![]() Take your e-waste to a certified recycler. Check how we do it in BCN3D.
Take your e-waste to a certified recycler. Check how we do it in BCN3D.

|
You can help improve the BCN3D Knowledge Base. If you feel there are guides that we are missing or you found any error, please use this form to report it. Report form :) |