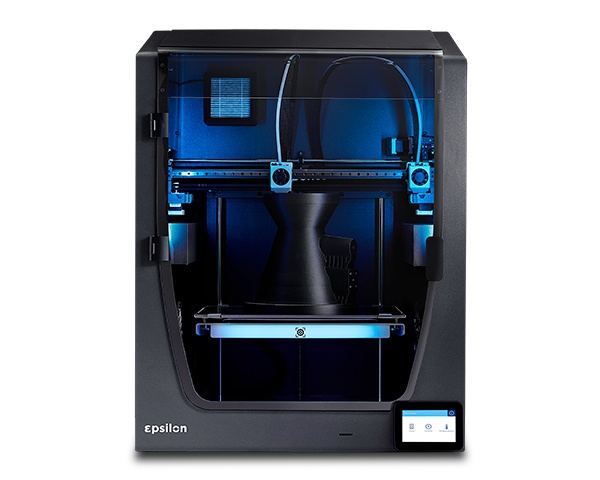
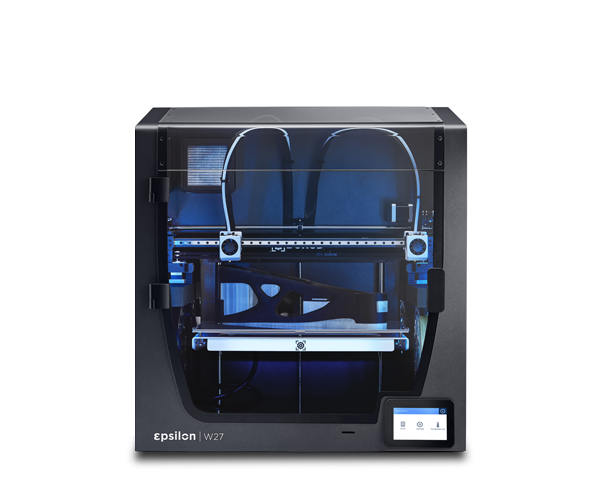
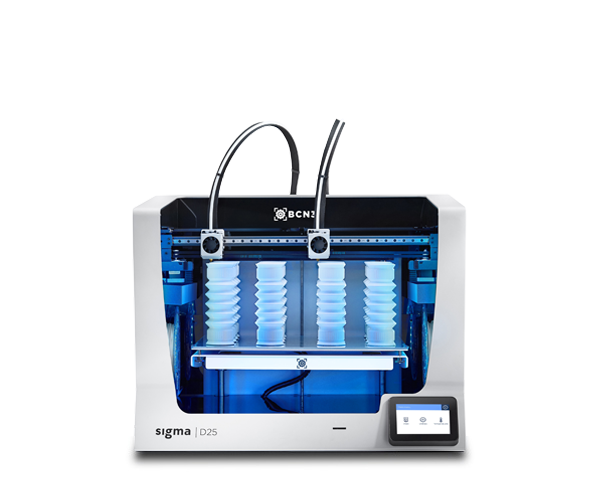
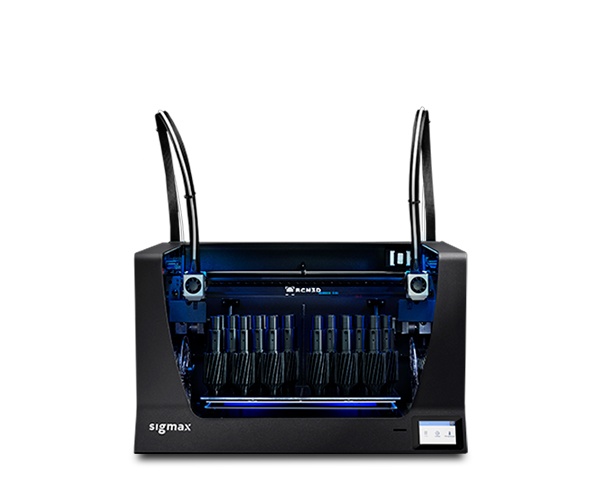
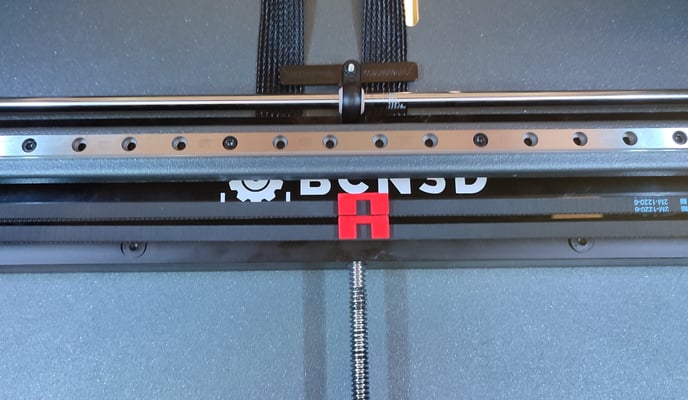
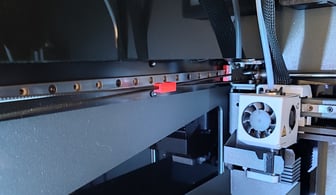
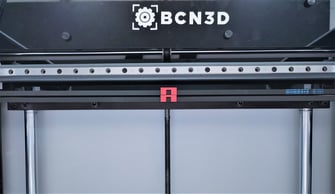
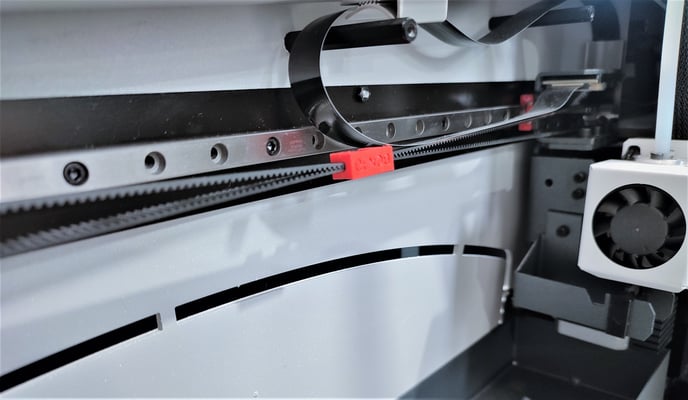
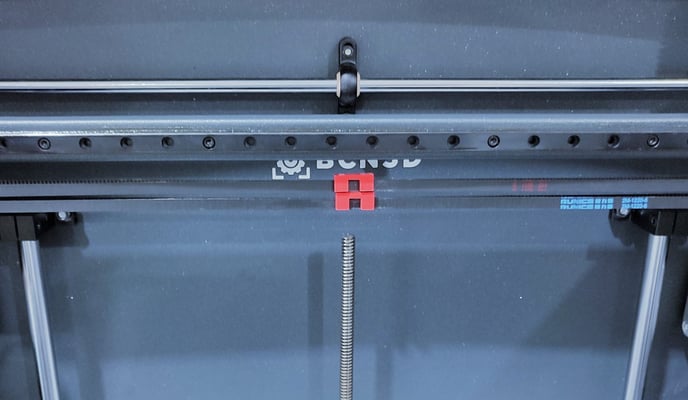
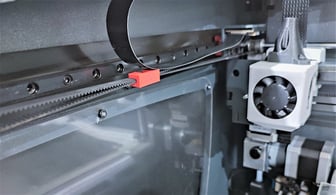
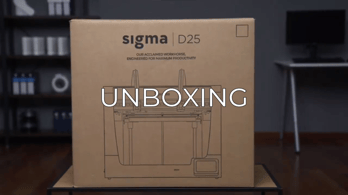
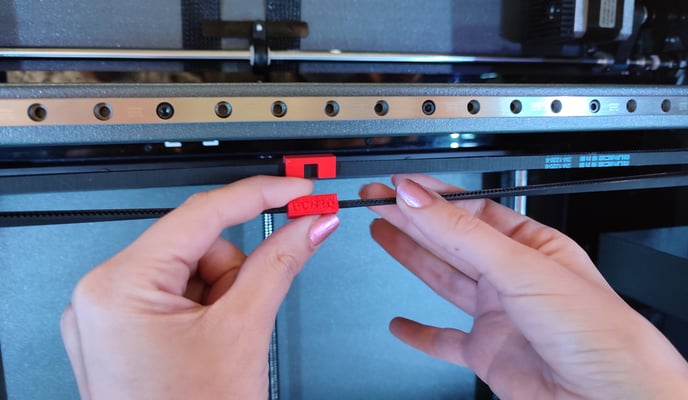
The printer has four belt clamps that immobilize the axis belts during transport. Before starting with the welcome assistant, is necessary to remove the clamps
When unboxing the printer, you will find four clips holding the belts. Two on the X-axis and two more on the Y-axis. Before turning the printer on, they must be removed to allow the free movement of the axes.
These are added by our technical service to block the axis during transportation and to prevent the misaligning of the parallelism of the printer.
- Check where the belt clamps are located according to each BCN3D printer.
To remove the belt clamp, hold the belt first and remove the piece.
Epsilon Series
When unboxing the Epsilon printers, you will find the belt clamps located in the following way, substituting the lathers that used to hold the printheads.
- If you are planning to send the printer to be repaired, you can print the clamps using the STL file that you can find in this article: Epsilon Series Printed parts
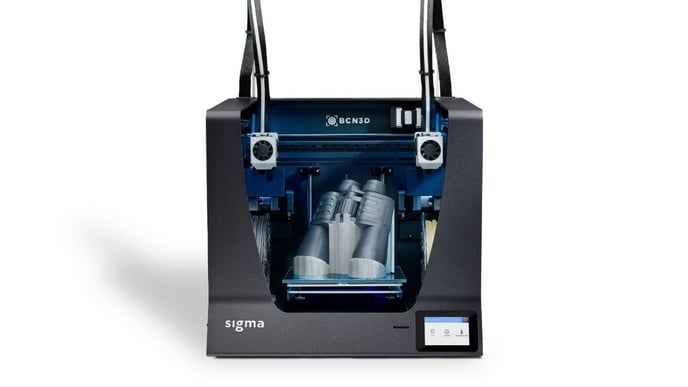
Sigma Series
When unboxing the Sigma printers, you will find the belt clamps located in the following way, substituting the lathers that used to hold the printheads.
- If you are planning to send the printer to be repaired, you can print the clamps using the STL file that you can find in this article: Sigma Series Printed parts
BCN3D Sigmax and Sigma
When unboxing the printer, you will find the belt clamps located in the following way, next to the lathers that hold the printheads.
- If you are planning to send the printer to be repaired, you can print the clamps using the STL file that you can find in this article: BCN3D Sigmax Printed parts
- Note: We recommend keeping the belt clamps in case you need to ship the printer.

