Content table

Replacing the X-Axis Drivers
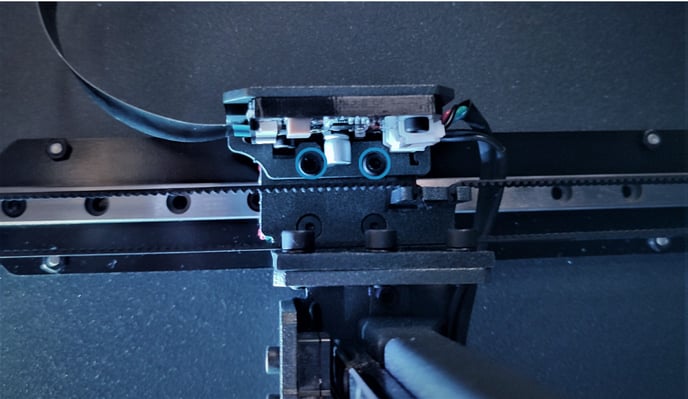
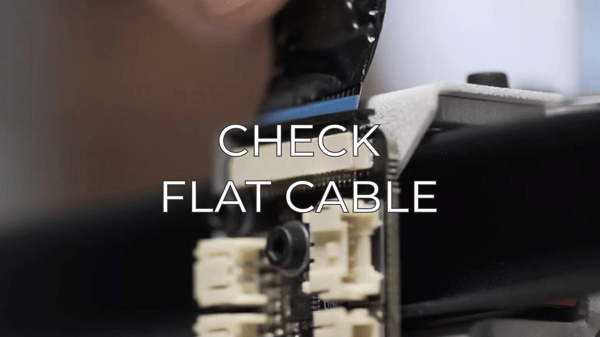
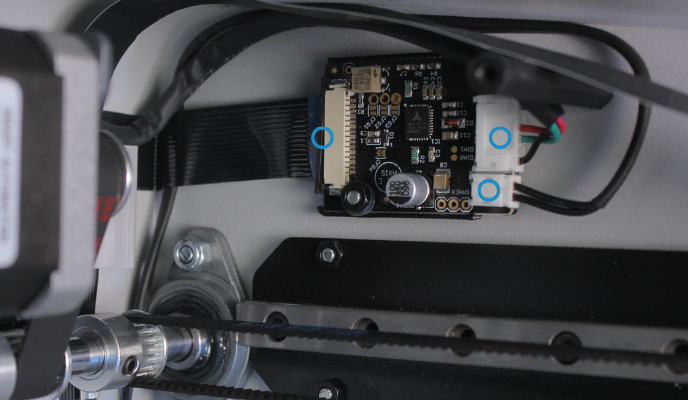
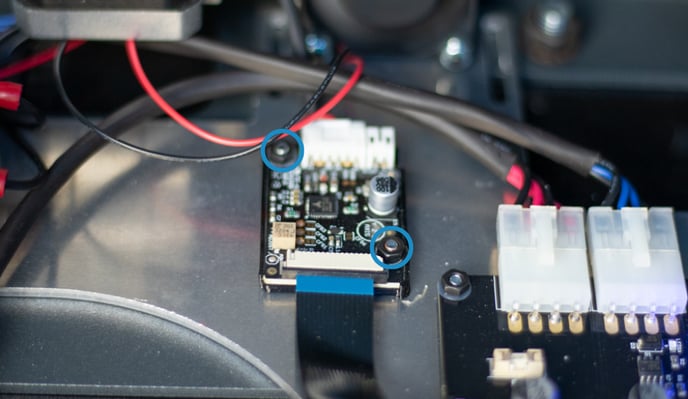
2. Disconnect the flat cable and the other connectors
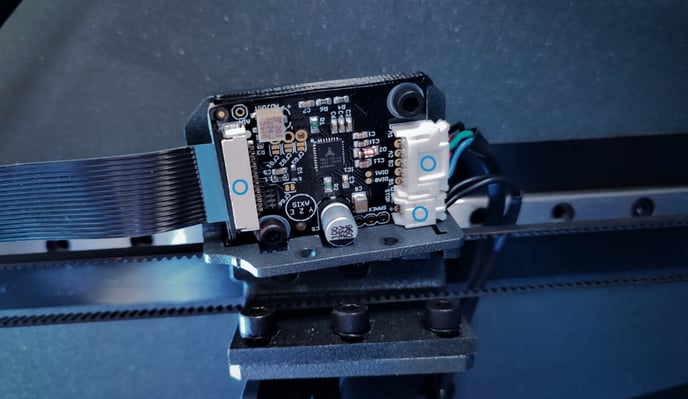
4. Connect the flat cable and the other connectors to the new driver
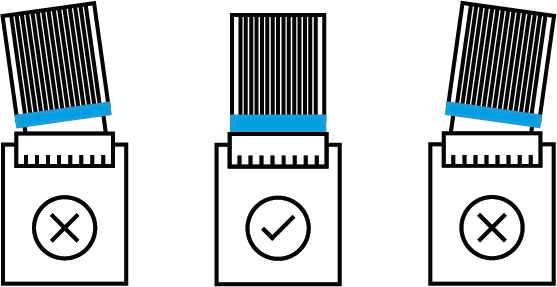
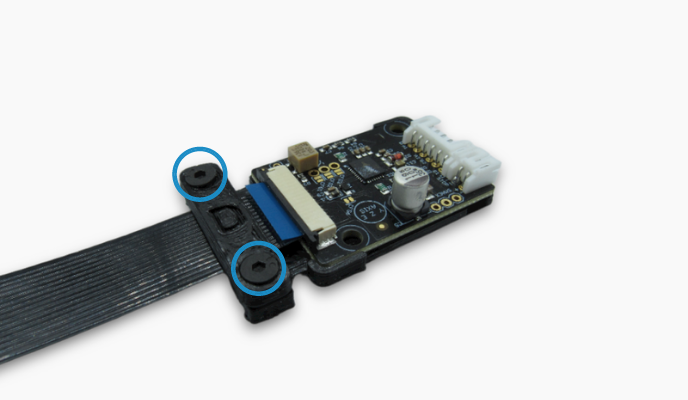
You will need to sightly unscrew the clamp to insert the flat cable into the driver. Make sure that the flat cable is correctly installed and close the clamp adjusting the screws.
.png?width=688&name=Dise%C3%B1o%20sin%20t%C3%ADtulo%20(16).png)
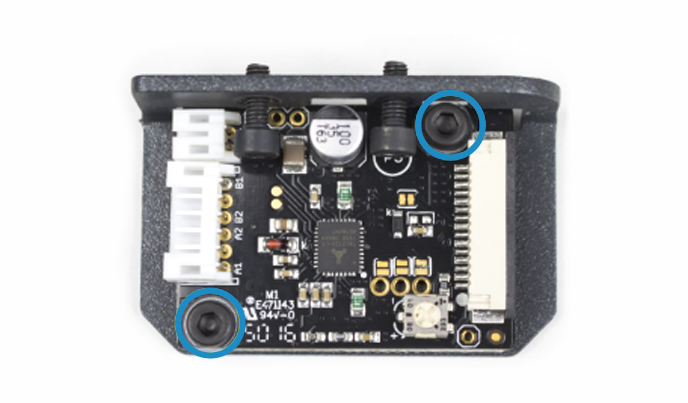
5. Tighten the two screws of the Driver holder.
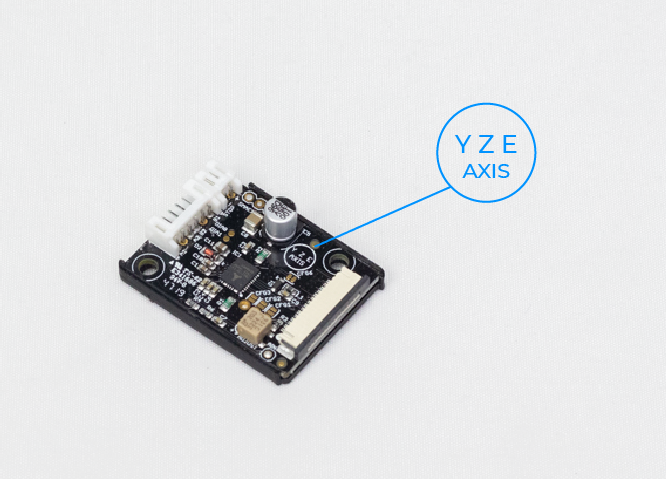
Replacing the Y-Axis Driver
%20Cropped.png?width=688&name=Dise%C3%B1o%20sin%20t%C3%ADtulo%20(23)%20Cropped.png)
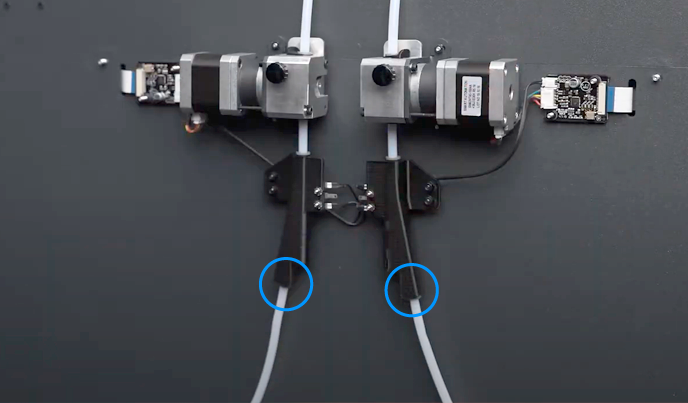
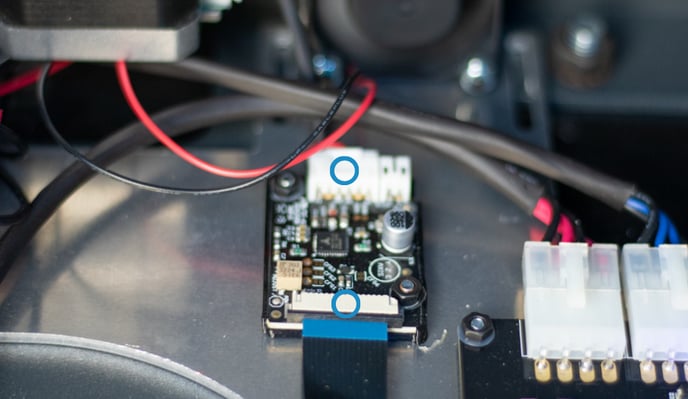
2. Disconnect the flat cable and the other connectors
3. Connect the flat cable and the other connectors to the new Driver
Check that the flat cable is correctly installed before continuing with the next steps
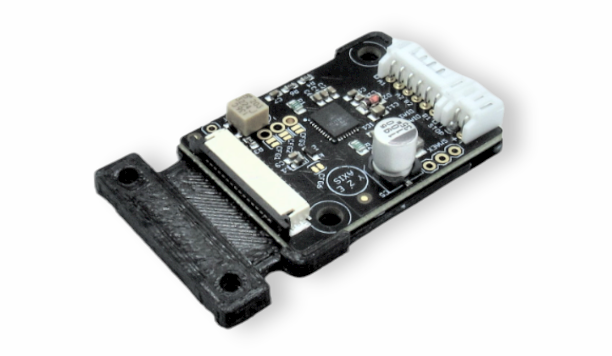
- If you have received a driver with flat cable clamp, you will need to place the upper part of the clamp over the driver spacer and adjust the screws to secure the cable.
4. Install the driver in its position, place the washers and re-tighten the two nuts
Replacing the Z-Axis Driver
1. Remove the lower bowdens from the FRS
2. Remove the bottom Z cable covers
Follow the next article to understand this process: How to remove the Z cable cover.

3. Raise the printing platform
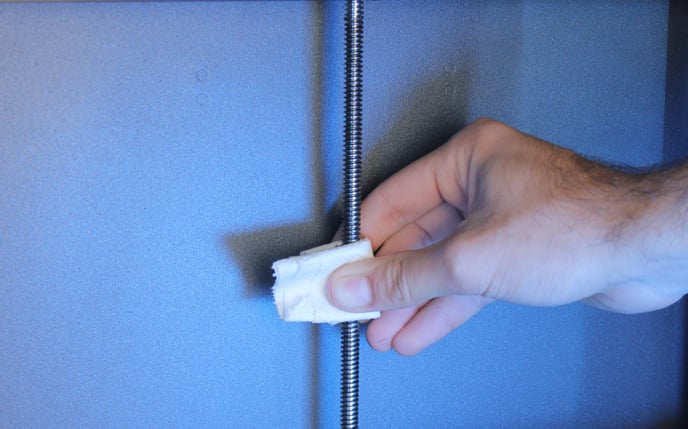
To get access to the inner cover you will need to raise up the printer surface. If you can't turn on the printer, you will need to manually raise the printing platform by turning the Z motor lead screw.
4. Remove the frontal inner cover
Follow this guide to understand this process: How to remove the inner cover
6. Disconnect all the cables from the Driver
7. Connect the flat cable to the new Driver
Check that the flat cable is correctly installed before continuing with the next steps
- If you have received a driver with flat cable clamp, you will need to place the upper part of the clamp over the driver spacer and adjust the screws to secure the cable.
8. Install the driver to its position, place the washers and re-tighten the two nuts