To remove the inner cover, you'll have to disassemble the Z cable covers first. This article will show you how to proceed:
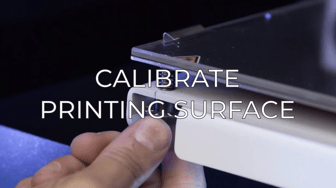
1. Raise up the printing surface: Utilities/Maintenace/Move printing surface.
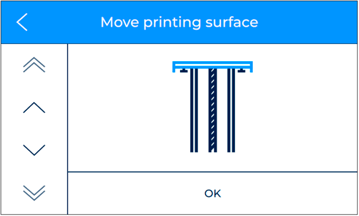
Note: If you can't move the printing surface from the touchscreen, spin the Z axis lead screw clockwise in order to move the surface up. Grab a piece of paper to have a better grip.
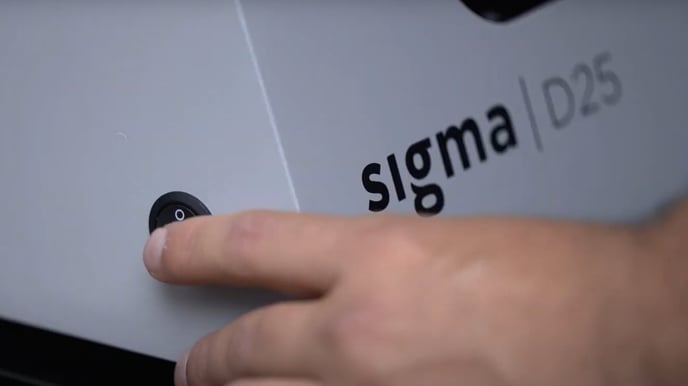
2. Turn off and disconnect the BCN3D Sigma.

Conclusions
To reassemble, first, screw the lateral covers and then the top cover. Be careful when you are reassembling the covers, an excess of pressure or a bad positioning can break them.
Forum community
This article doesn't fix your issue? Check out our forum community for more info about this
It's important to keep your printer in good shape to make the most out of it. In this chart, you can find a list of the extruder maintenance procedures and how frequently these should be done. Maintenance Plan
![]() Take your e-waste to a certified recycler. Check how we do it in BCN3D.
Take your e-waste to a certified recycler. Check how we do it in BCN3D.
|
You can help improve the BCN3D Knowledge Base. If you feel there are guides that we are missing or you found any error, please use this form to report it. Report form :) |