An article of paramount importance explaining how to remove your print without any issues
The printing surface provides a great smooth surface to print your models on, however, they require a bit more maintenance and there are some things to take into account to safely remove the print in order to prevent the glass from chipping.

Glass chipping is one of the most common adhesion issues, in this case, it is a sign of over-adhesion. You'll find pieces of glass stuck on the base of the printed part, leaving holes in the printing surface. This happens especially when printing materials with a high contraction rate such as ABS.
How to prevent glass chipping
To prevent this from happening, the following considerations need to be taken:
- Warning! Never remove the prints from the printing surface while it is still on the printing platform, this can lead to severe damage to the glass and the Z-axis mechanism. Always take the printing surface out of the printing platform before removing the parts.
1. Before printing, apply a good amount of Magigoo or the adhesive you may prefer.
This way a protective layer is created between the surface and the print, and will absorb any tensions that may originate during cool-down.

- Tip: Remember to set up the printing surface to ensure good adhesion across the whole printing surface.
2. After the print has finished, allow the build plate to cool down for 15 minutes.
- Remove it from the printer.
- Spray some water on the build plate, this will soften the Magigoo and ease the extraction process. This is very important if you are printing ABS.
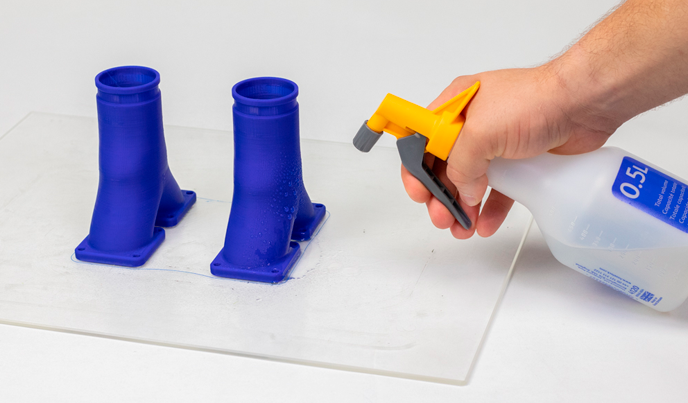
- Warning! Don't apply water inside of the printer! This can damage the printer and electronics inside of it.
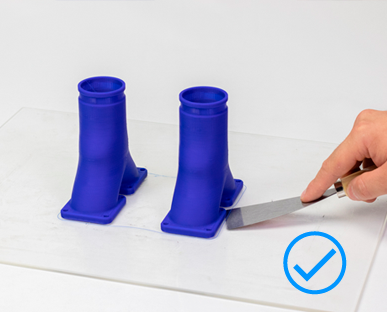
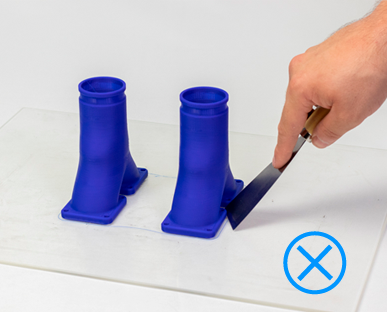
3. When extracting the prints, avoid applying leverage to release the parts.
Pay attention to the orientation of the spatula, it should be as flat as possible.
- Warning! Removing the part inside of the printer can result in disruption of the calibration.
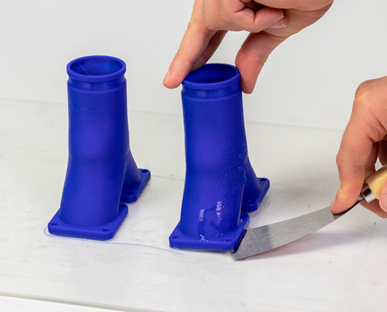
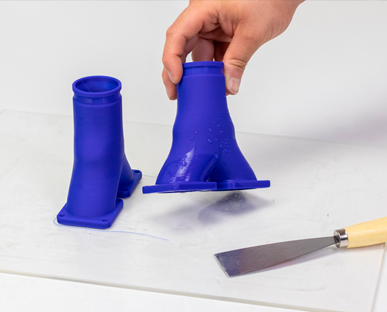
Gently press the spatula at the sides of the base of the print, the part should pop-off easily. Do not hit on the sides of the part with too much force.
Always remove the parts with a movement that is made from your body. Remember to be cautious of where you are having your second hand while removing the print to avoid hurting yourself.
- Tip: Tilt the glass so you have the underside visible to see what parts of the print are already detached.
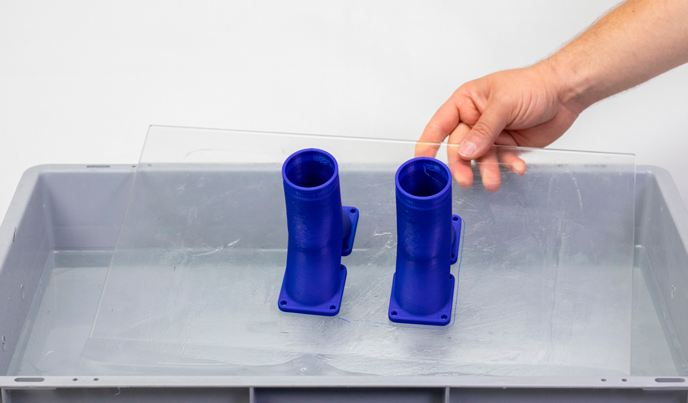
4. If you find it difficult to detach the part, don't rush it, simply dunk the glass plate in water for some minutes.
Almost all the different adhesives are water-soluble. Because of this reason, one of the most effective ways to remove some materials from the build plate is to dissolve the glue with some water. You can also spray some water on the glass if you prefer a cleaner process.
Tips
- When using a brim, it is recommended to first peel the border around the part and then try to remove the print.
- In the case of using Magigoo PRO PPGF, it is advisable to preheat the printing surface above 80ºC and carefully push the part until it is removed.
Conclusions
- Before print, apply magigoo to create a protective layer over the printing surface
- Remove the printing surface from the printer and wait until it is cold
- Apply water over the surface or dunk it in water for some minutes to dissolve the glue
- Don't apply a lot of force trying to remove the part from the surface
- Once these points are adopted as a habit, you'll notice that glass won't chip in a long time.
- Remember that glass plates are considered consumable material and are not covered under warranty, so keeping care of them is key to have great printing results and saving money.

