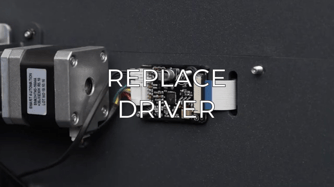
Learn how to change the driver spacer of your drivers to secure the connection of the flat cable and avoid problems related to the disconnection of the cable, like layer shifting or shortcircuits
1. Preparing the driver spacer
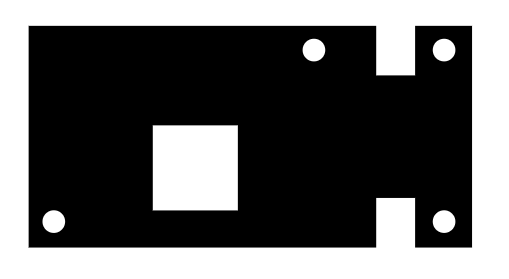
- This upgrade is compatible with the XYZ drivers installed in the BCN3D Printers and is highly recommended to be installed on the X drivers.
- You can print the driver spacer using the STL file. We recommend printing it in PET-g and using a 0.4mm hotend.
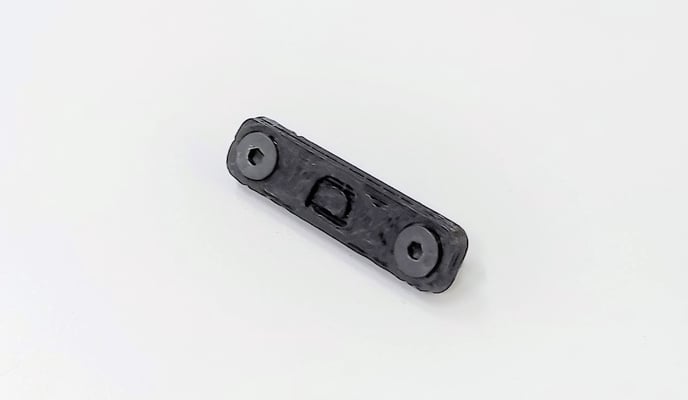
Before changing the driver spacer, would be necessary to install nuts and screws on the spacer.
1. Gently push the M3 nuts in the driver spacer to Insert them.
.png?width=688&name=Dise%C3%B1o%20sin%20t%C3%ADtulo%20(17).png)
2. Insert the M3x8mm screws in the top side of the driver spacer
2. Changing the driver spacer
1. Remove the driver spacer and the heatsink from the driver
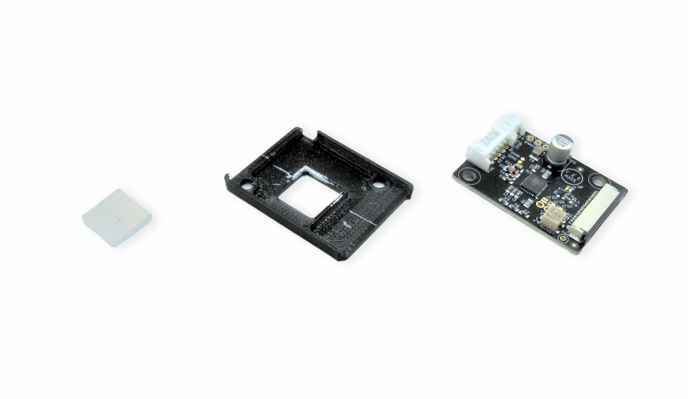
2. Insert the heatsink in the new driver spacer
%20Cropped.png?width=688&name=photoroom%20(4)%20Cropped.png)
3. Install the driver in the spacer with the flat cable connector facing the clamp area
%20Cropped.png?width=688&name=photoroom%20(5)%20Cropped.png)
4. Place the top side of the clamp over the driver and sightly screw it
%20Cropped.png?width=688&name=photoroom%20(6)%20Cropped.png)
3. Installing the driver in your printer
To install the driver in your printer, click on the picture corresponding to your printer model.
Conclusions
- Is highly recommended to install the driver spacer with the flat cable clamp in the X driver to secure the connection of the flat cable and avoid the disconnection of the cable due to the movement of the axis.
- This upgrade is compatible with the Epsilon Series, Sigma Series, BCN3D Sigmax, and BCN3D Sigma printers.
- If you have any doubt about this upgrade feel free to get in contact with the support team.

