
This upgrade is only for the early Sigma units that don't have the new extruder board and cooler fan that only turns on when the hotend has a temperature over 90ºC.
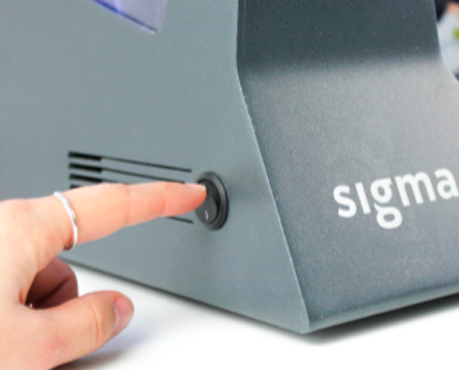
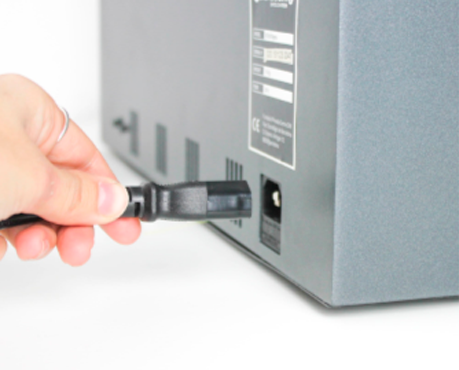
Before starting the upgrade, turn off and disconnect the printer.
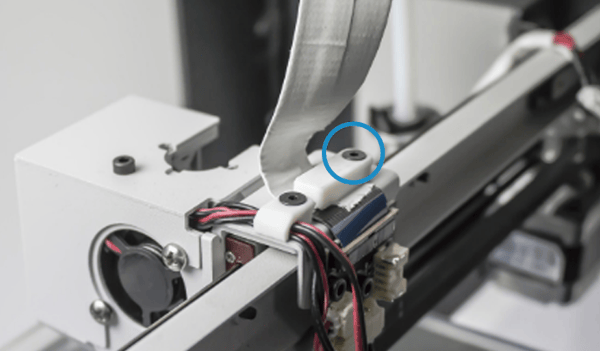
2. Remove and slide the cover-up. You can hold the cover like in the following picture.
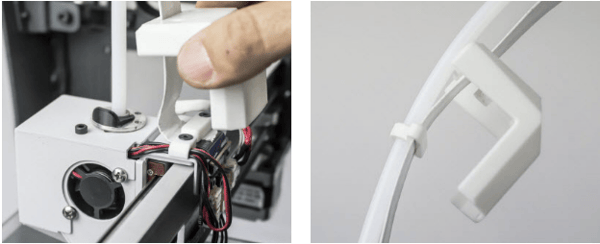
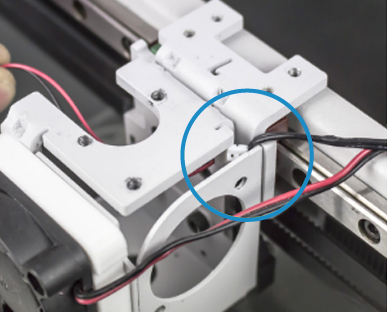
3. Cut the zip-tie and remove it.
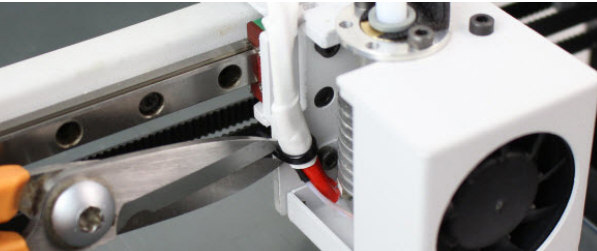
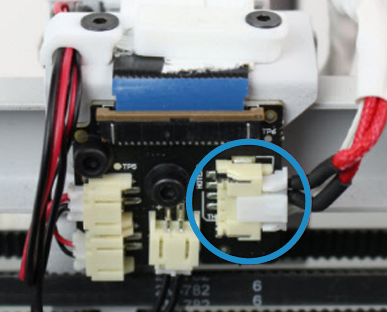
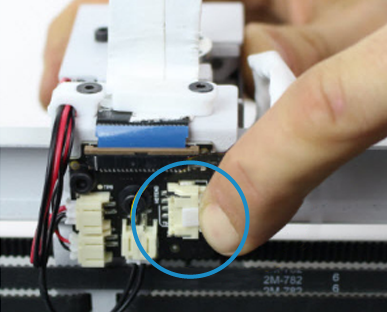
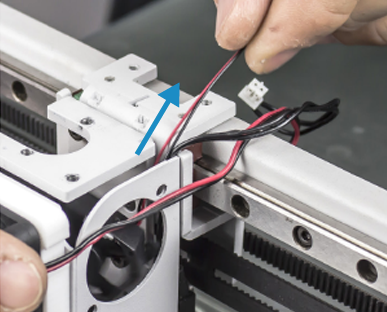
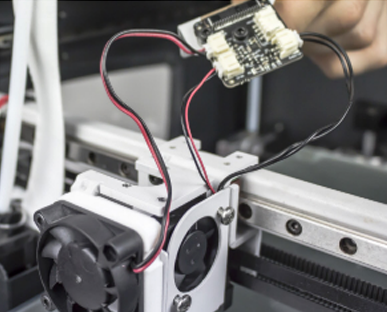
4. Disconnect the cable from the hotend pressing de connector.
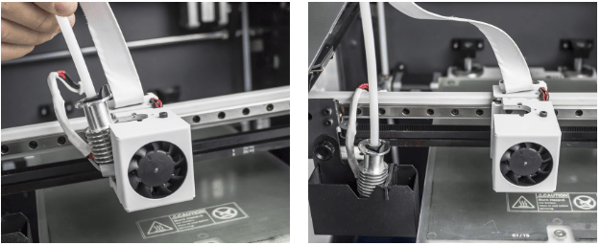
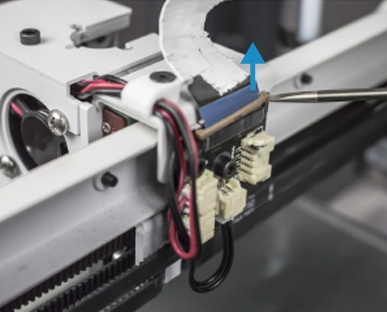
5. Take the hotend out of the tool head.
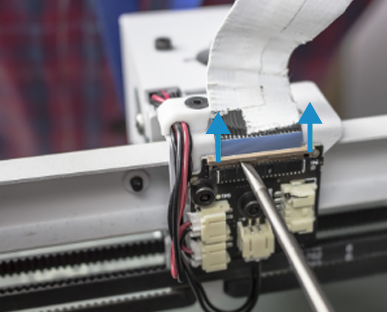
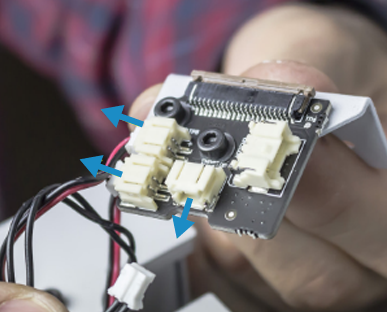
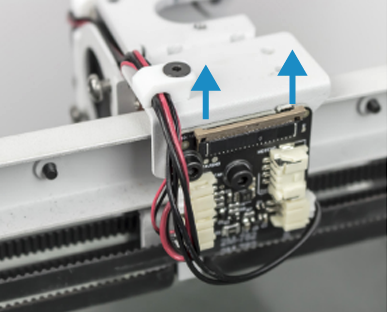
7. Gently release the latch, first one side and then the other. Remove the flat cable.
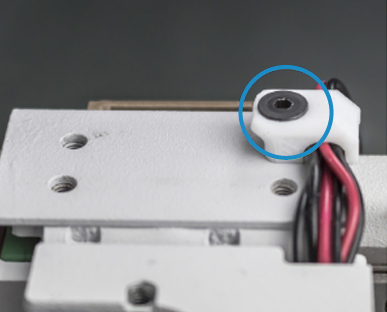
8. Remove the other cables holder unscrewing the Allen screw. Disconnect the cables of the endstop and the two fans.

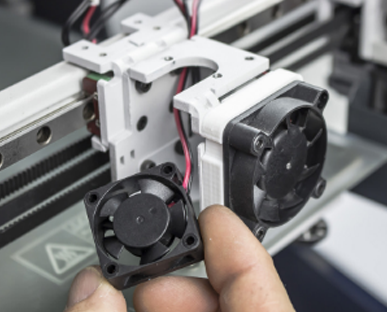
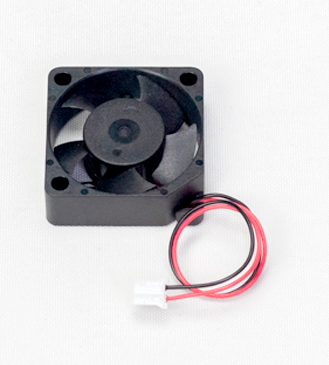
10. Take the new fan and make sure its cable is out of the locking tab
11. Insert the fan cable through the hole of the corner as the following pictures.
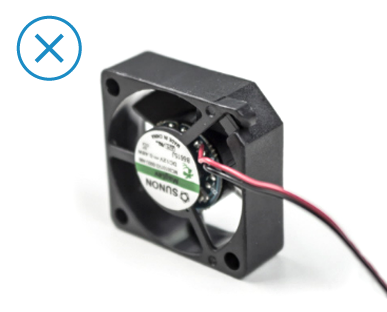
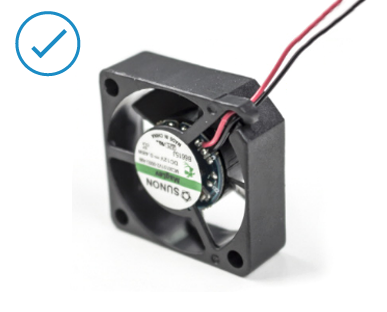
12. Make sure to put the fan in the correct position, with the sticker inwards and the cable as the following picture.

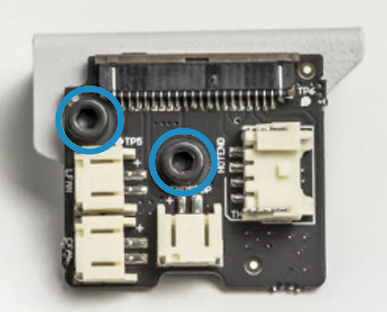
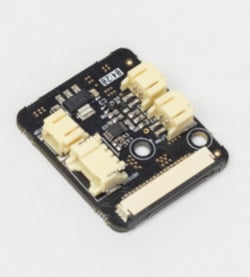
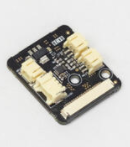
15. Take the new connection board with the same screws and washers and screw them on the same metal sheet. The washers have to be on both sides of the connection board.
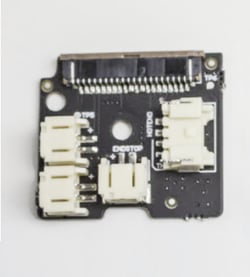
16. Connect the two fans and the endstop. Look closely where each one is connected.
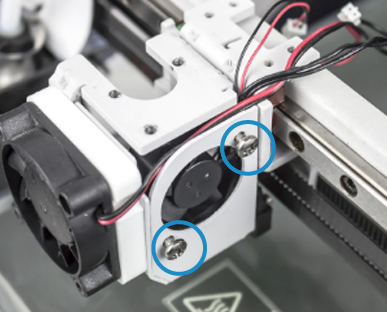
17. Position this assembly in its place and screw the holder with the cables well positioned.
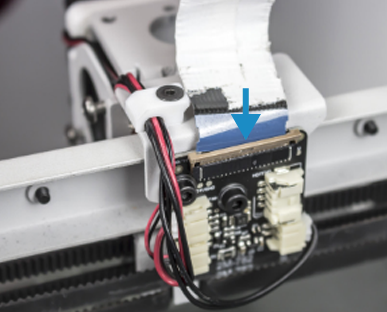
Connect the flat cable. First, pull the latch-up gently, then insert de the flat cable in the connector carefully, and finally push the latch down. Make sure the latch is really tight.
Conclusions
This upgrade will make your printer make less noise when it is printing and save energy when it is on standby.
It's important to check the connections of the flat cables before powering the printer back up, you will find more information about this here: How to check flat cable connections
Forum Community
Need more tips? Check out our forum community for more info about this
It's important to keep your printer in good shape to make the most out of it. In this chart, you can find a list of the extruder maintenance procedures and how frequently these should be done. Maintenance Plan
![]() Take your e-waste to a certified recycler. Check how we do it in BCN3D.
Take your e-waste to a certified recycler. Check how we do it in BCN3D.
|
You can help improve the BCN3D Knowledge Base. If you feel there are guides that we are missing or you found any error, please use this form to report it. Report form :) |