The Colibri board is an electronic board that has the firmware and the certificates of the serial number of the printer. In this article, you will find the steps to change the Colibri board.
![]() This is an advanced repair article. This guide is designed to be performed with the authorization and assistance of the BCN3D support team or authorized distributors.
This is an advanced repair article. This guide is designed to be performed with the authorization and assistance of the BCN3D support team or authorized distributors.
Without the necessary knowledge, you could cause damage to the printer during repair and invalidate the warranty.
If you have any questions or problems please contact the support team: contact form.
Warning! If you have not received and installed the new Colibri yet, it is mandatory to keep the printer unregistered from the BCN3D Cloud. This is because the Colibri board has the certificates of the serial number for the BCN3D Cloud, making it only possible to have one Colibri per serial number.
%20Cropped.jpg?width=688&name=IMG_4035%20(2)%20Cropped.jpg)

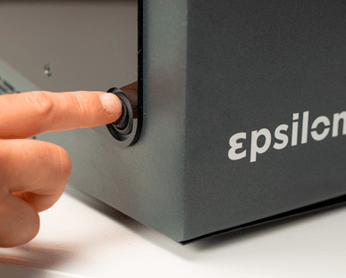
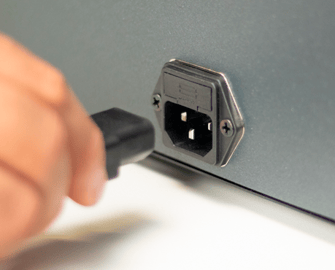
1. Turn off and unplug the printer.
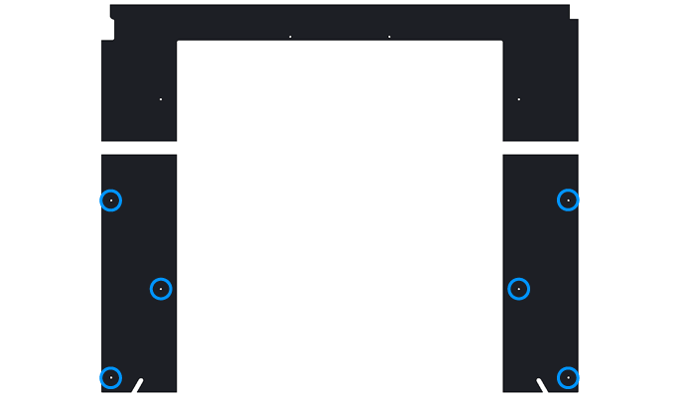
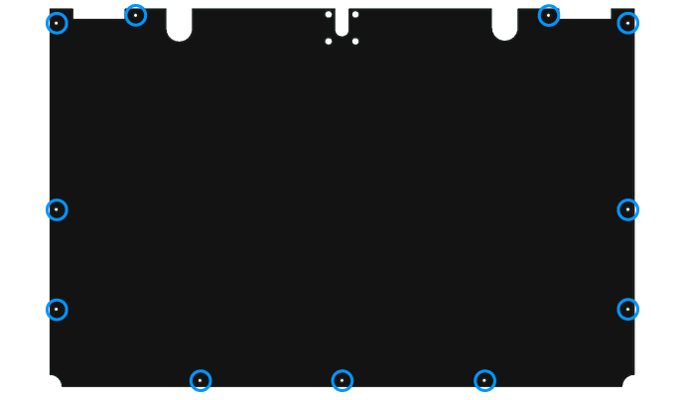
2. Remove the bottom Z cables covers
In this article, you will find how to do this process. How to remove the Z cable cover (Epsilon Series)
3. Remove the inner cover
check this article if you have any doubts. How to remove the inner cover (Epsilon Series)
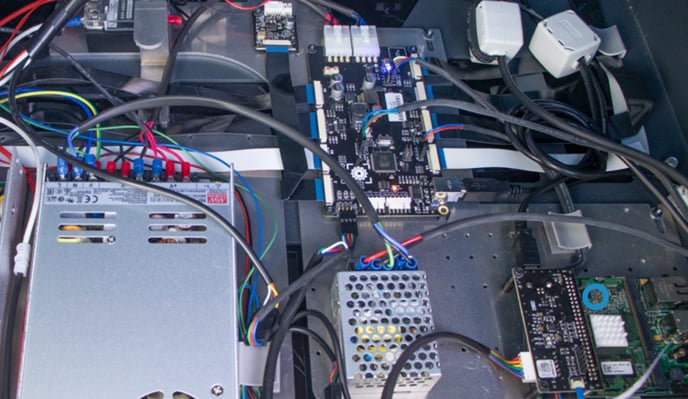
4. The Colibri board is located in the right corner closer to the screen
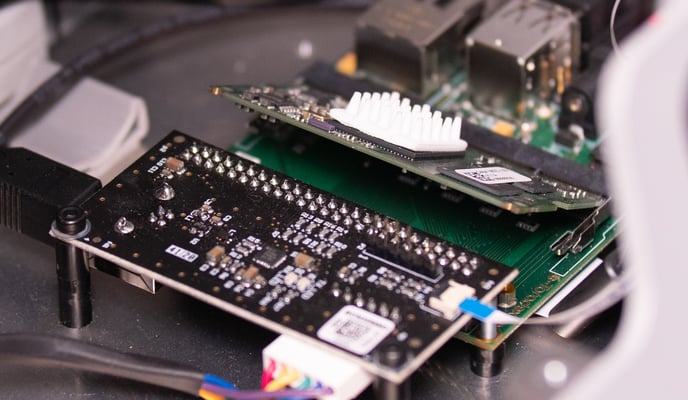
5. Push the side levelers to the side and the Colibri will raise automatically until the position shown in the picture of the step 6.
%20Cropped.png?width=688&name=Dise%C3%B1o%20sin%20t%C3%ADtulo%20(58)%20Cropped.png)
6. Remove the Colibri. Install the new Colibri inserting the right side first
(As shown in the picture) and then push the other side down.
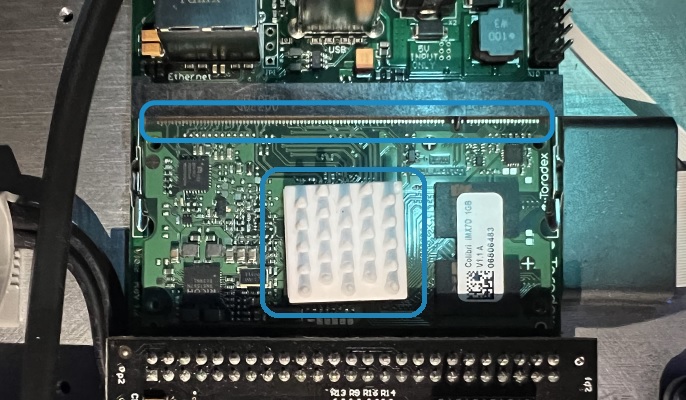
Once the new colibri is installed, make sure to remove the white heatsink from the old colibri and install it on the IC of the new one one, as shown in the pictures below, in order to ensure its correct performance
7. Follow the same steps in the opposite order to reassemble the printer after checking if the Colibri is well installed
- Do not touch any electrical part of the printer.
Make sure the colibri board is well installed and all the pins are connected.