From CAD model to functional metal part

In this article, we will explain the workflow to ensure that your CAD model will become a functional metal part with the help of 3D printing. You will learn fundamental aspects such the design of the part, tips for printing on metal, the thermal processes to obtain a metal part, and an introduction to post-processing metal.
Content table
Designing metal 3D prints
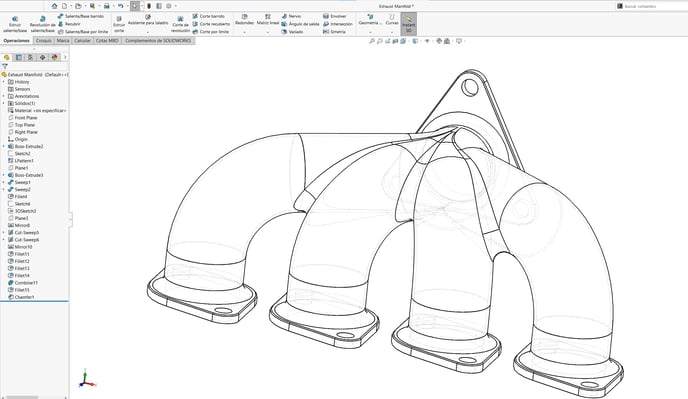
In metal 3D printing, there are design requirements to ensure that the model doesn't deform once the part undergoes the debinding and sintering heat treatment.
Maximum print volume
To ensure that the printed part is sintered correctly, it is necessary that the printed part does not exceed a volume of 100*100*100mm. If it exceeds this volume, some areas of the model may not be heat-treated, affecting the structural stability.
Note: the best surface results after the sintering process are obtained on pieces with a volume equal to or less than 60*60*60mm.
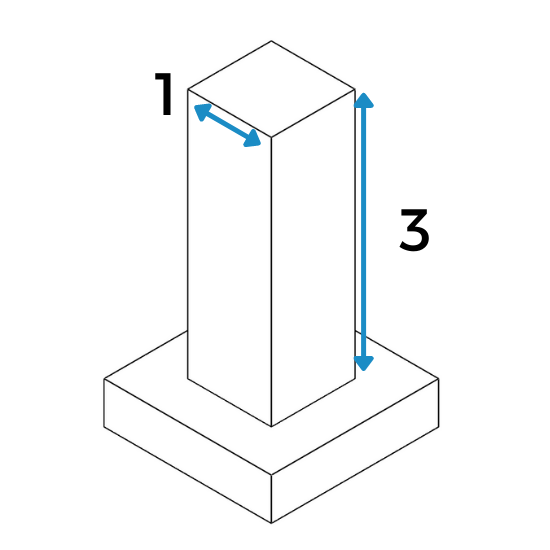
Height to width ratio
To avoid deforming the model during the debinding process it is necessary that the model follows these ratios between the height and width of the part.
Note: The walls should be thicker than 1.19mm to avoid deformation after the sintering process.
How to print with metal
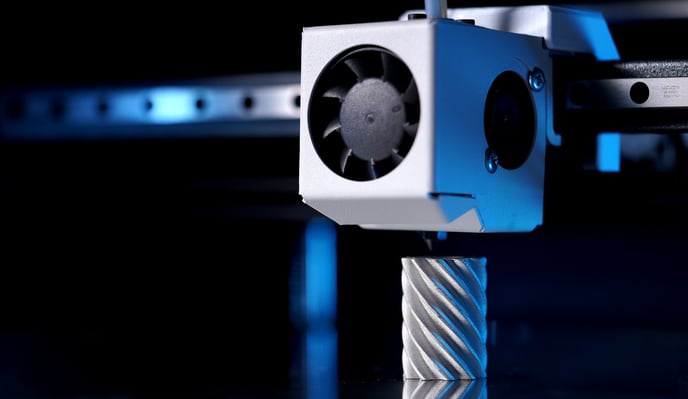
Printing with metals can be such an easy process if the following guidelines are taken into account:
Scaling the model to compensate shrinkage
After the debinding and sintering process has been completed, the part shrinks in all directions. To obtain a piece with the desired measurements, the measurements must be increased by 119% in the direction of the X and Y axes, and by 124% in the direction of the Z-axis.
Printing surface adhesion
Let the model cool down slowly
Models printed with metals should be cooled more slowly than other printed materials, due to the fact that sudden changes in temperature can deform the model, causing warping or cracking.
To avoid these problems, keep the model in the printer for at least 10 minutes after the printing has finished.
Note: Check the following articles to get more detailed information about how to print metals:
Debinding and sintering
Once the printing process has finished, the printed piece is fragile and doesn't have the properties of a metal. The piece at this point is called a "green piece." To get the metallic properties, the model must be subjected to two thermal processes.
In the following link, you will find the companies that offer these heat treatments in your country: Ultrafuse distributors.
You can learn more about these processes in the Ultrafuse process guides:
Post-processing metal parts
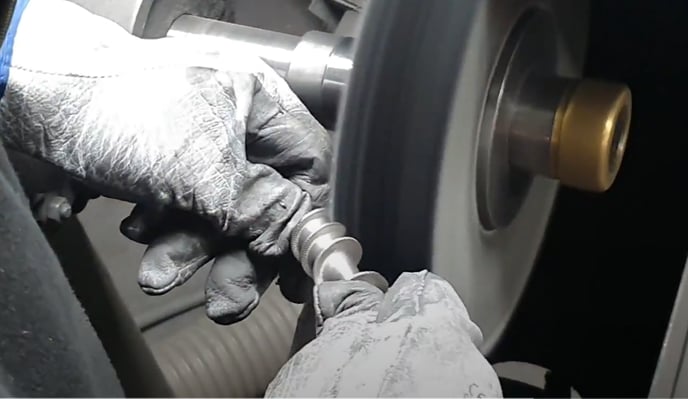
Finally, the model is ready to be used or post-processed. You can carry out the same post-processing you would use in other metal parts, such as drilling, welding, polishing, and others.
In this article, you will find these processes and how to carry them out: Postprocess Metal Parts.
Forum community
Need more tips? Check out our forum community for more info.
It's important to keep your printer in good shape to make the most out of it. In this chart, you can find a list of the extruder maintenance procedures and how frequently these should be done. Maintenance Plan.
![]() Take your e-waste to a certified recycler. Check how we do it in BCN3D.
Take your e-waste to a certified recycler. Check how we do it in BCN3D.
|
You can help improve the BCN3D Knowledge Base. If you feel there are guides that we are missing or you found any error, please use this form to report it. Report form :) |

.png?width=550&name=1%20Cropped%20(1).png)
