This is a continuation article of the How to fix Layer Shifting guide.
If you still haven't read it, take a look at it first, you'll know why it happens and other ways to fix it. How to fix layer shifting.
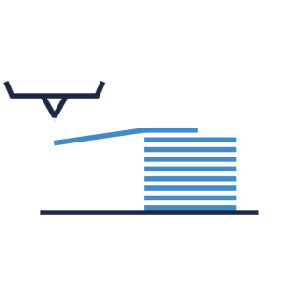 Layer shifting in the X-axis is a printing issue where the layers of the model are misaligned only on left-right direction. It is usually a mechanical problem but it also can be caused by a stepper driver malfunction or a bad configuration in BCN3D Stratos.
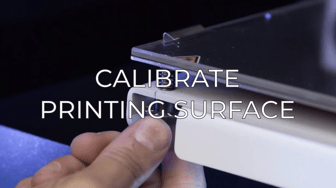
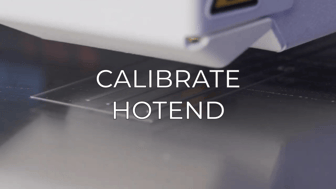
To solve this issue, follow in order the steps below.
Checking flat cable connection
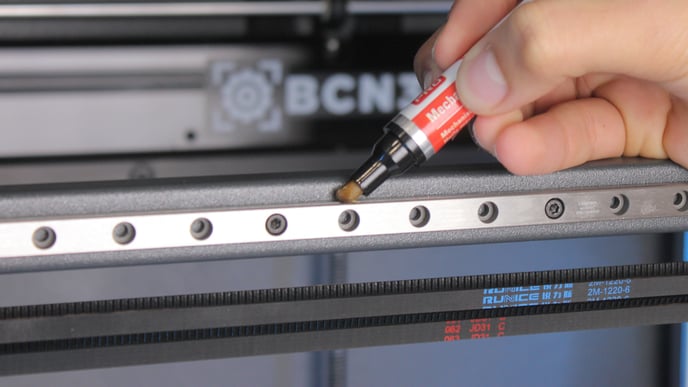
Cleaning and lubrication.
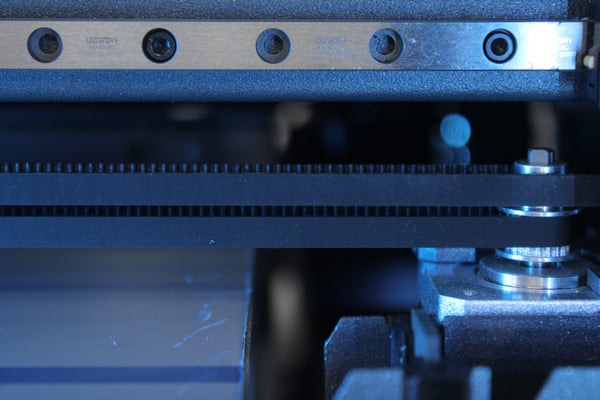
Clean the guiderail's surface with a clean piece of paper, and apply some lubricating oil while moving both printheads side to side. Pay special attention to the ridges of the guiderail.
Make sure that there is no filament remains or debris between the pulley and the inside of the belts, or under the pulley, around the stepper motor axis. You can easily remove them by using tweezers.
Note: you can acquire our maintenance kit on our website: Maintenance Kit Sigma Series
If you need more information about how to clean the axis, check out this guide: How to clean and lubricate the axes (Sigma Series)
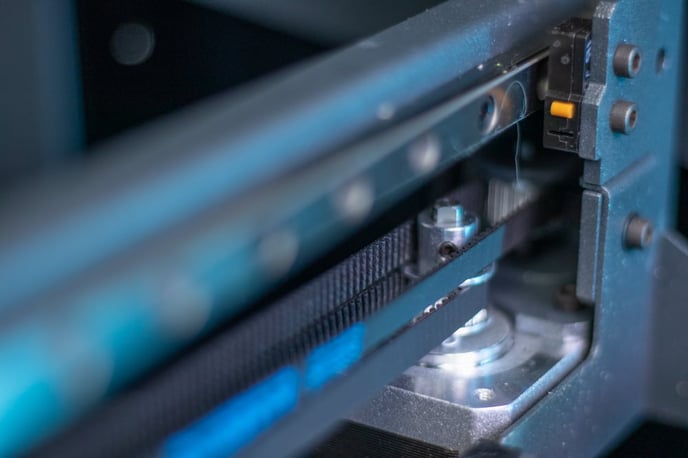
Adjusting set screws.
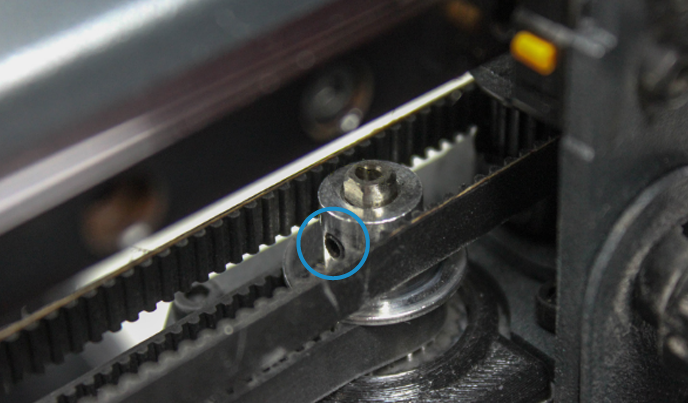
Note: The pulleys need to have a space between the motor. This guide will help you on finding the correct distance: How to replace the X motor (Sigma Series)
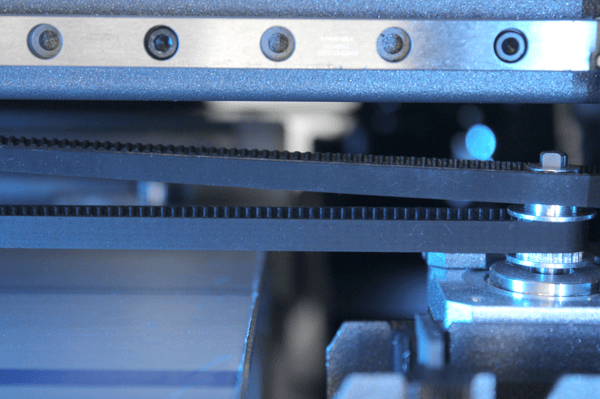
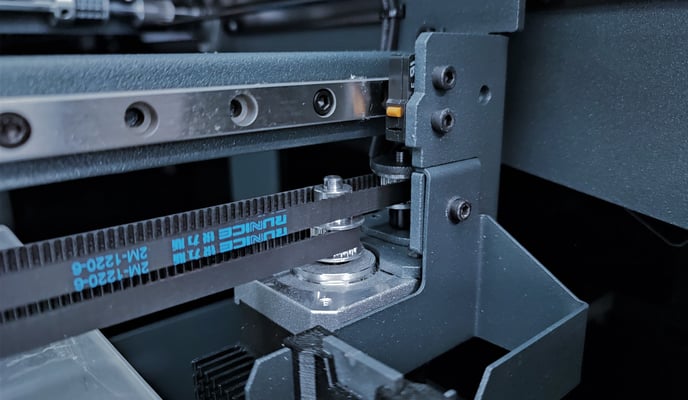
Adjusting belts tension
The belts shouldn't be too loose. If the belts don't have the correct tension, they will skip over the X motor pulley teeth and create intermittent layer shifts.
Check that the belts are not misaligned. To correct this, you'll have to adjust the pulley height by loosening the set screws from the pulley. There's no need to remove them completely.
Once the set screws are loose, correct the pulley position. This will prevent friction between the belt and pulleys, and the printhead will move smoothly.
Note: To get more information on how to adjust the belts, check out this guide: How to adjust the tension of the belts (Sigma Series)
Tip: The X motor pulleys are mounted in our production line at a specific distance from the motor. This guide will help you on finding the correct distance: How to replace the X motor (Sigma Series)
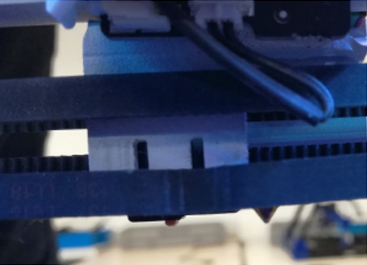
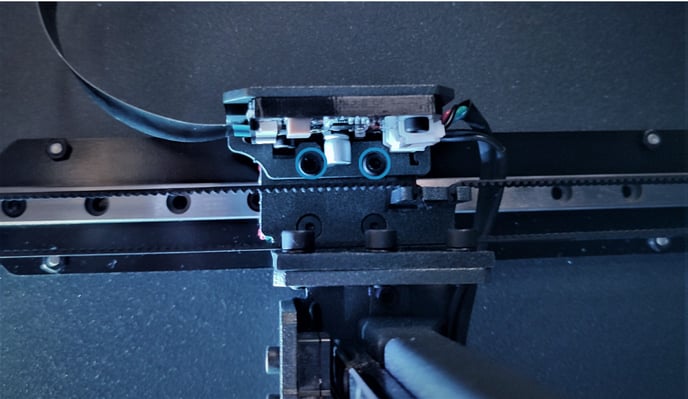
Checking flat cable connection
Check if the flat cable is properly connected to the X motor driver. If the connection is poor, the driver will don't work correctly causing that the X motor doesn't move to the specified positions and the layers will not be aligned.
%20Cropped.png?width=688&name=Dise%C3%B1o%20sin%20t%C3%ADtulo%20(36)%20Cropped.png)
Blocked X motor
If there’s mechanical resistance on the printing head while manually moving it through the rail, the X stepper may be blocked. Follow the next steps to check if the stepper motor is the problem:
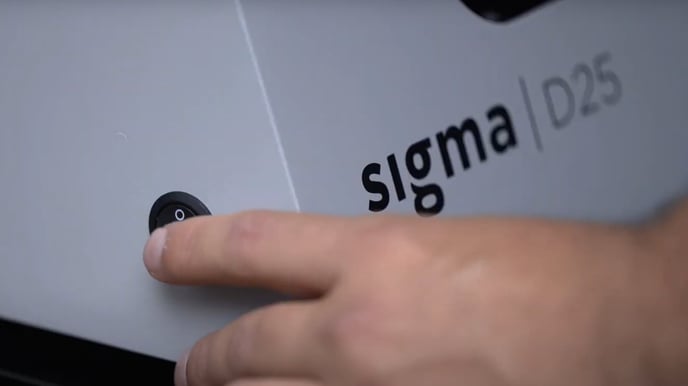
Turn off and disconnect the printer.
Loosen the belt from the printing head holder and check its motion through the rail. If the head moves smoothly, the issue will most likely be on the stepper.
You can check the stepper resistance by manually rotating the pulley to see if it is blocked. Sometimes the driver can be the cause of this problem, so you should check the stepper motion after turning the printer off as well.
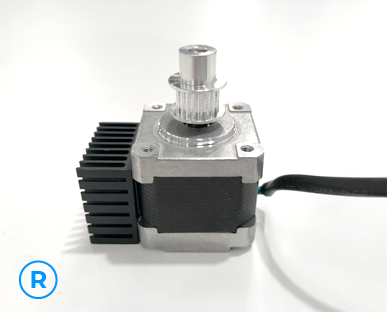
If the stepper motor is blocked you’ll have to change it for a new unit. This guide will help you on this: How to replace the X motor (Sigma Series)
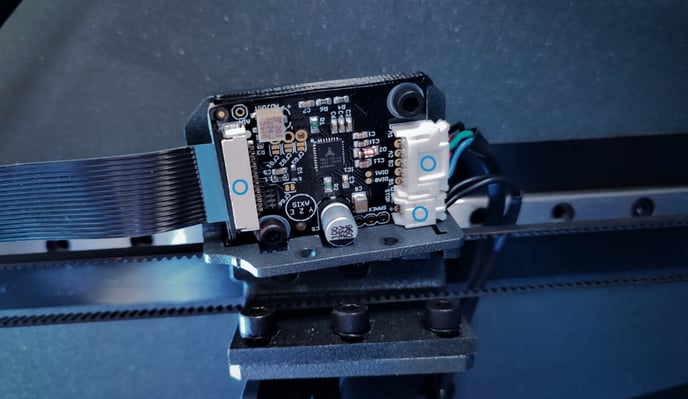
Changing the X drivers.
The driver boards control the X motors, if those don't work correctly, the motors could behave abnormally, usually related to layer shifting, to check if the issue is being caused by the drivers, follow the next steps:
If the printer is only missing steps on one of the heads, you can swap the X drivers between them to see if the issue moves from one head to the other.
1. Turn off and disconnect the printer.
2. The X driver is located over the X motor.
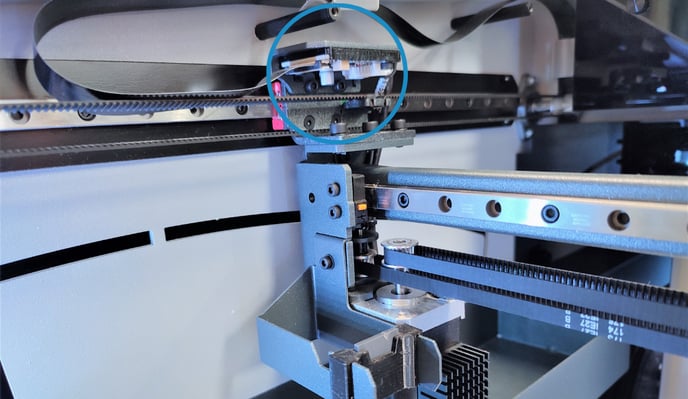
Note: The left X driver controls the movement of the right extruder and the right X driver controls the left extruder.
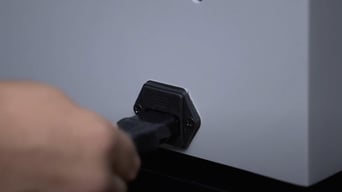
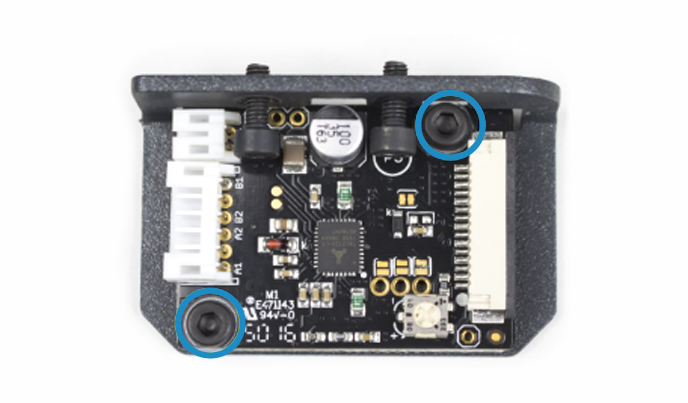
4. Remove the flat cable from the driver by gently unlocking the clip. Disconnect the stepper and endstop cables from the driver.
Forum Community
This article doesn't fix your issue? Check out our forum community for more info about this.
It's important to keep your printer in good shape to make the most out of it. In this chart you can find a list of the extruder maintenance procedures and how frequently these should be done. Maintenance Plan
![]() Take your e-waste to a certified recycler. Check how we do it in BCN3D.
Take your e-waste to a certified recycler. Check how we do it in BCN3D.
|
You can help improve the BCN3D Knowledge Base. If you feel there are guides that we are missing or you found any error, please use this form to report it. Report form :) |