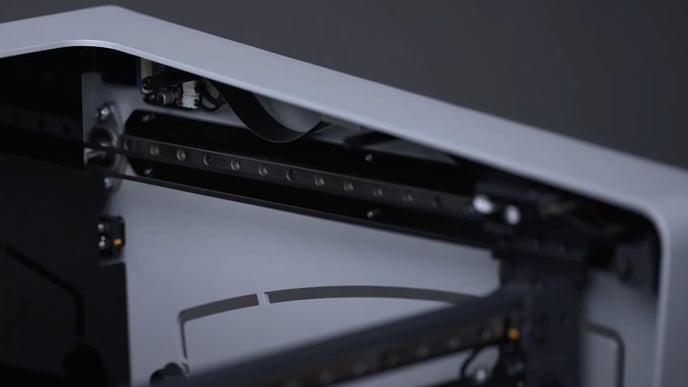
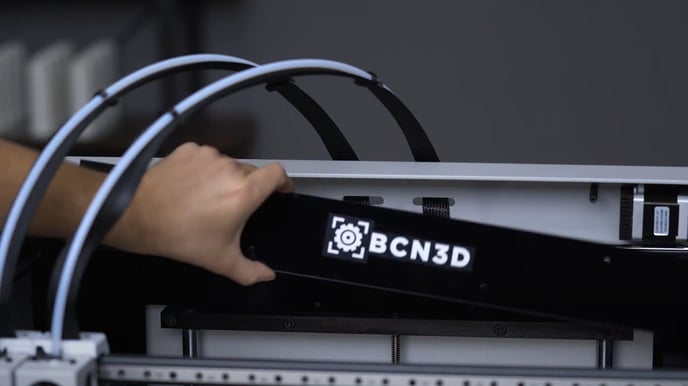
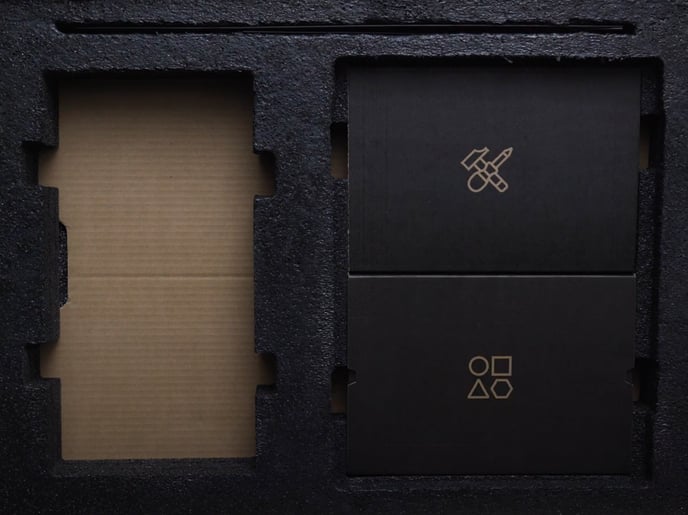
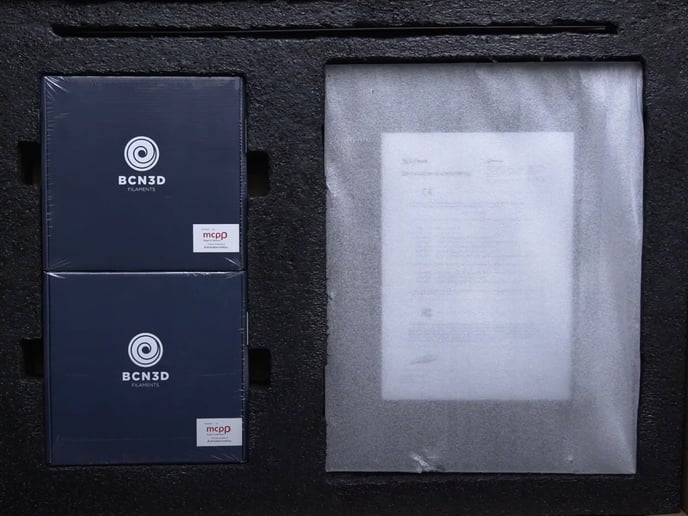
This article will advise you on the process of packaging your BCN3D Sigma series printer.
Warranty notice:
Unofficial or poor packaging may not properly protect the printer during transport. If damage occurs, it will void the warranty.
If you don't have the official packaging or you need part of it, please get in contact with BCN3d support to get new pieces: support@bcn3d.com
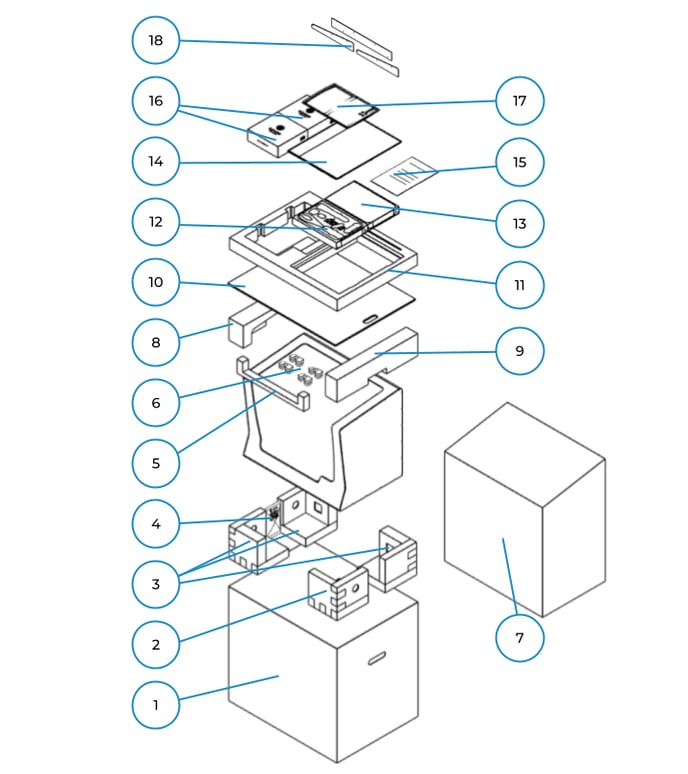
In the following image, you will find all the necessary components to package the Sigma Series printers.
|
NUM |
Part |
| 1 | European Pallet |
| 2 | Bottom Foam |
| 3 | Conformity Notice |
| 4 | Spool Boxes - 2x PLA |
| 5 | Glass Printing Surface Pack |
| 6 | Belt clamps 4x |
| 7 | Corner Foams |
| 8 | Silica Bag |
| 9 | Printing Surface Foam |
| 10 | Plastic Bag |
| 11 | Printing Head Foam |
| 12 | Upper Box |
| 13 | Top Right - Left Foam |
| 14 | Top Box Foam |
| 15 | Documentation (QSG - Warranty - Welcome card - Filaments & Maintenance) |
| 16 | Accessories Box |
| 17 | Tool Kit |
| 18 | Top Box |
Process:
Warning! The printer is heavy, two people are necessary to perform some steps in this guide. Make sure the table where the printer is being installed is close enough.
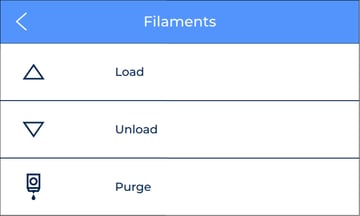
1. Unload the filament on both extruders (Utilities/Filament/Unload Filament). If you can't unload it, cut the filament and remove the spools. Also remove the spool holders.
Note: If you are planning to send your printer to the BCN3D technical service it's not necessary to package the spools and spool holders.
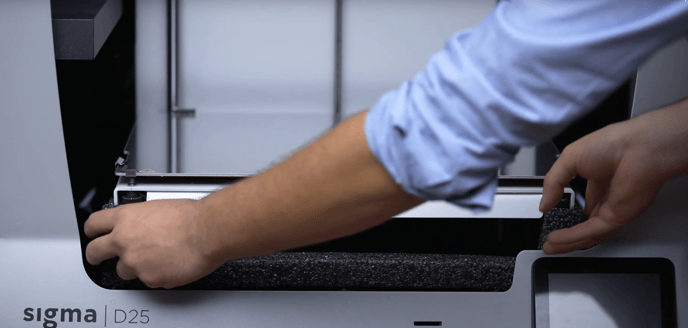
2. Insert the long foam between the bottom cover and bed; move the printing surface down (Options/Maintenance/Move printing surface) until the foam is snug, to prevent vibrations during transport.
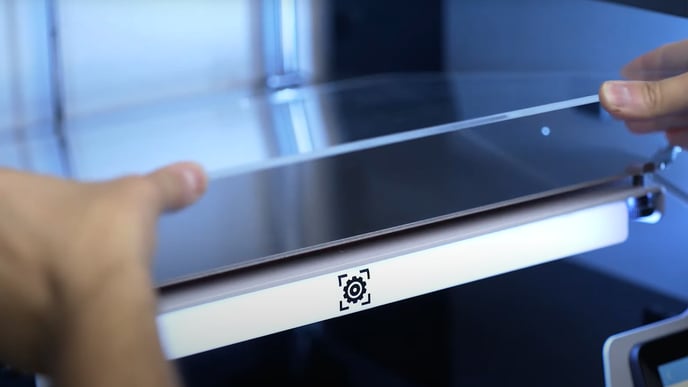
3.Remove the printing surface and place it onto the bottom foam
4. Put the bottom foam in the box and put the corner's foams. There is one corner different from the others, it is thinner to protect the printer's screen. All the corner foams have a sign to indicate their orientation.
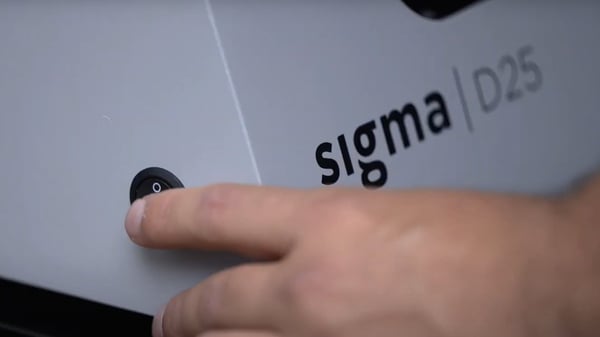
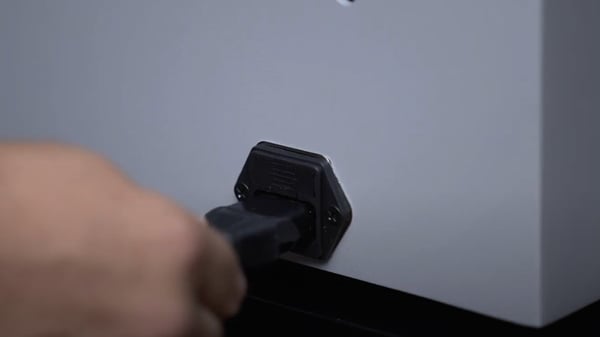
5. Turn the printer off and unplug it.
6. Remove the bowden tubes.
7. Remove the side and front supports and put them in the packaging foam.
8. The printer's axes are blocked as a protective measure during transport. Depending on the last 4 numbers of the printer serial number, there is a different protection measure.
- Sigma D25 (S.N. larger than 0370)
Move the hotends to the sides and put the belt clamps the following way:

Note: You can print your own Belt Clamps downloading the STL file here: Printed parts (Sigma Series)
Warning: Leave 2cm between the printheads and the endstops and another 2cm between the X axis and the Y endstop.
- Sigma D25 (S.N. lower than 0371)
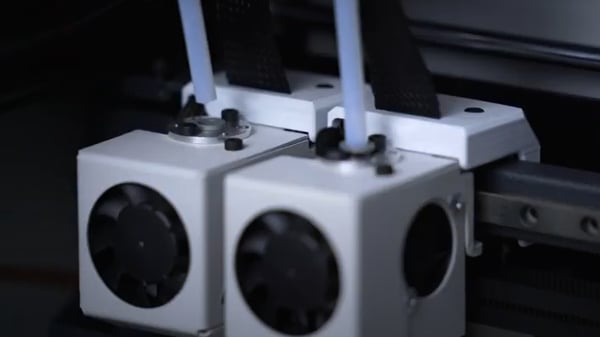
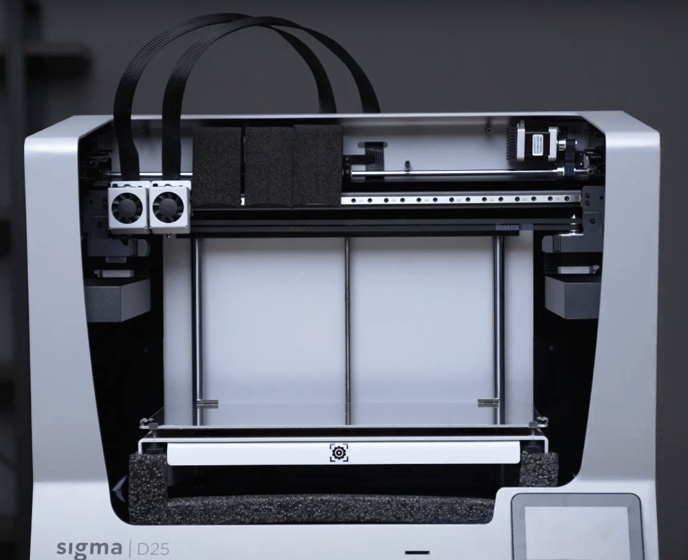
Move the X axis to the bottom and the both printheads to the left. Install the foams between them and the Y transition bar.
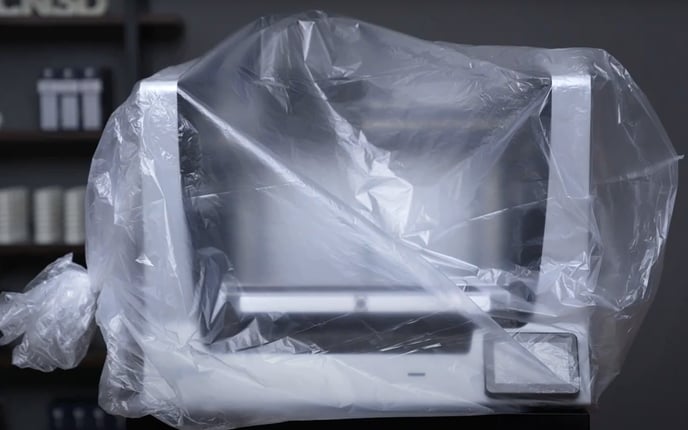
9. Cover the printer with the plastic bag and put it inside the box, adjust it with the corner foams to avoid that the packaging moves.
10. To protect the printer and reduce vibrations during transport, put the foams in the top sides above the printer until the printer fits between them
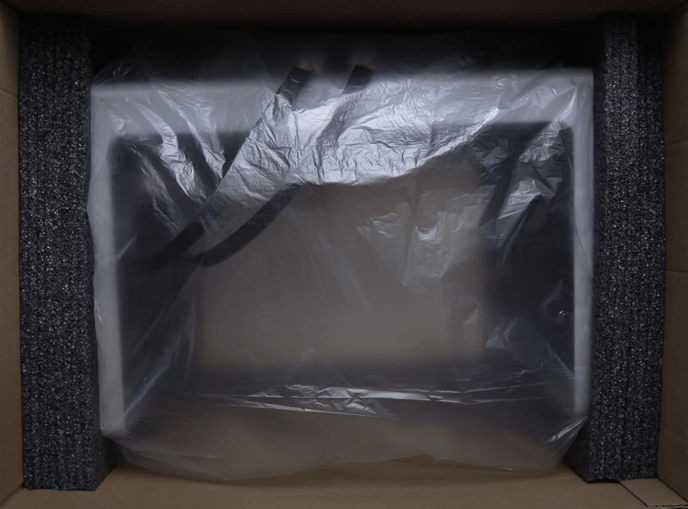
11. Put the cardboard above the printer top foams and put the packaging foam with the printing surface, the supports and the tool kits.
Note: If you are planning to send your printer to the BCN3D technical service it's not necessary to package the SD card, the power cable, the tool and the component kit box.
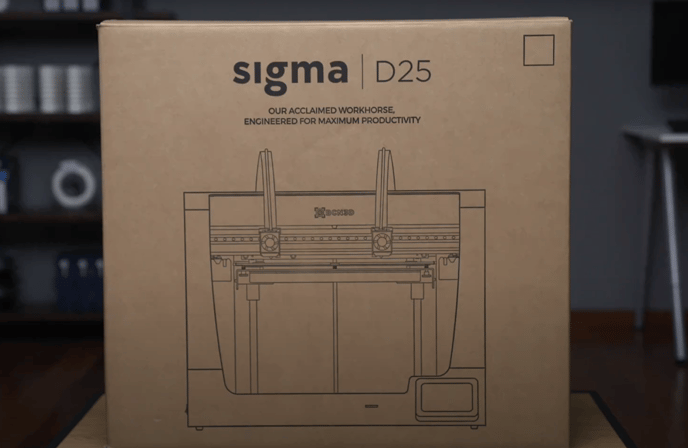
12. Close and seal the box.
Conclusions
BCN3D designs their packaging to protect the printer during the transport, please remember to retain the packaging.
Forum Community
Do you need more tips? Check out our forum community for more info about this.
It's important to keep your printer in good shape to make the most out of it. In this chart you can find a list of the extruder maintenance procedures and how frequently these should be done. Maintenance Plan.
![]() Take your e-waste to a certified recycler. Check how we do it in BCN3D.
Take your e-waste to a certified recycler. Check how we do it in BCN3D.
|
You can help improve the BCN3D Knowledge Base. If you feel there are guides that we are missing or you found any error, please use this form to report it. Report form :) |

